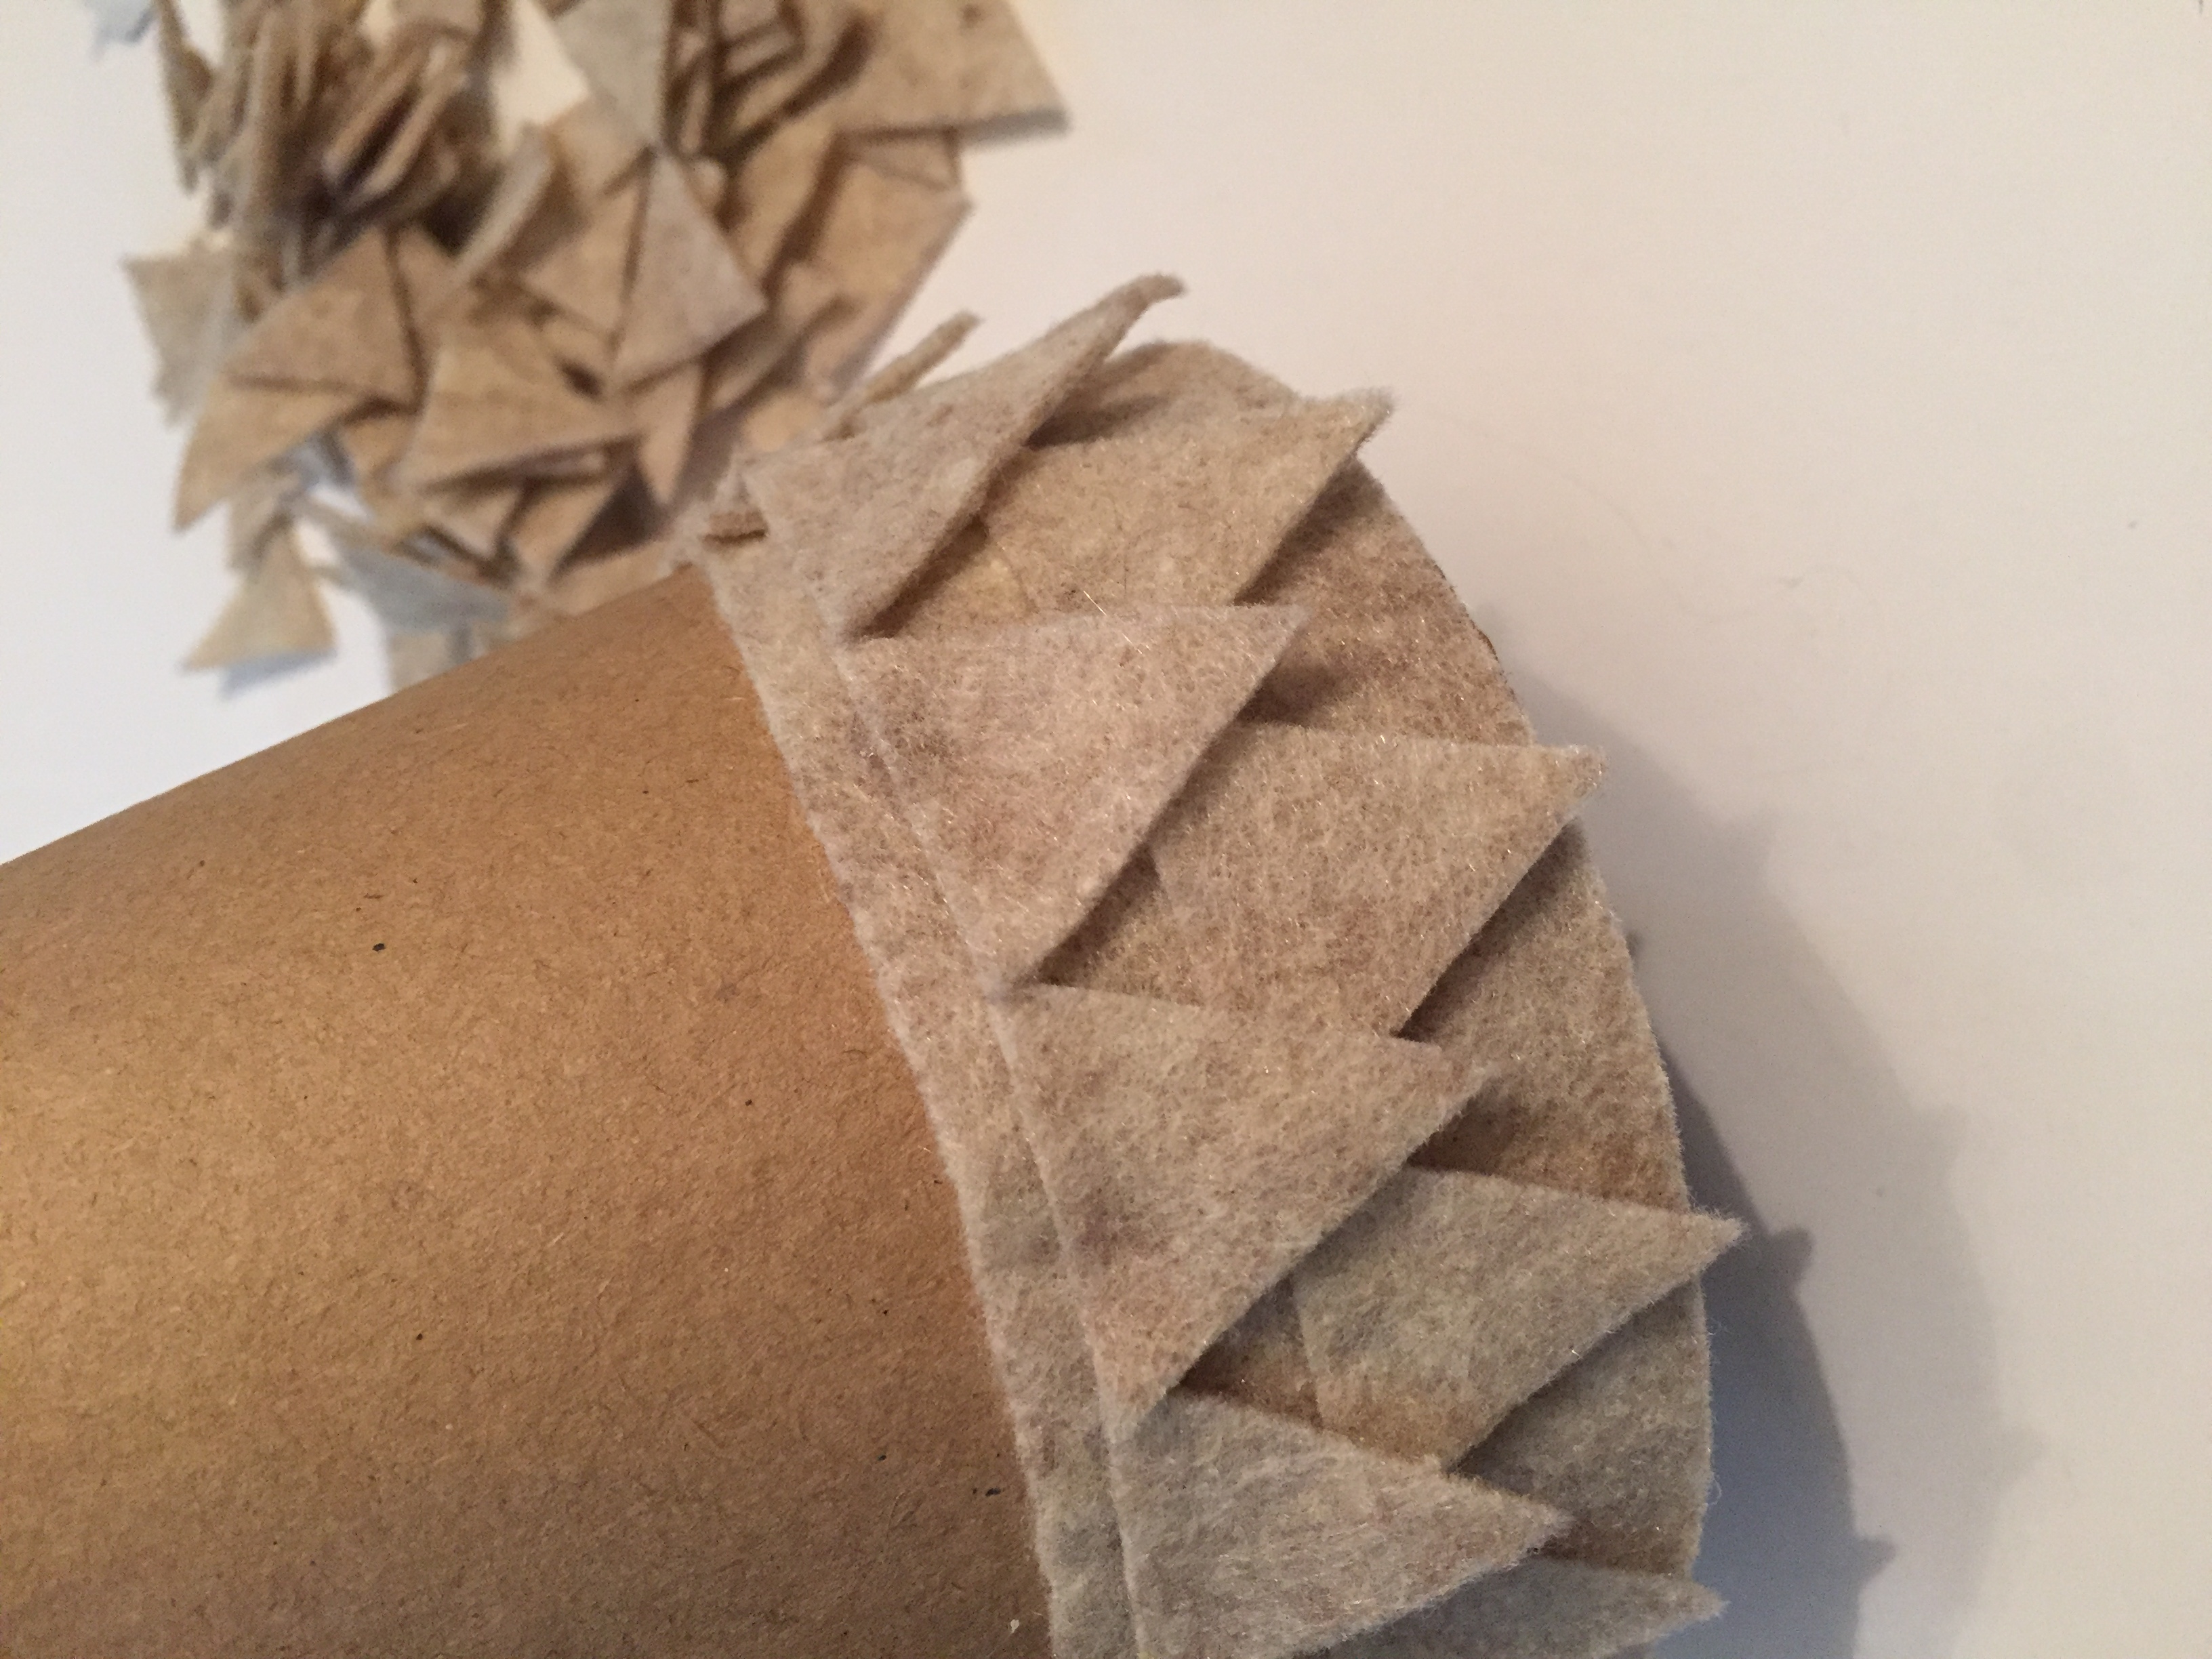
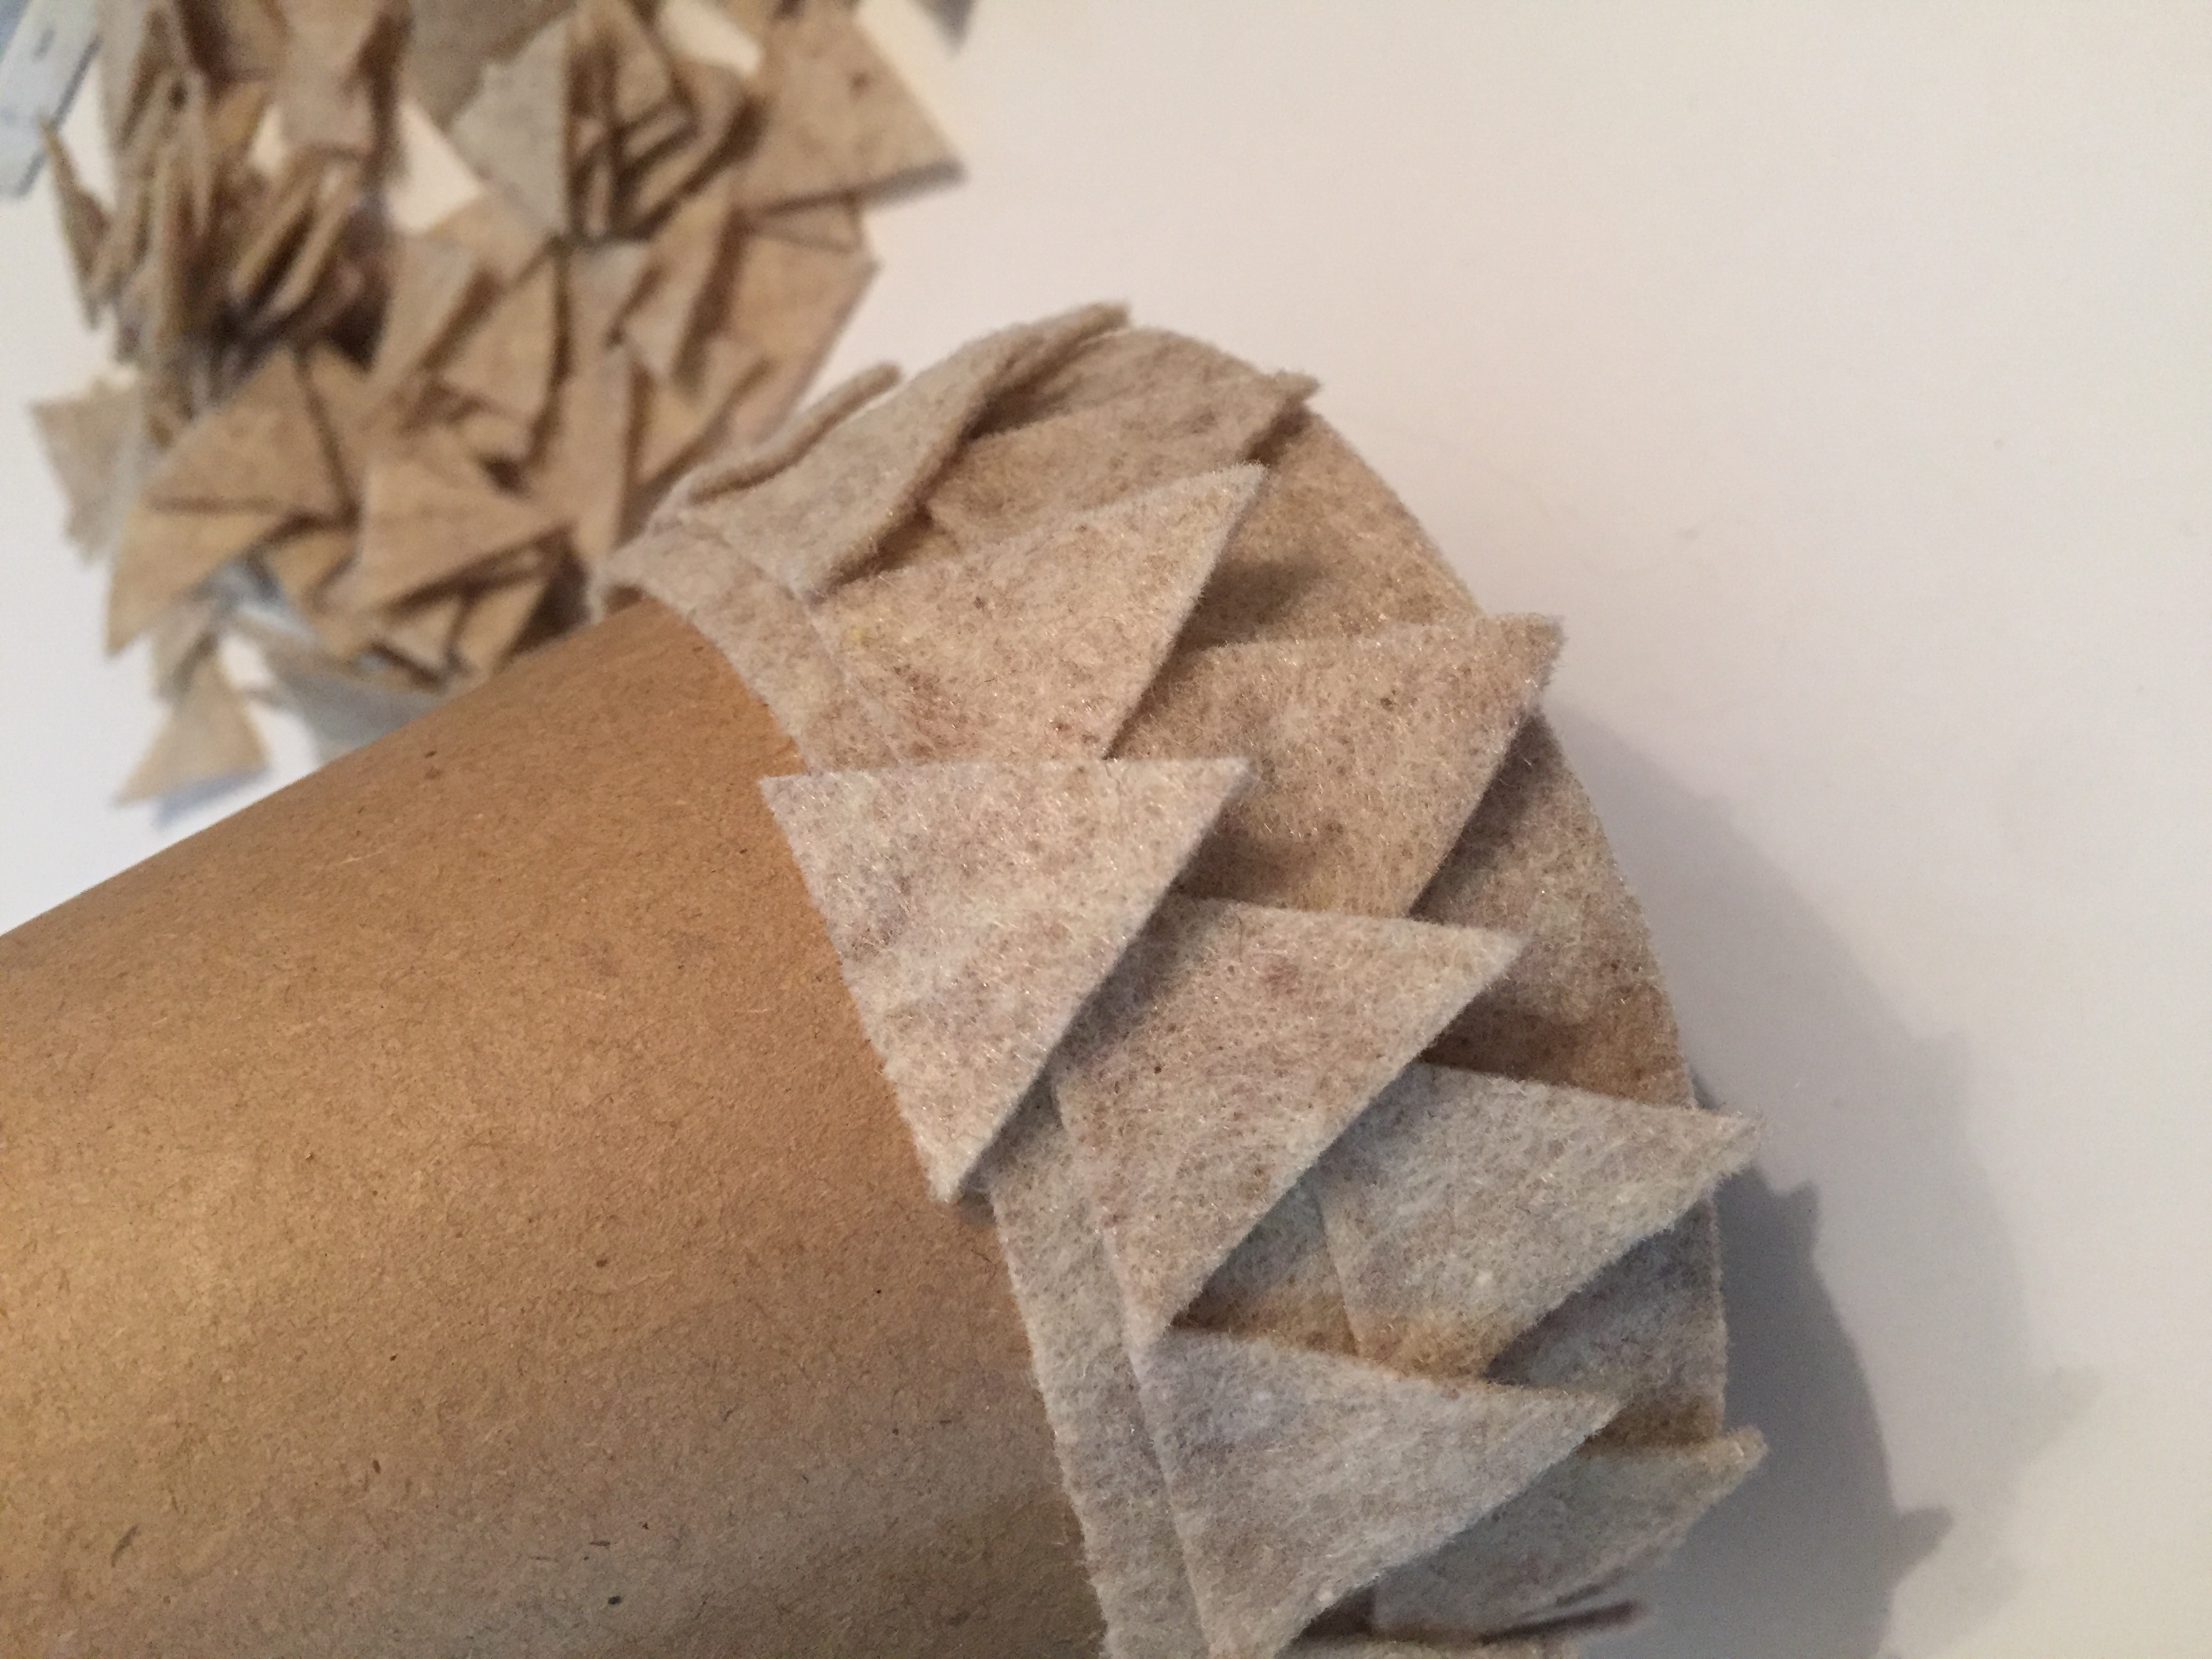
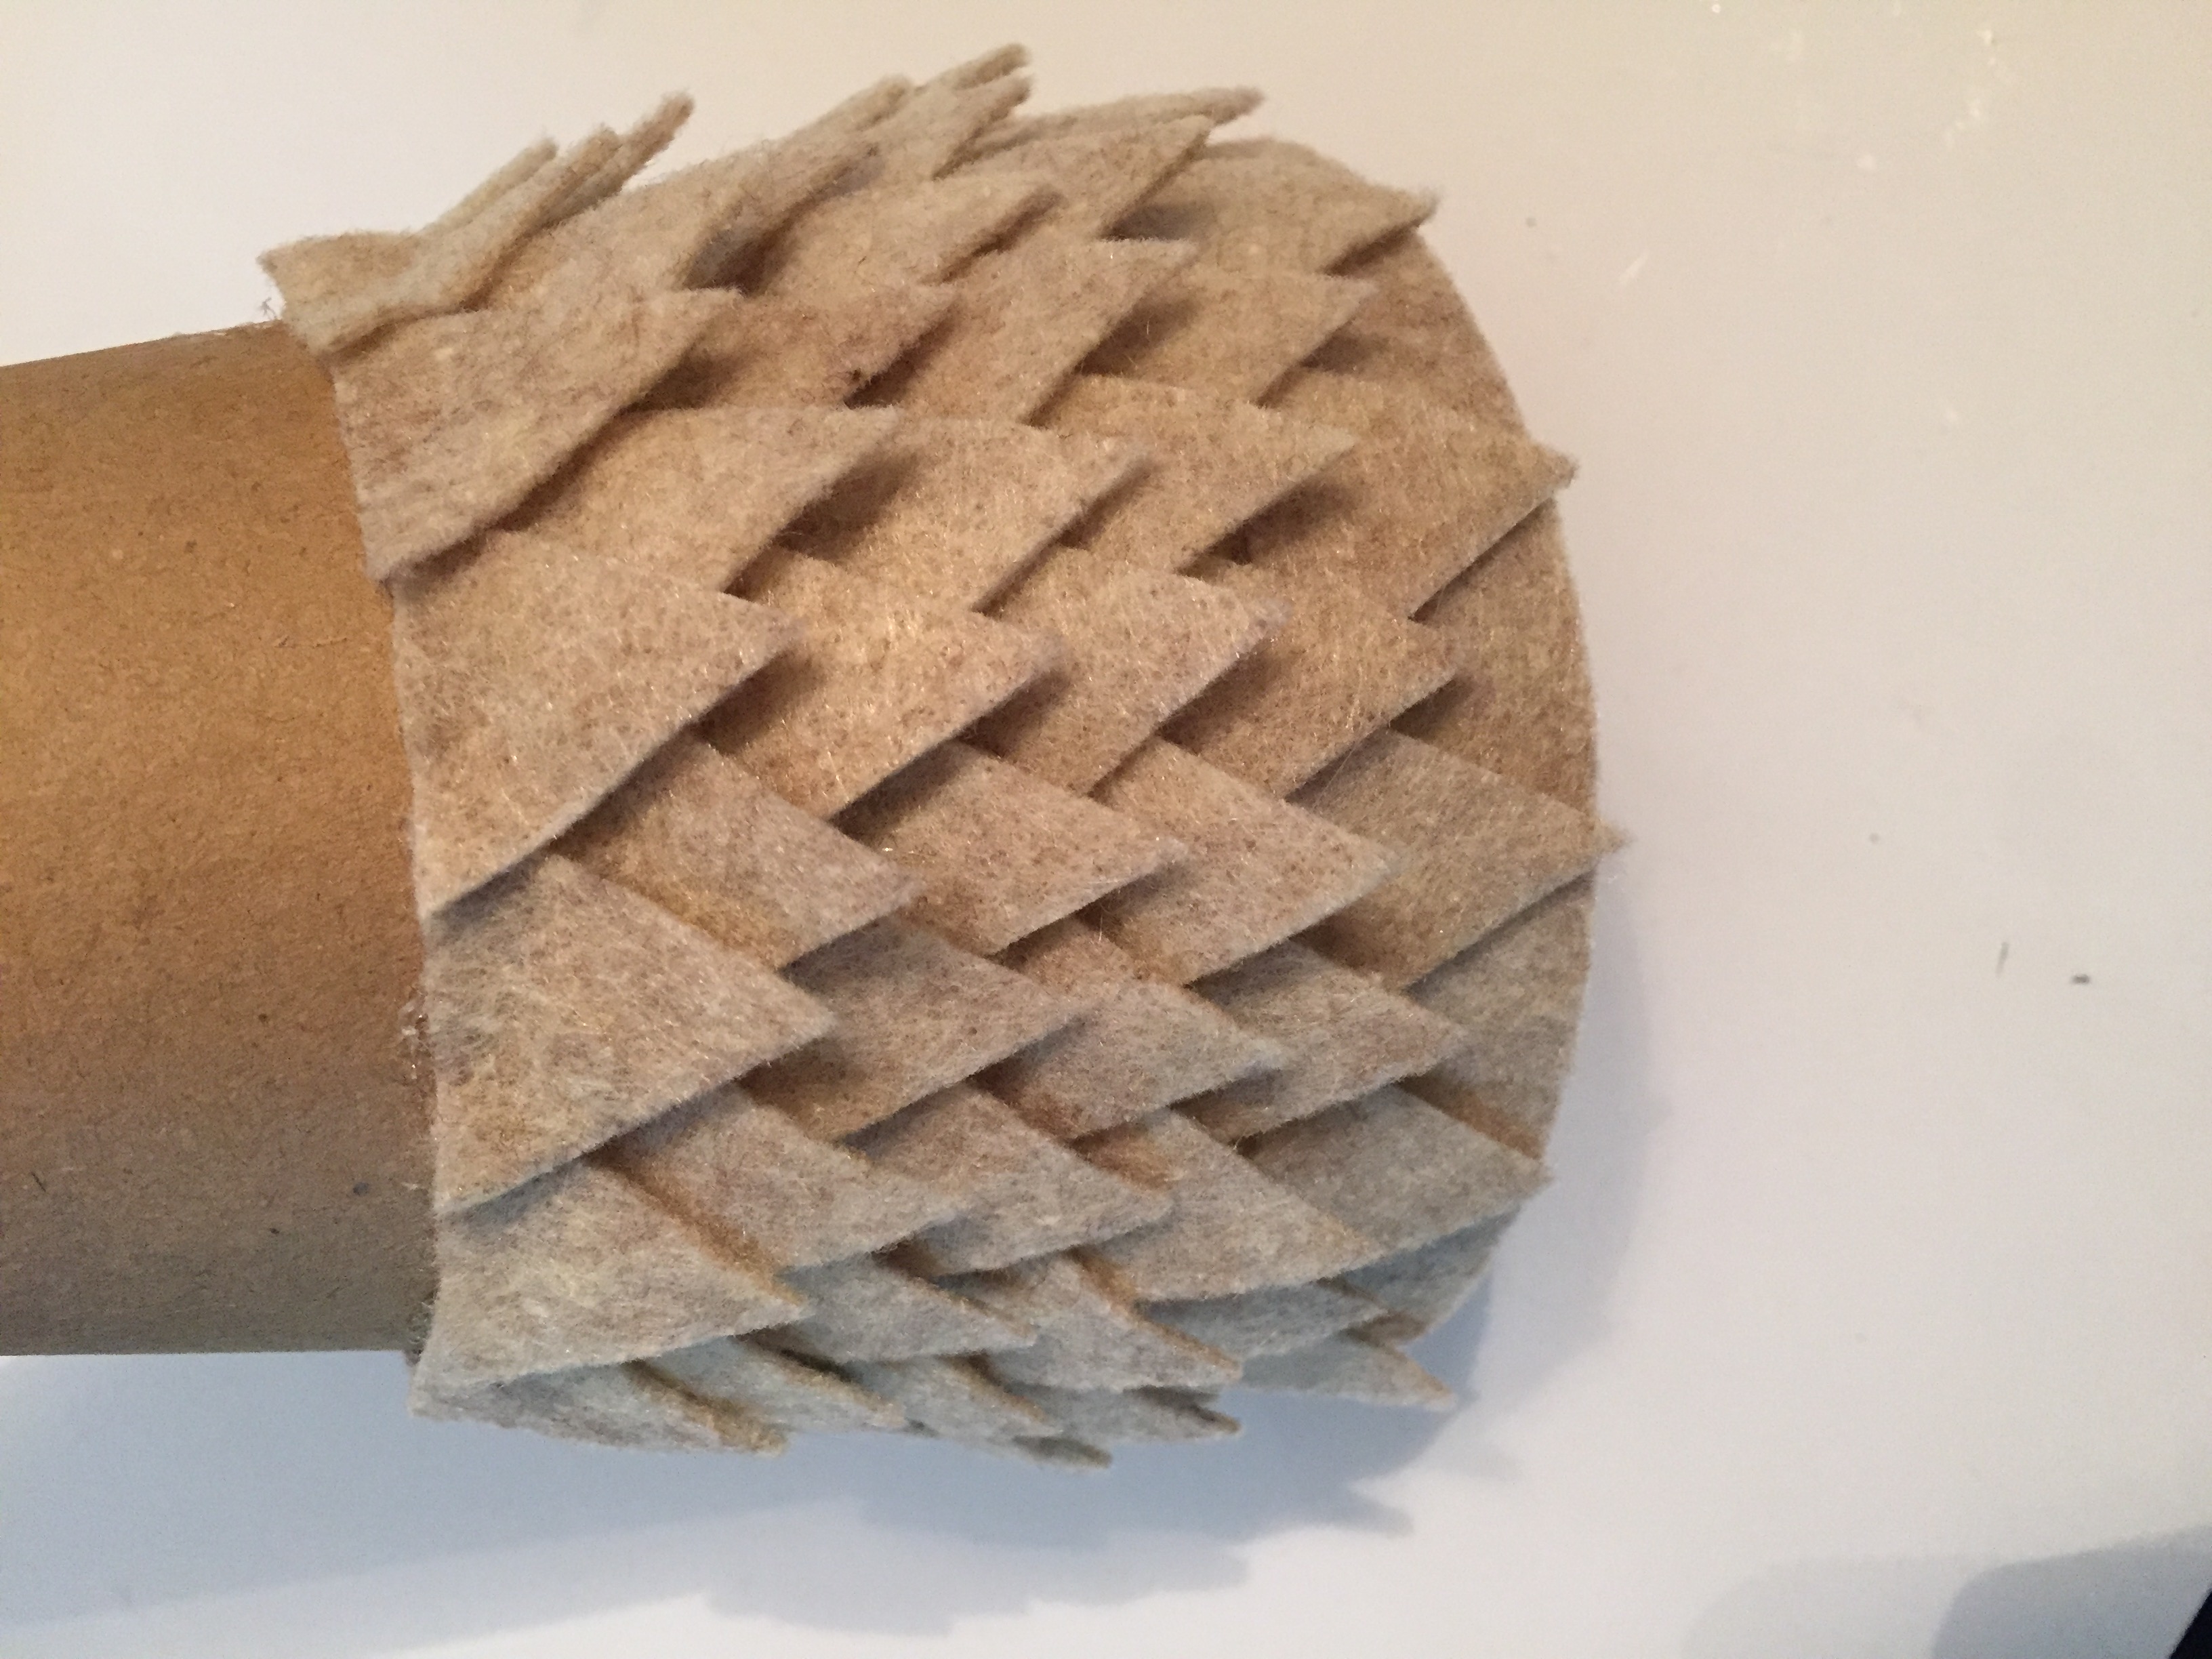
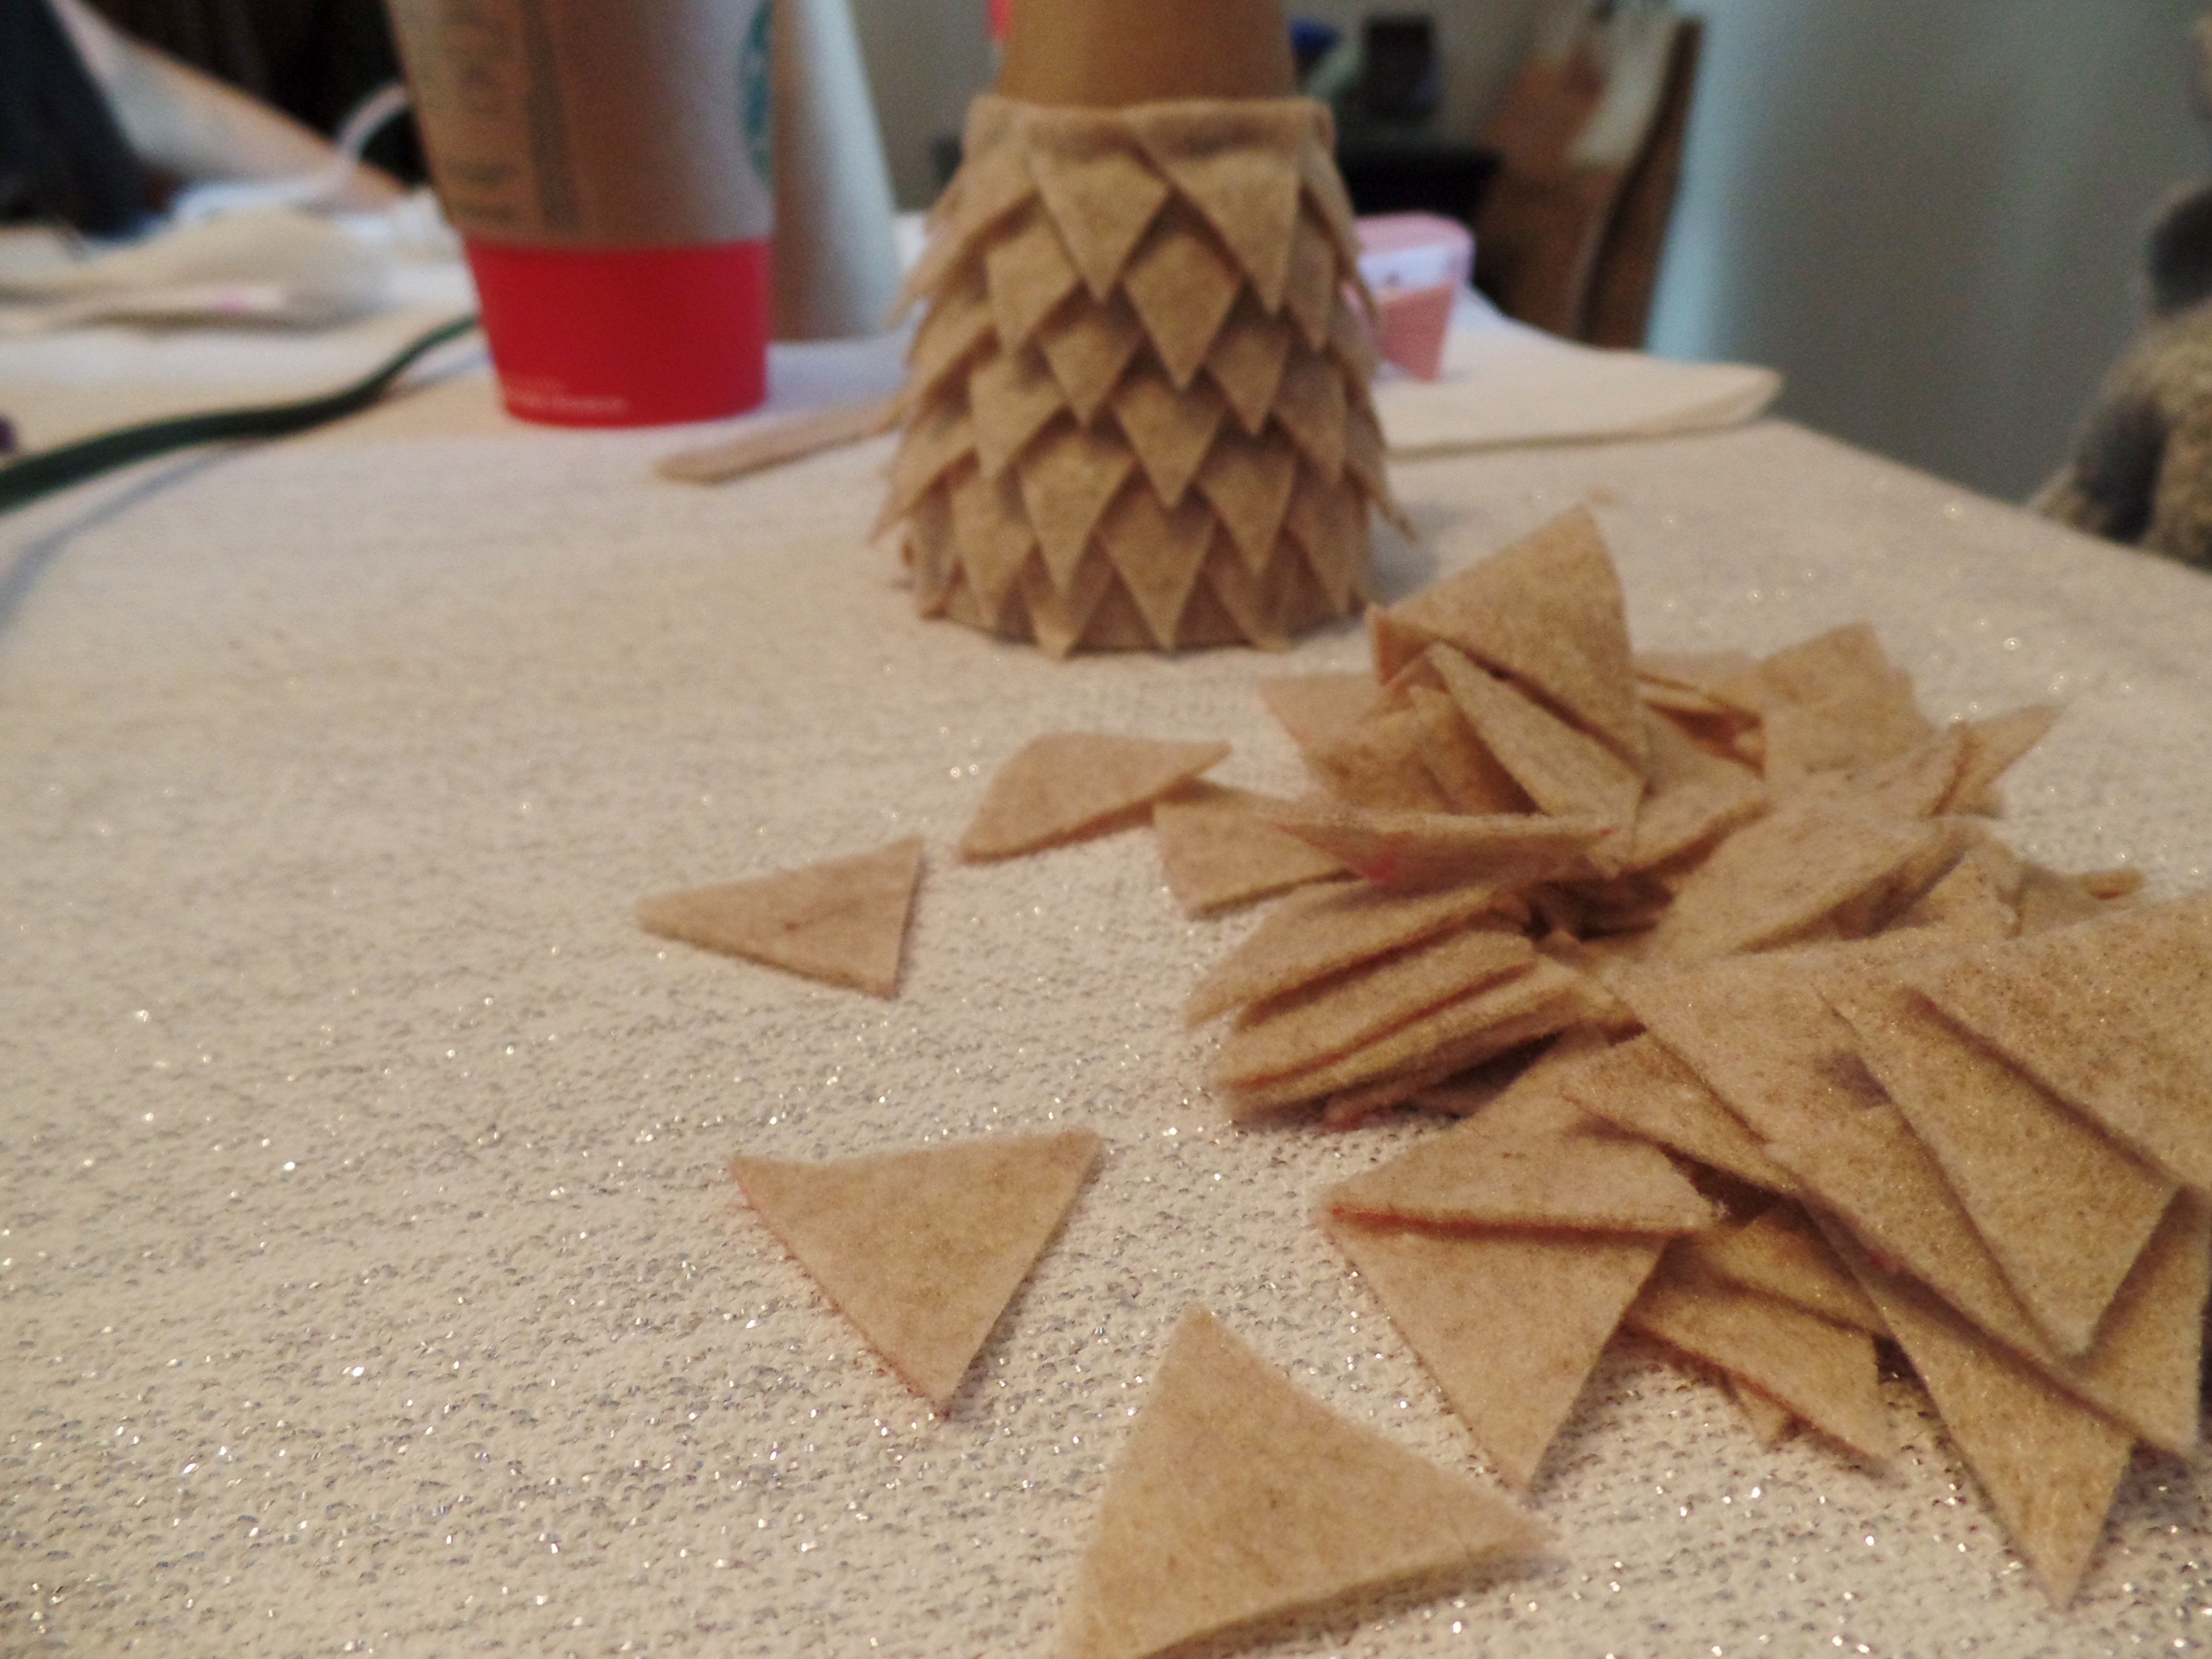
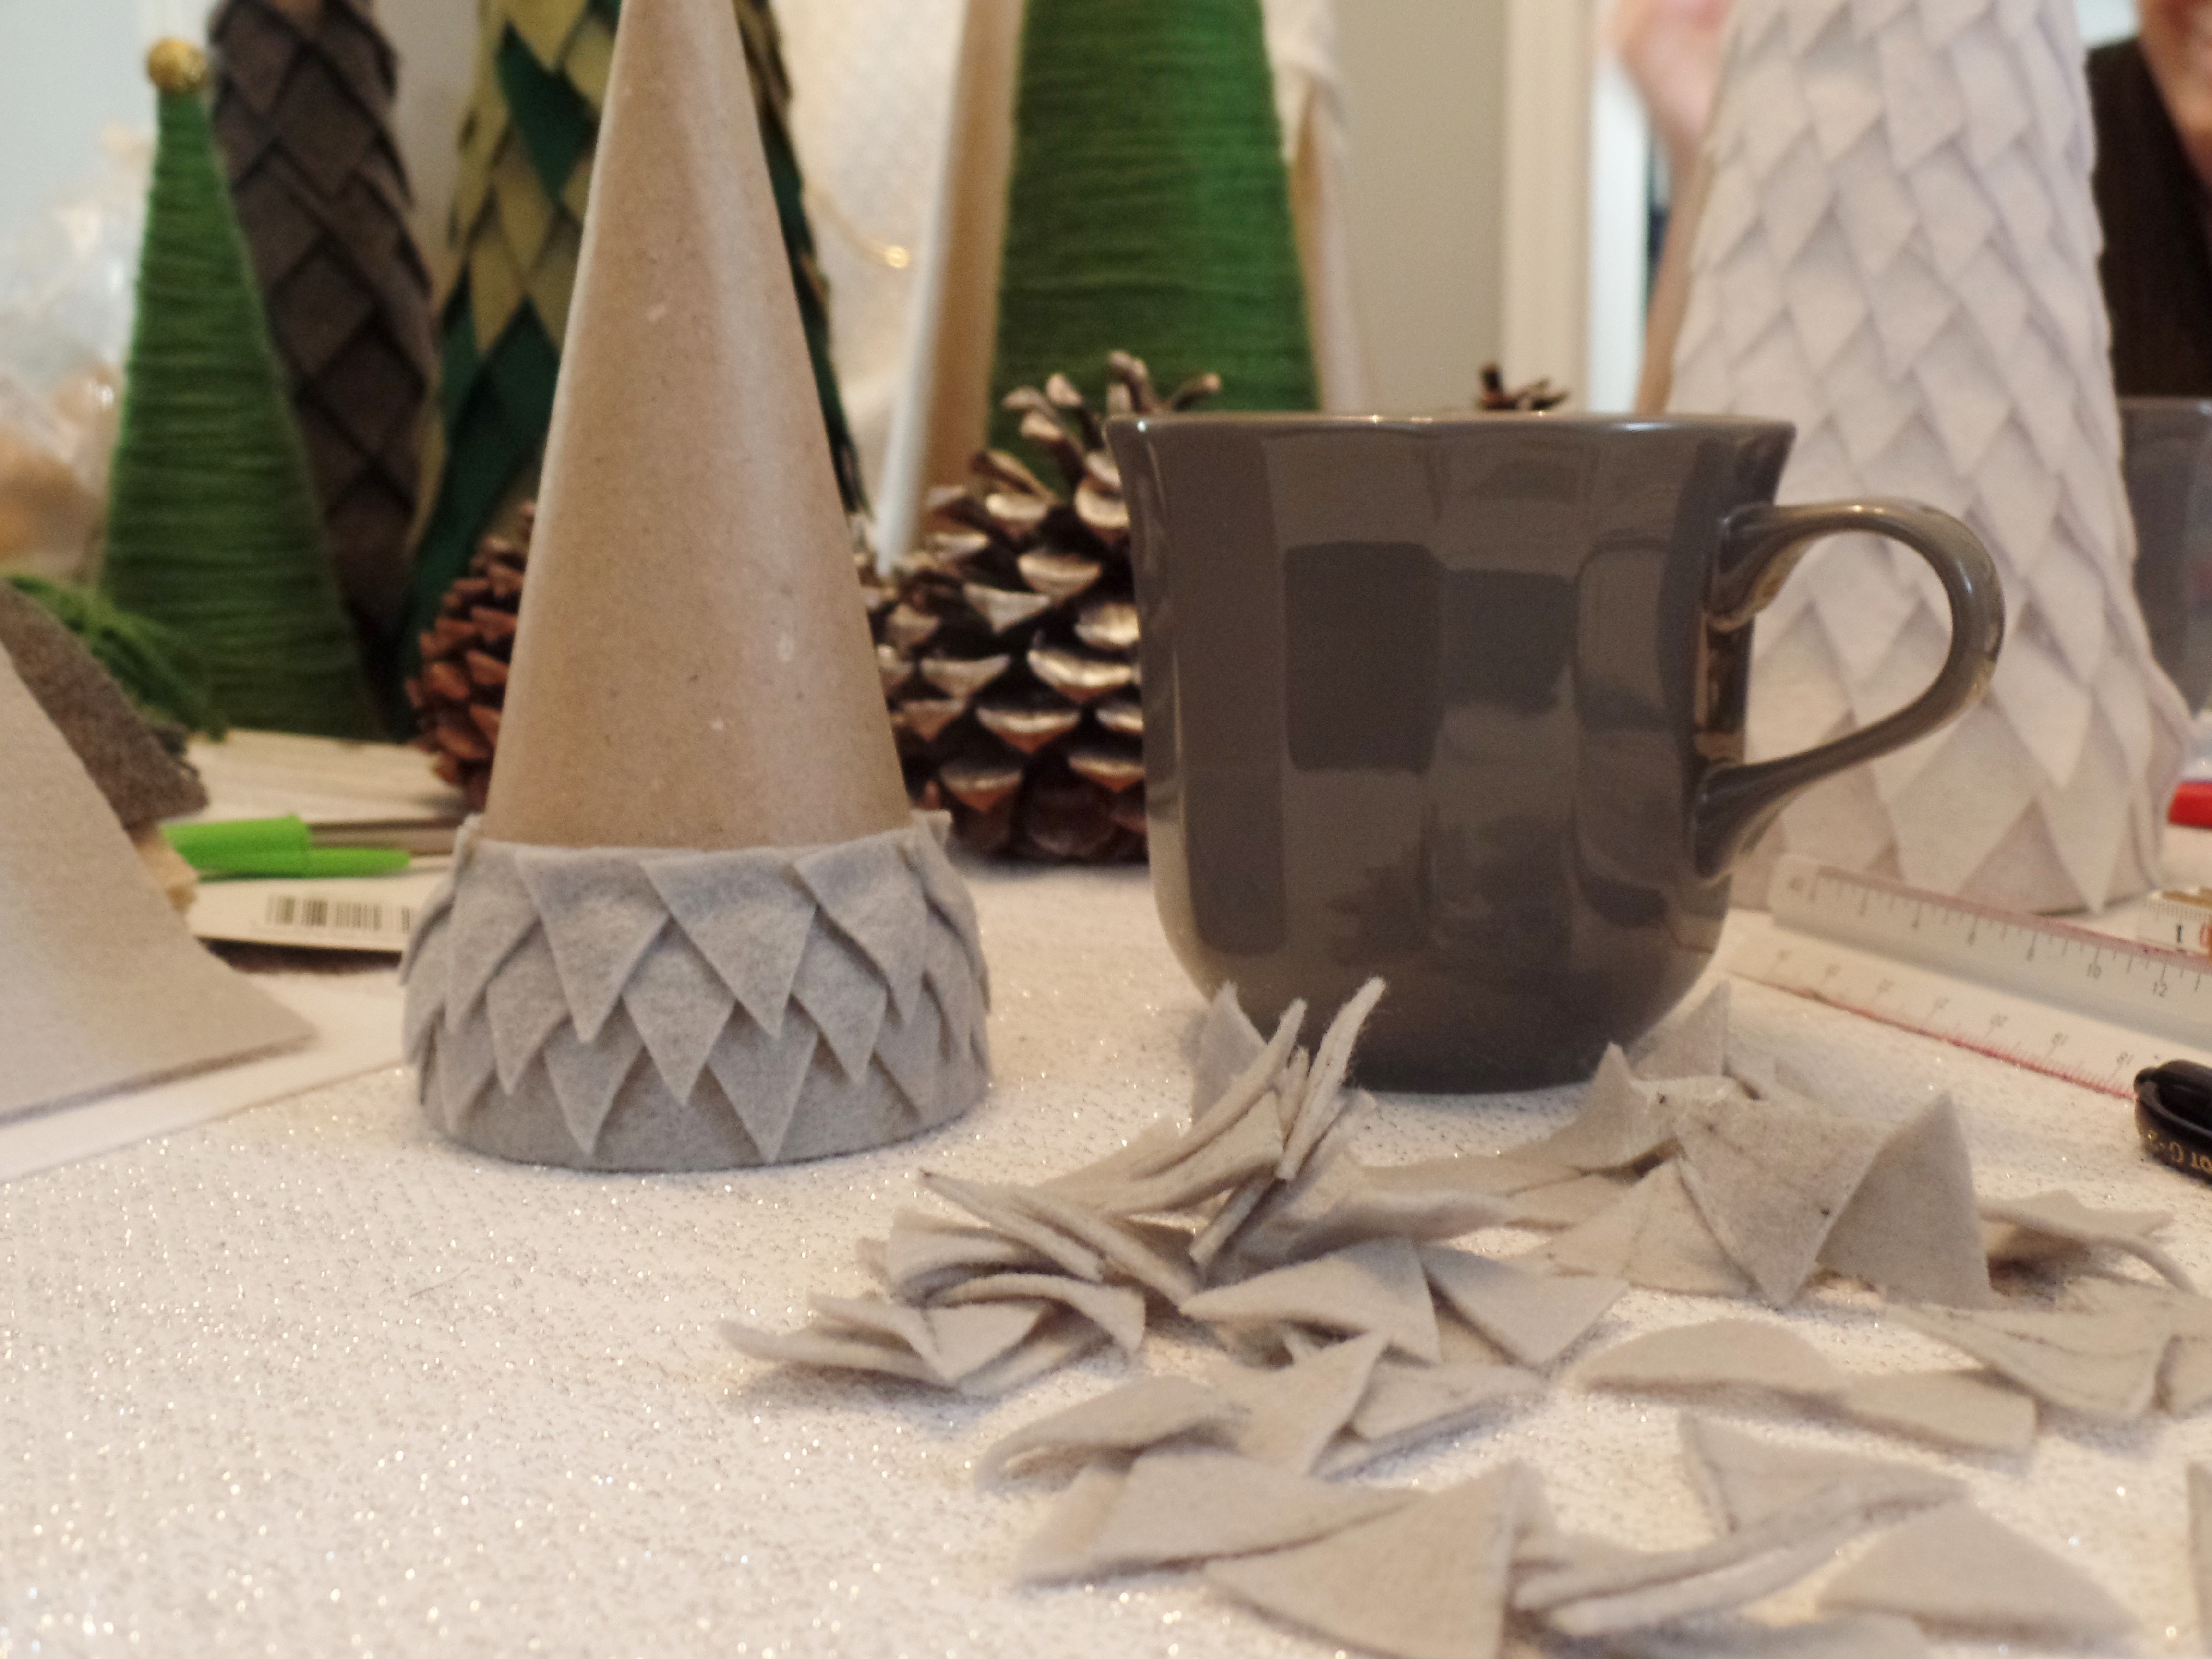
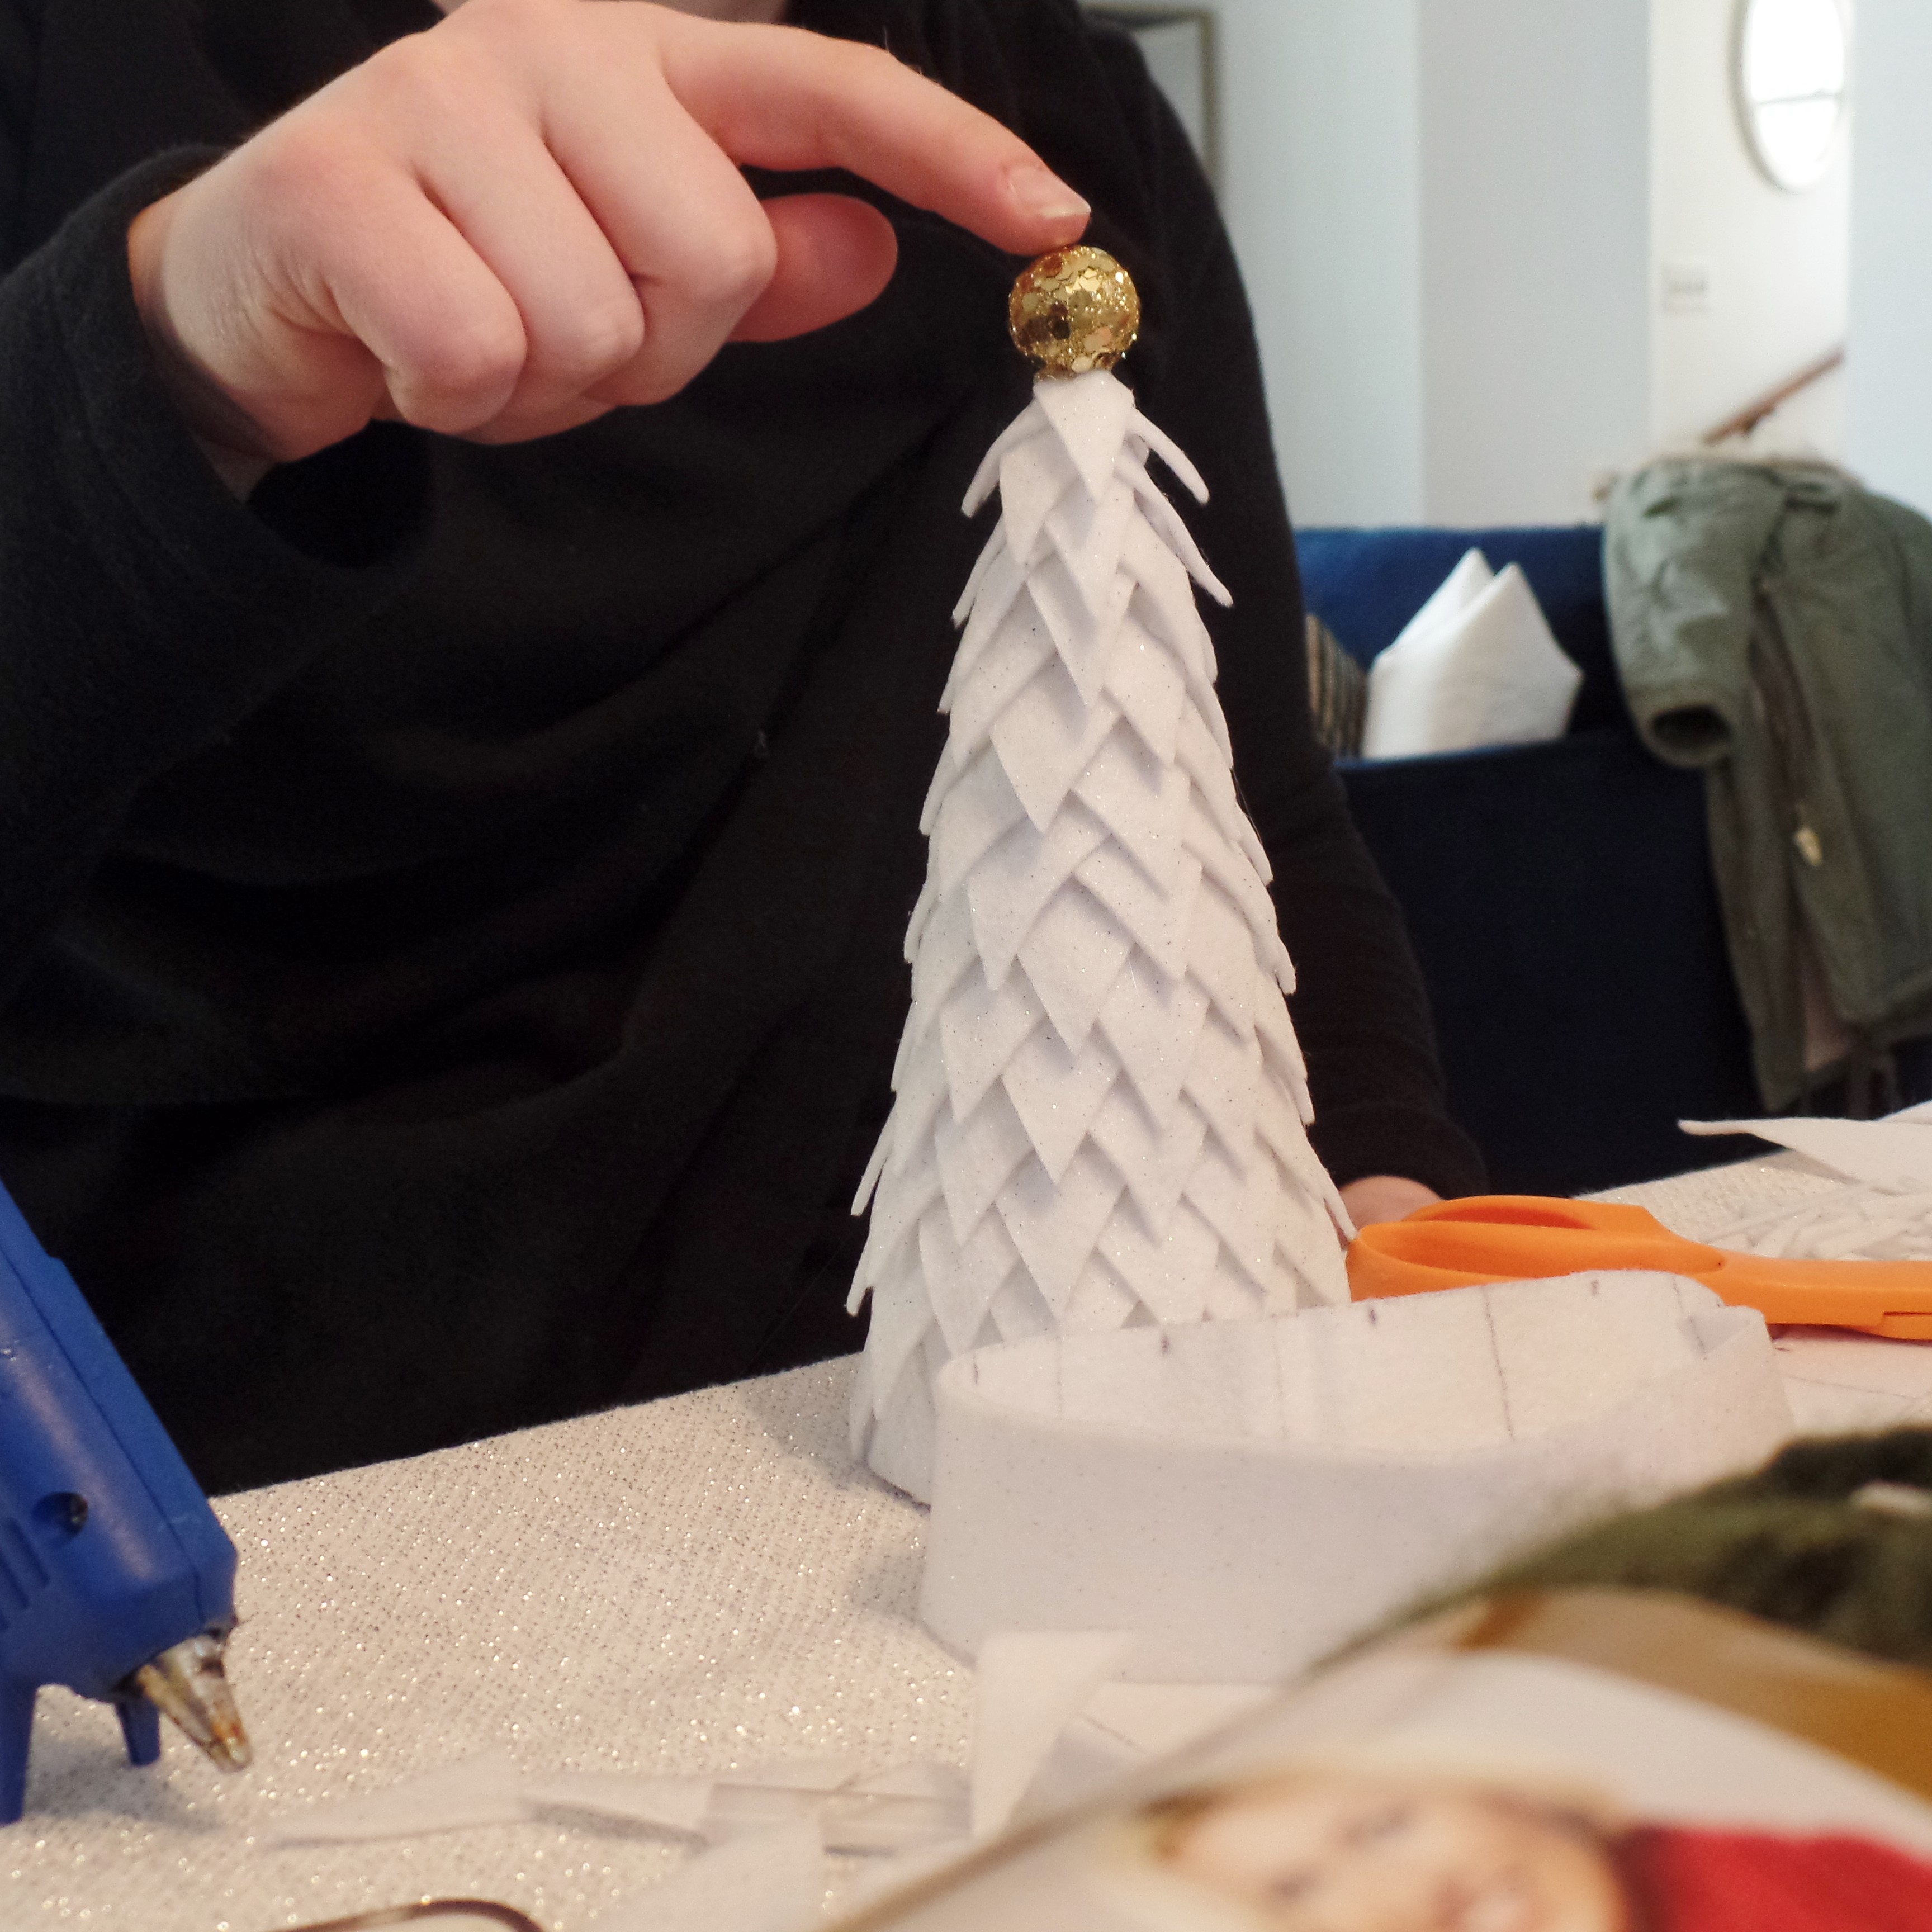
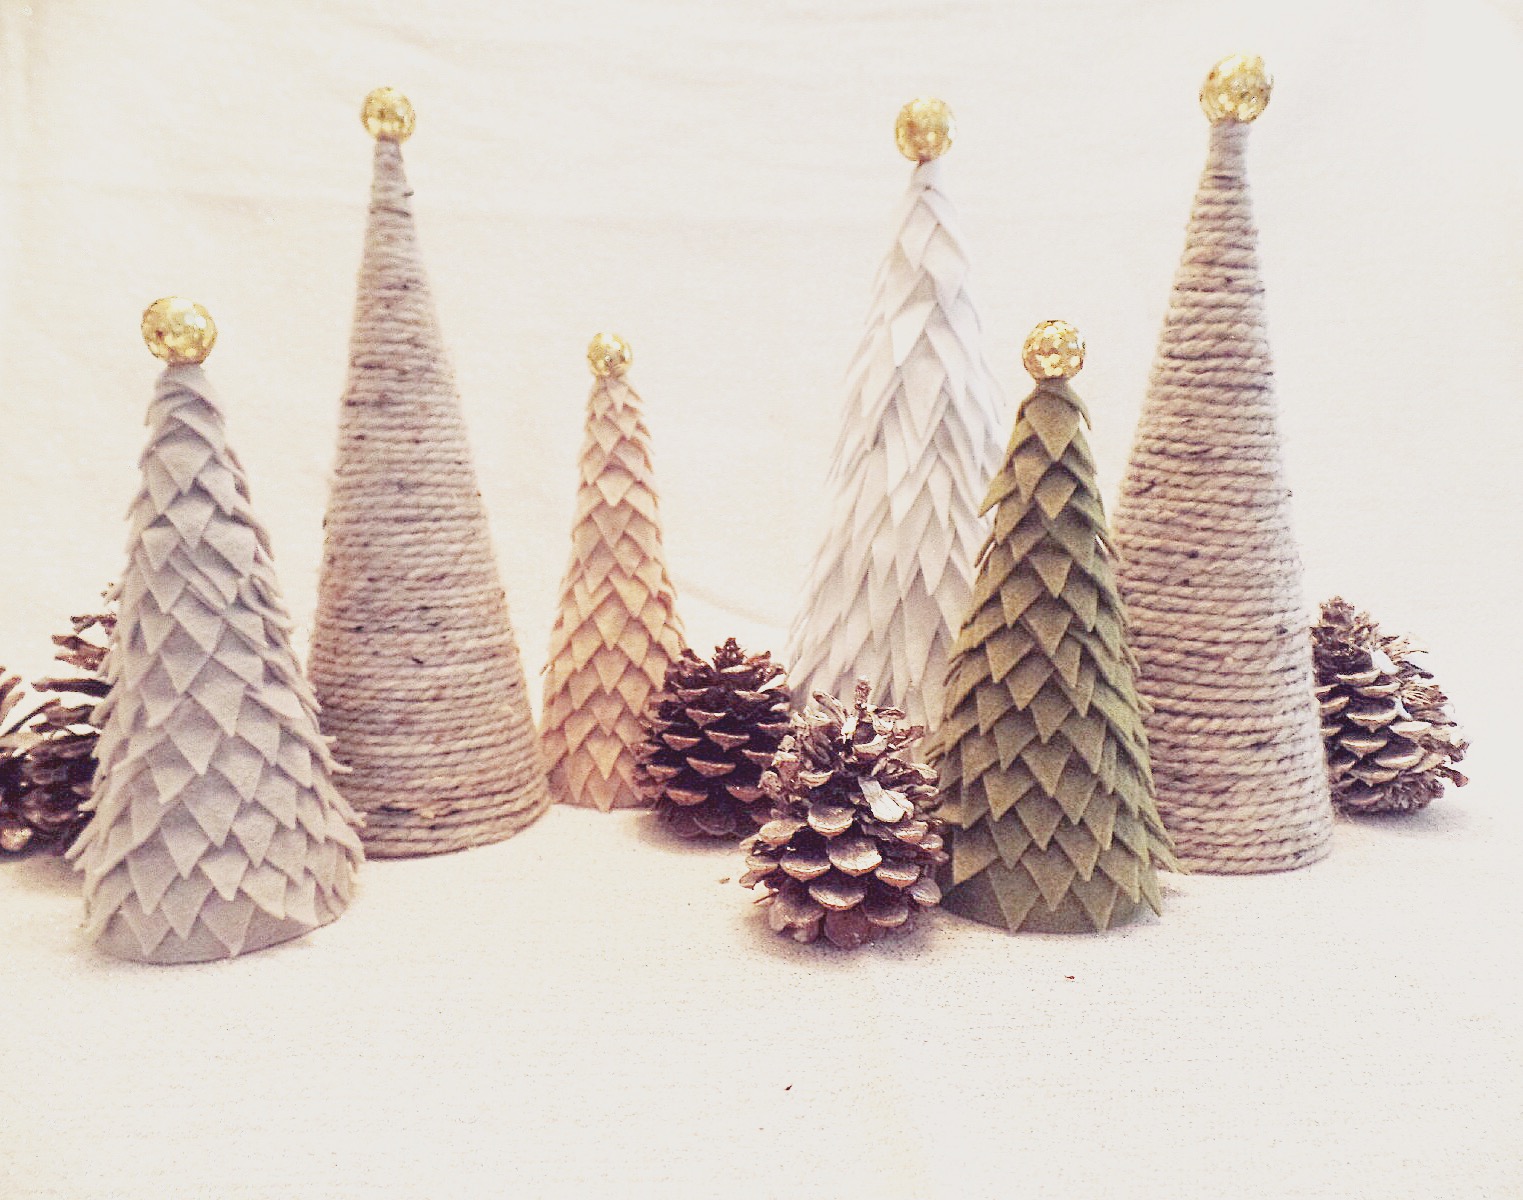
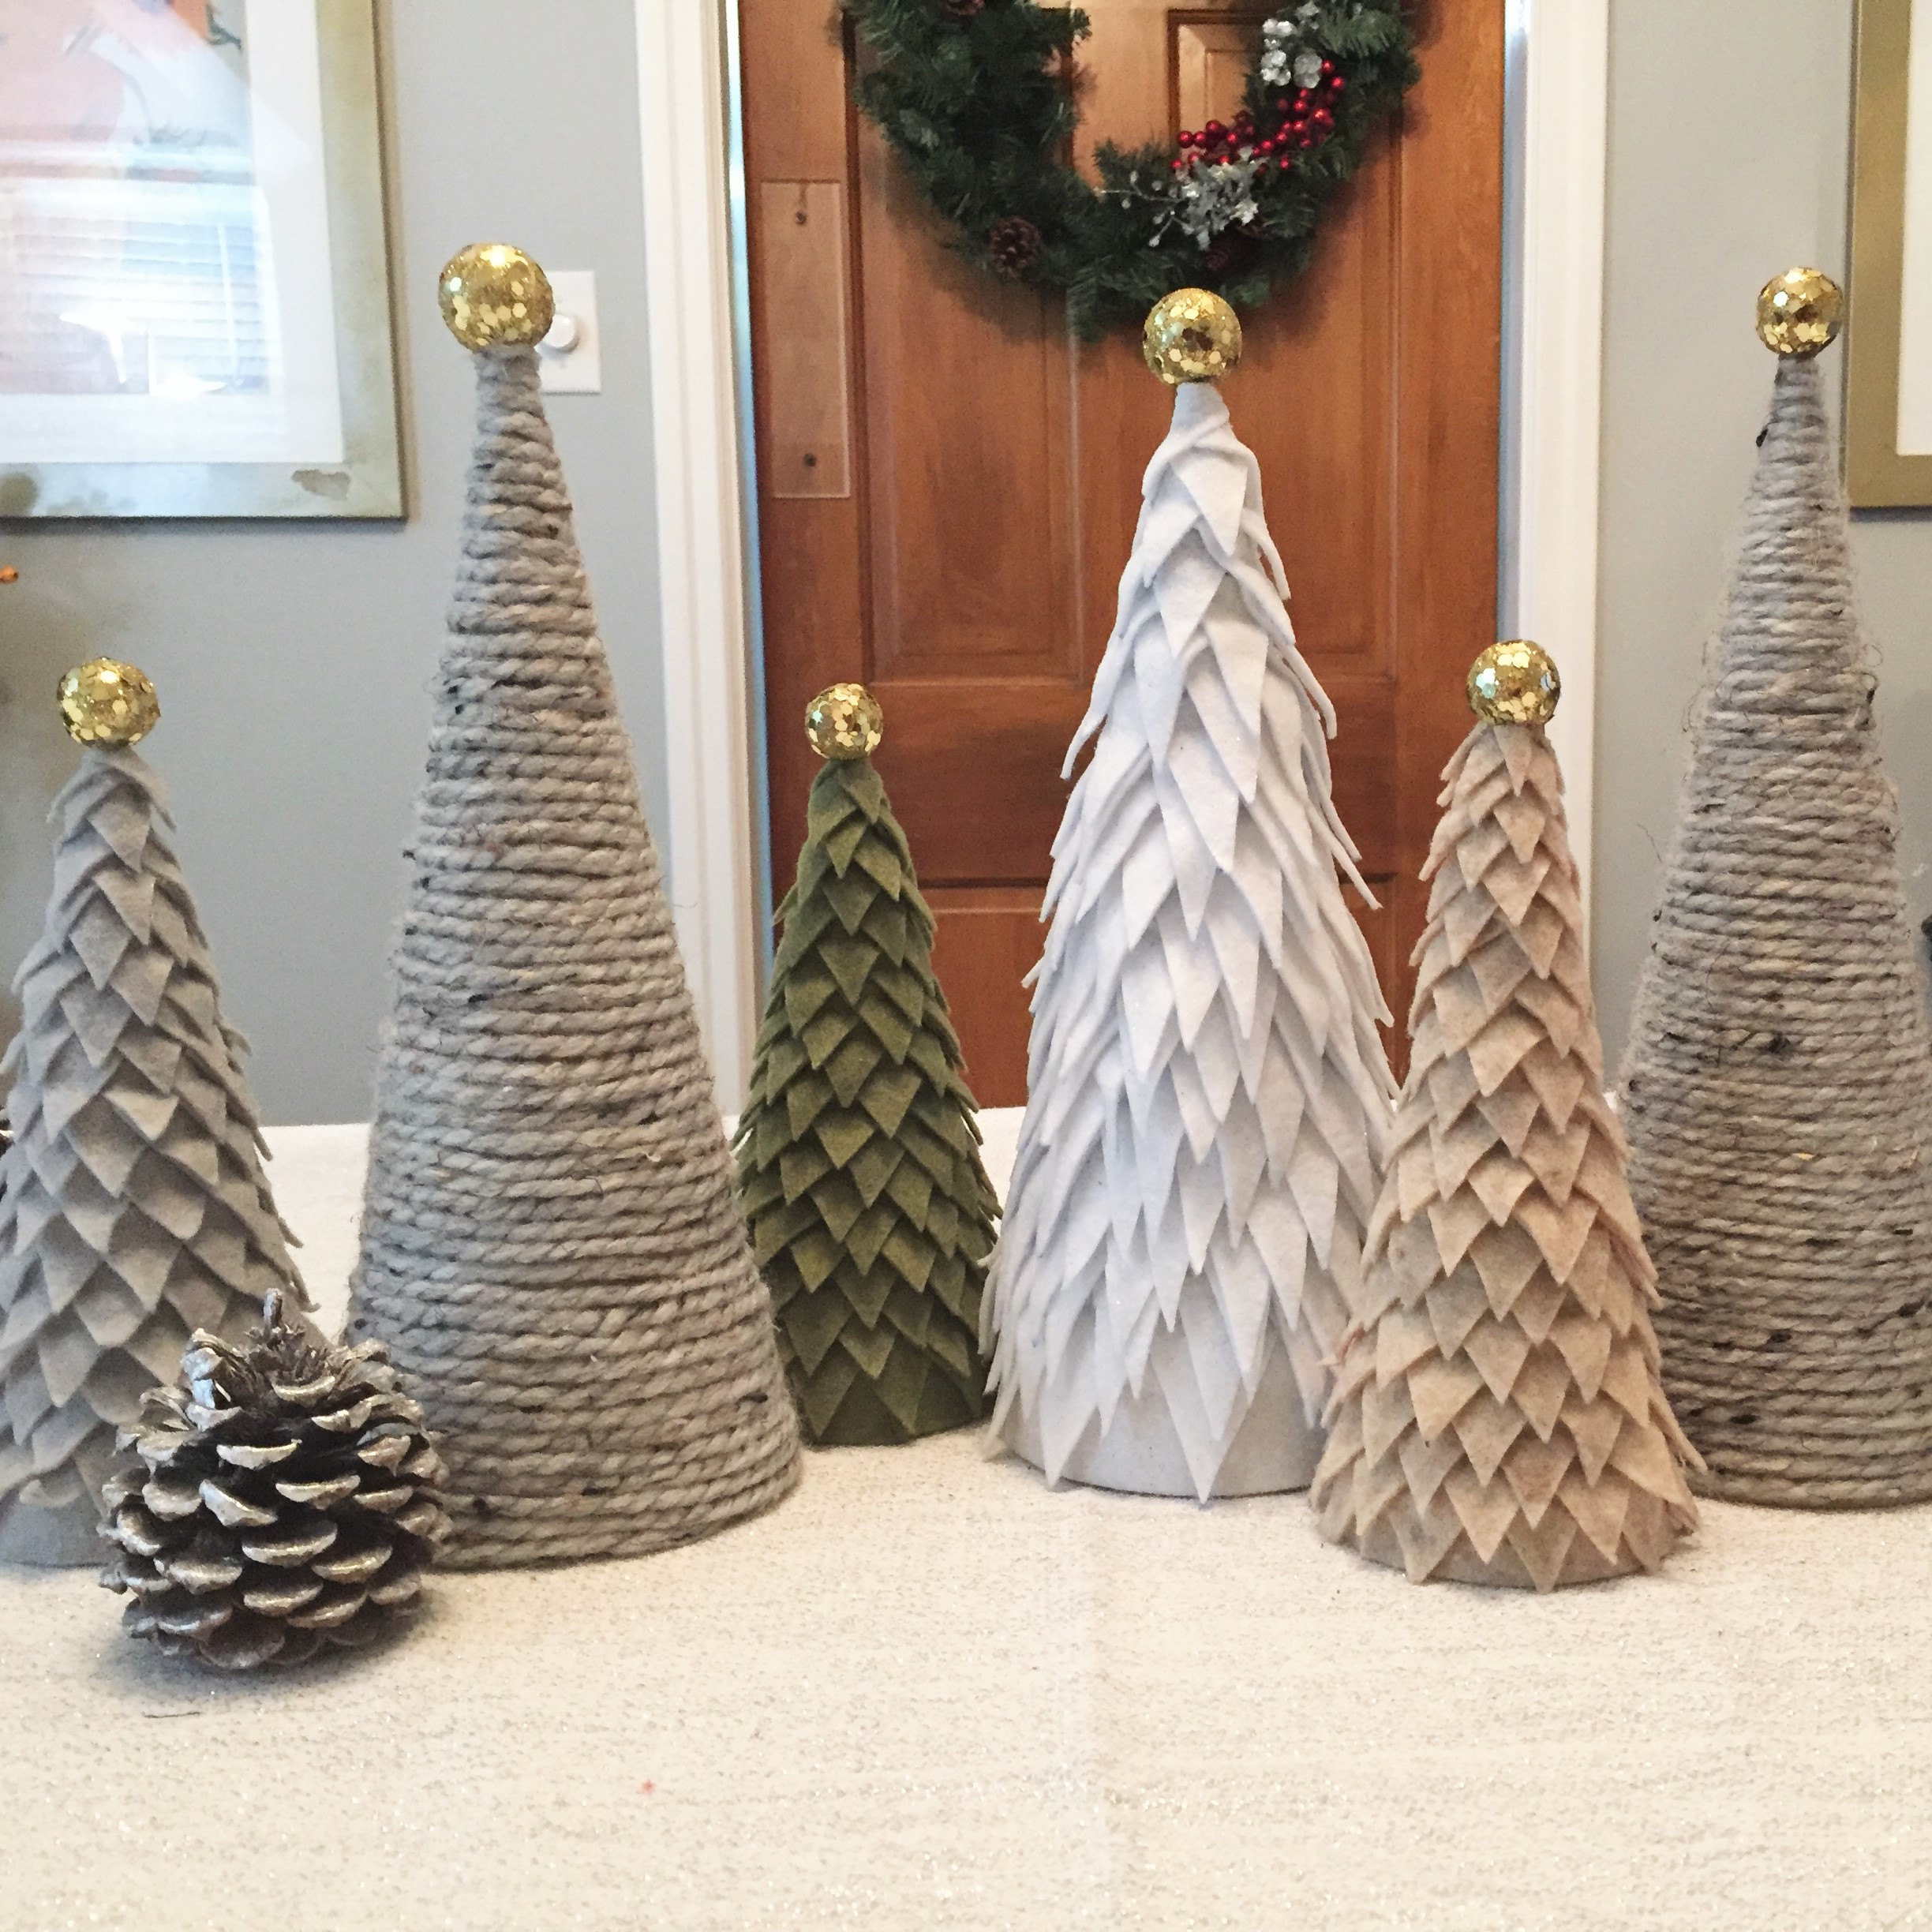
HAPPY DECEMBER!!! Thanksgiving meals have been eaten, calories consumed and regular schedules resumed. Now it’s officially Christmastime! As I’ve gotten older I’ve really enjoyed hanging Holidecor more and more. I love transitioning my space into a Happy Holiday place! okay…I’ll stop rhyming. I made my first batch of trees a few years ago, have received many compliments and inquiries, and just wanted to grow my forest. It’s also been one of my favorite Holidecor DIYs ever, so I invited some lovely ladies over for cider, cookies and crafts! To celebrate the season, here’s a fun and easy felt tree DIY Christmas Craft for yourself and/or students and kids old enough to use a hot glue gun (felt may not stay well with craft glue, but yarn tree can be done easily with school or craft glue for little kiddos!). Make one, make a lot or make new ones every year as a tradition!!!
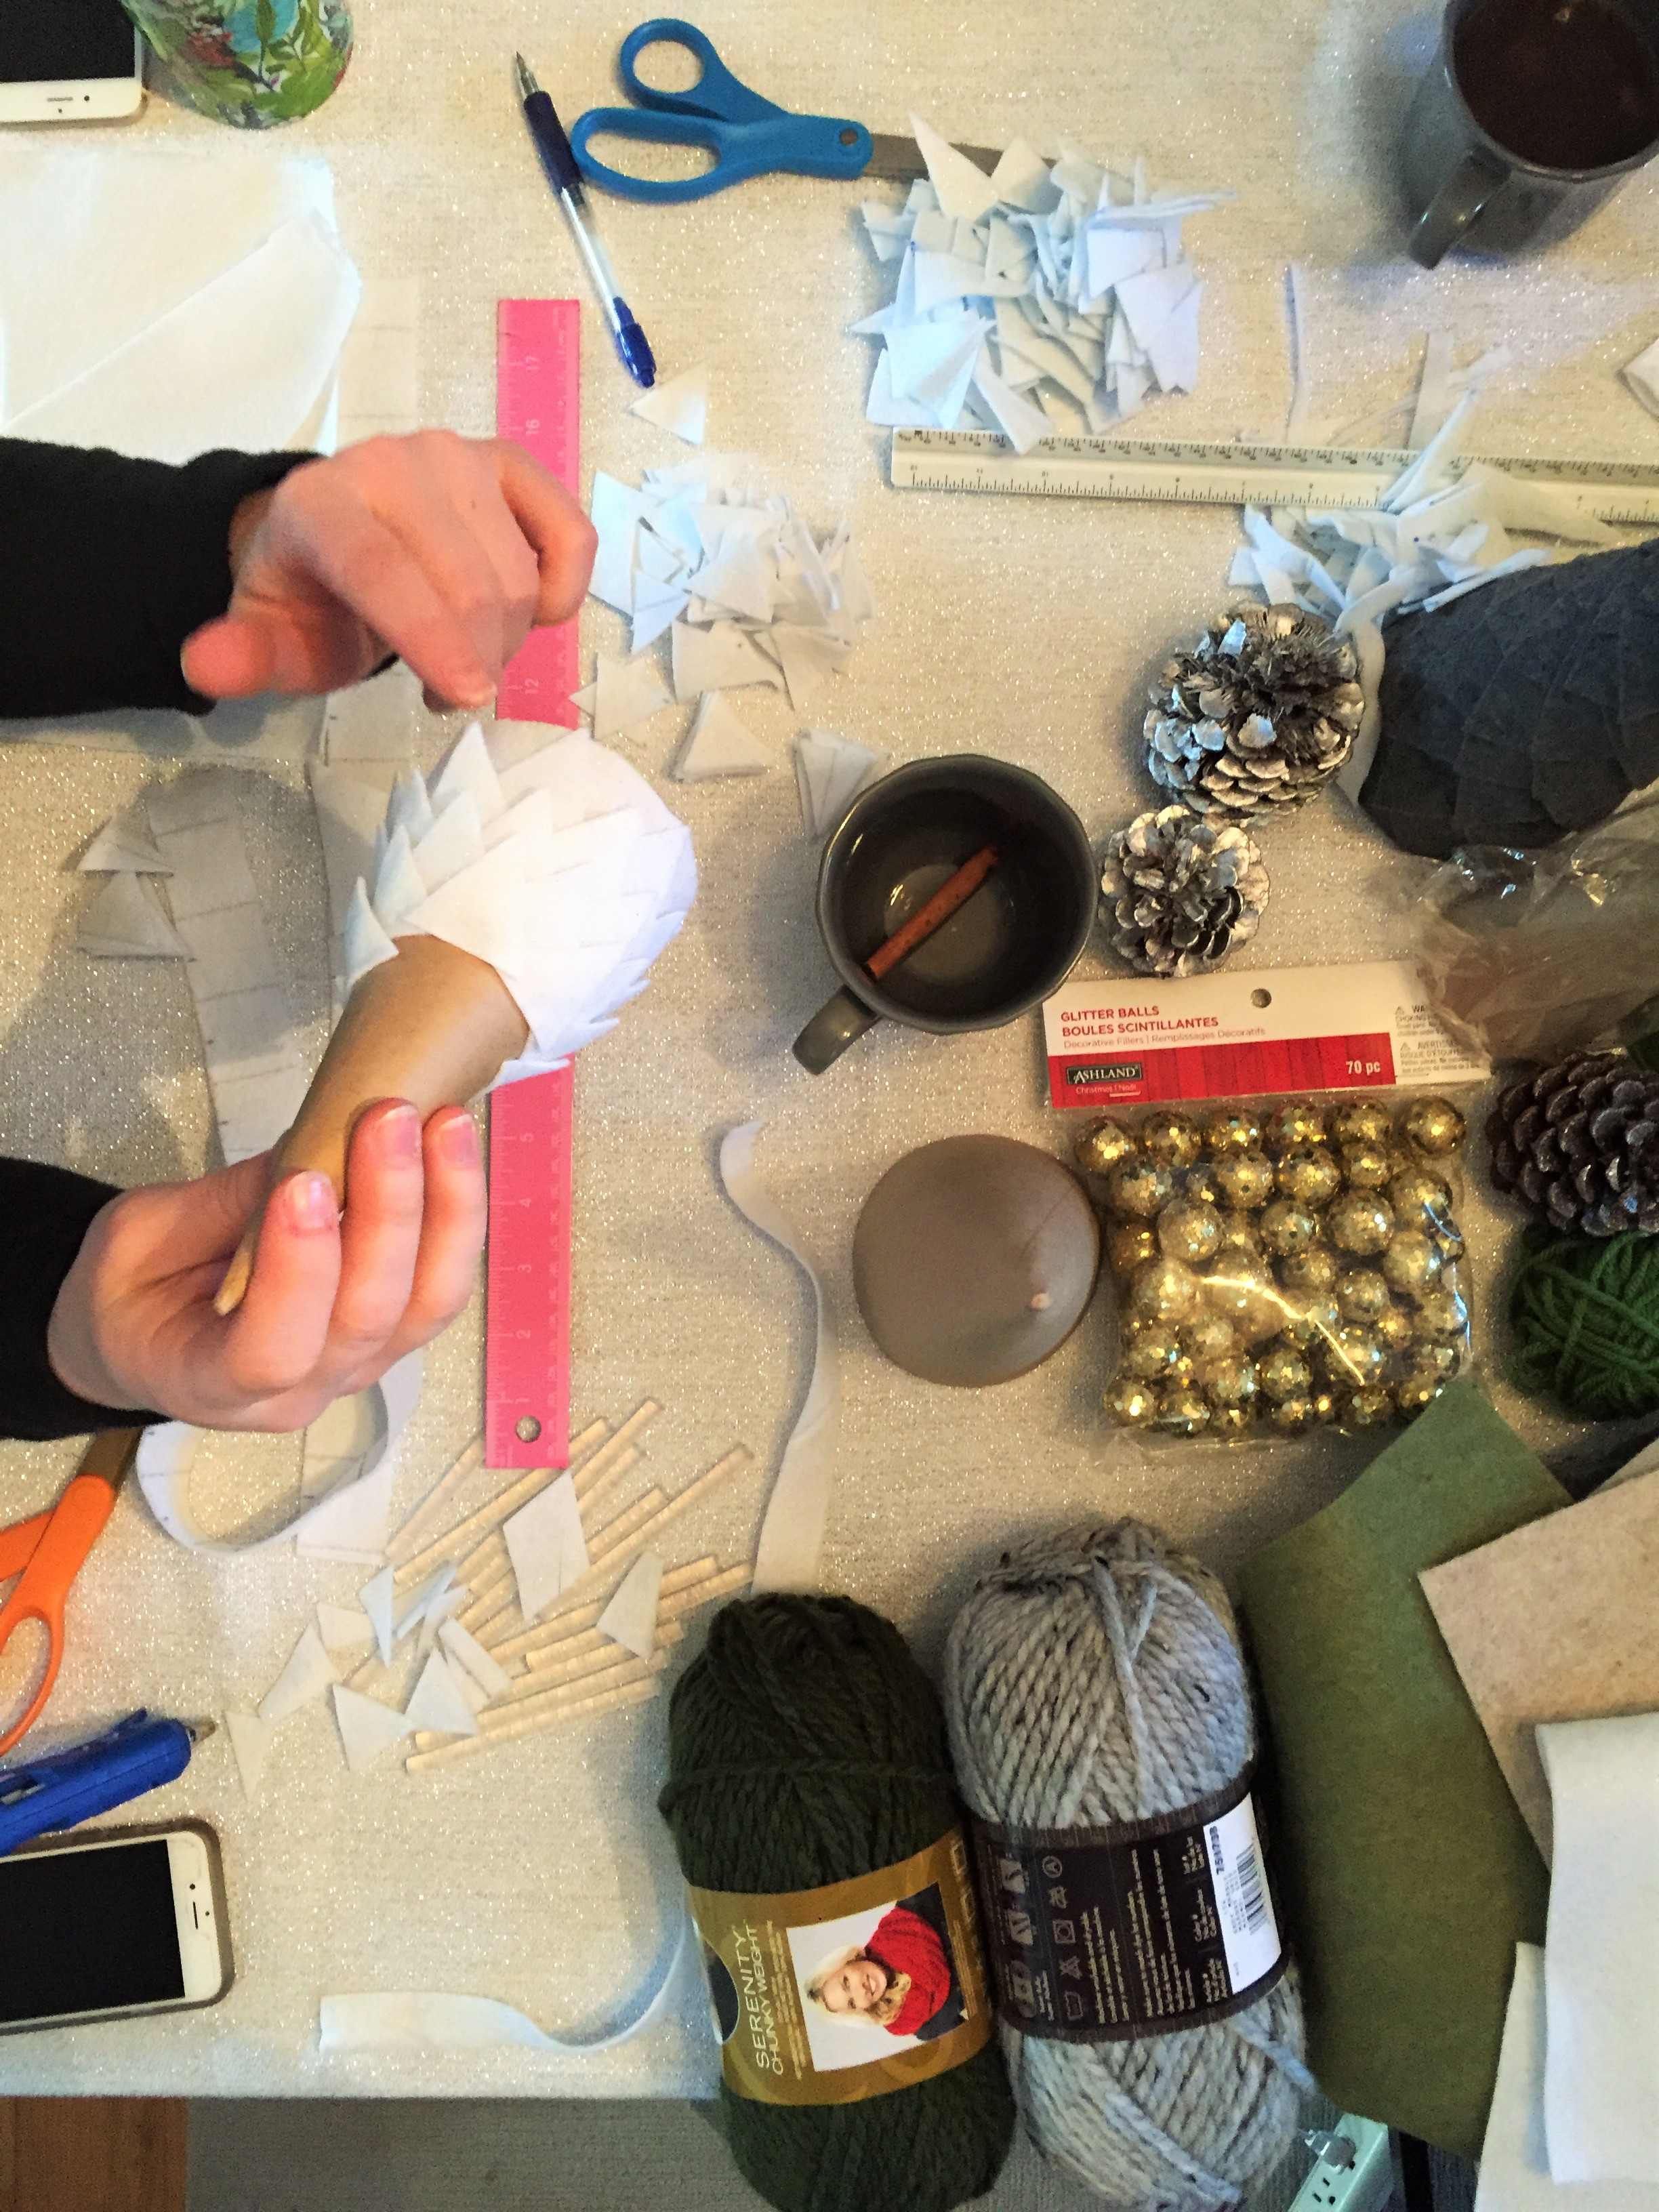
Materials Needed:
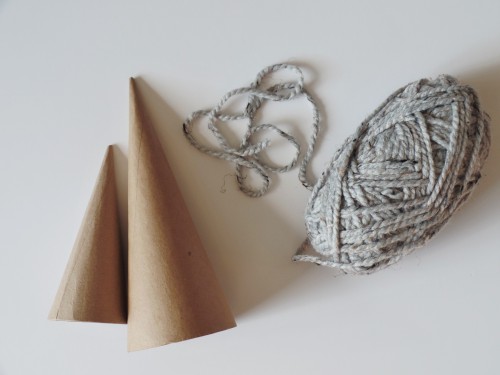
- paper mache cones: larger is 10.64″x4″ and smaller is 7″x3″ from Amazon.
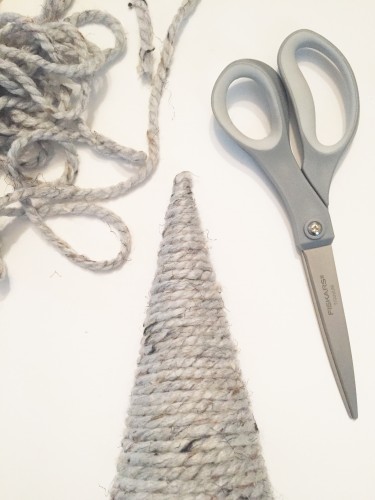
- ball of yarn
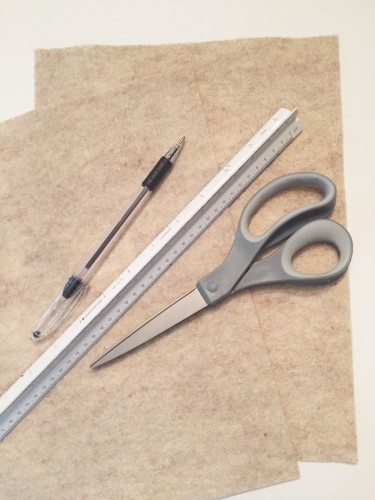
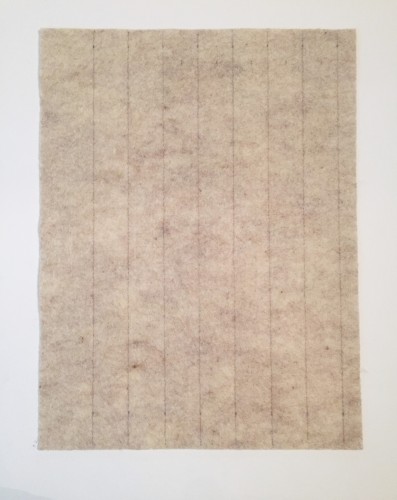
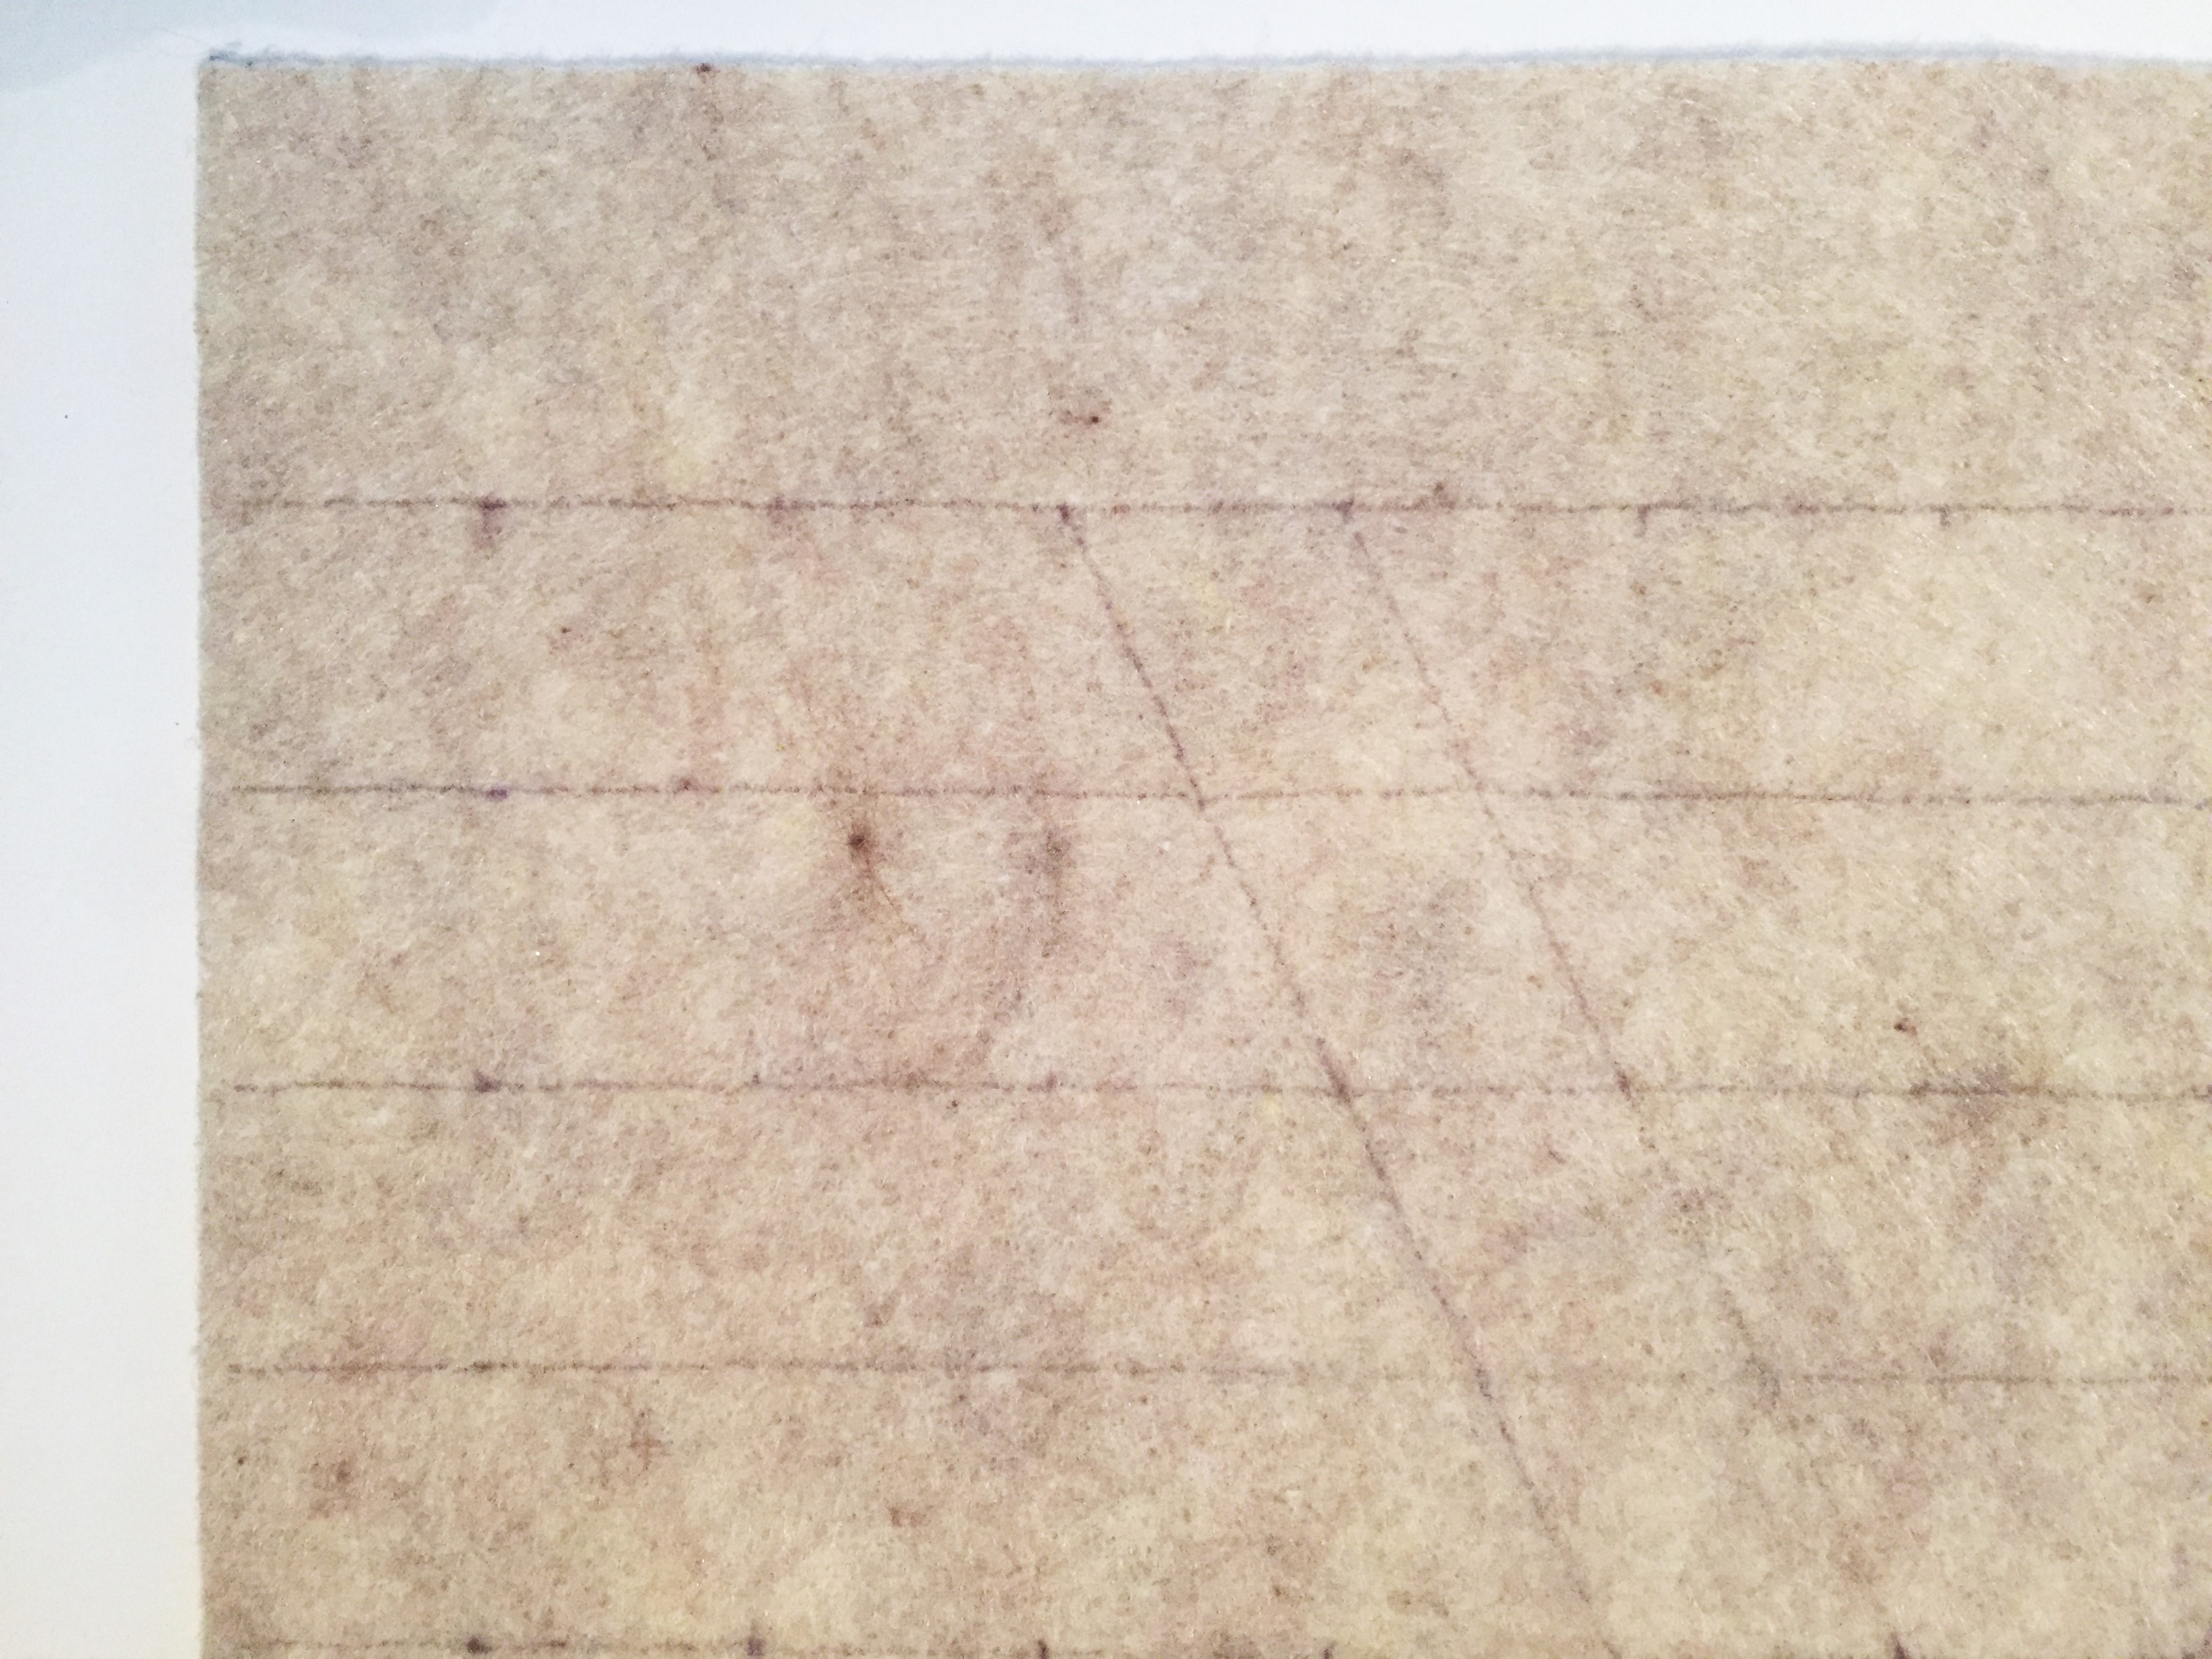
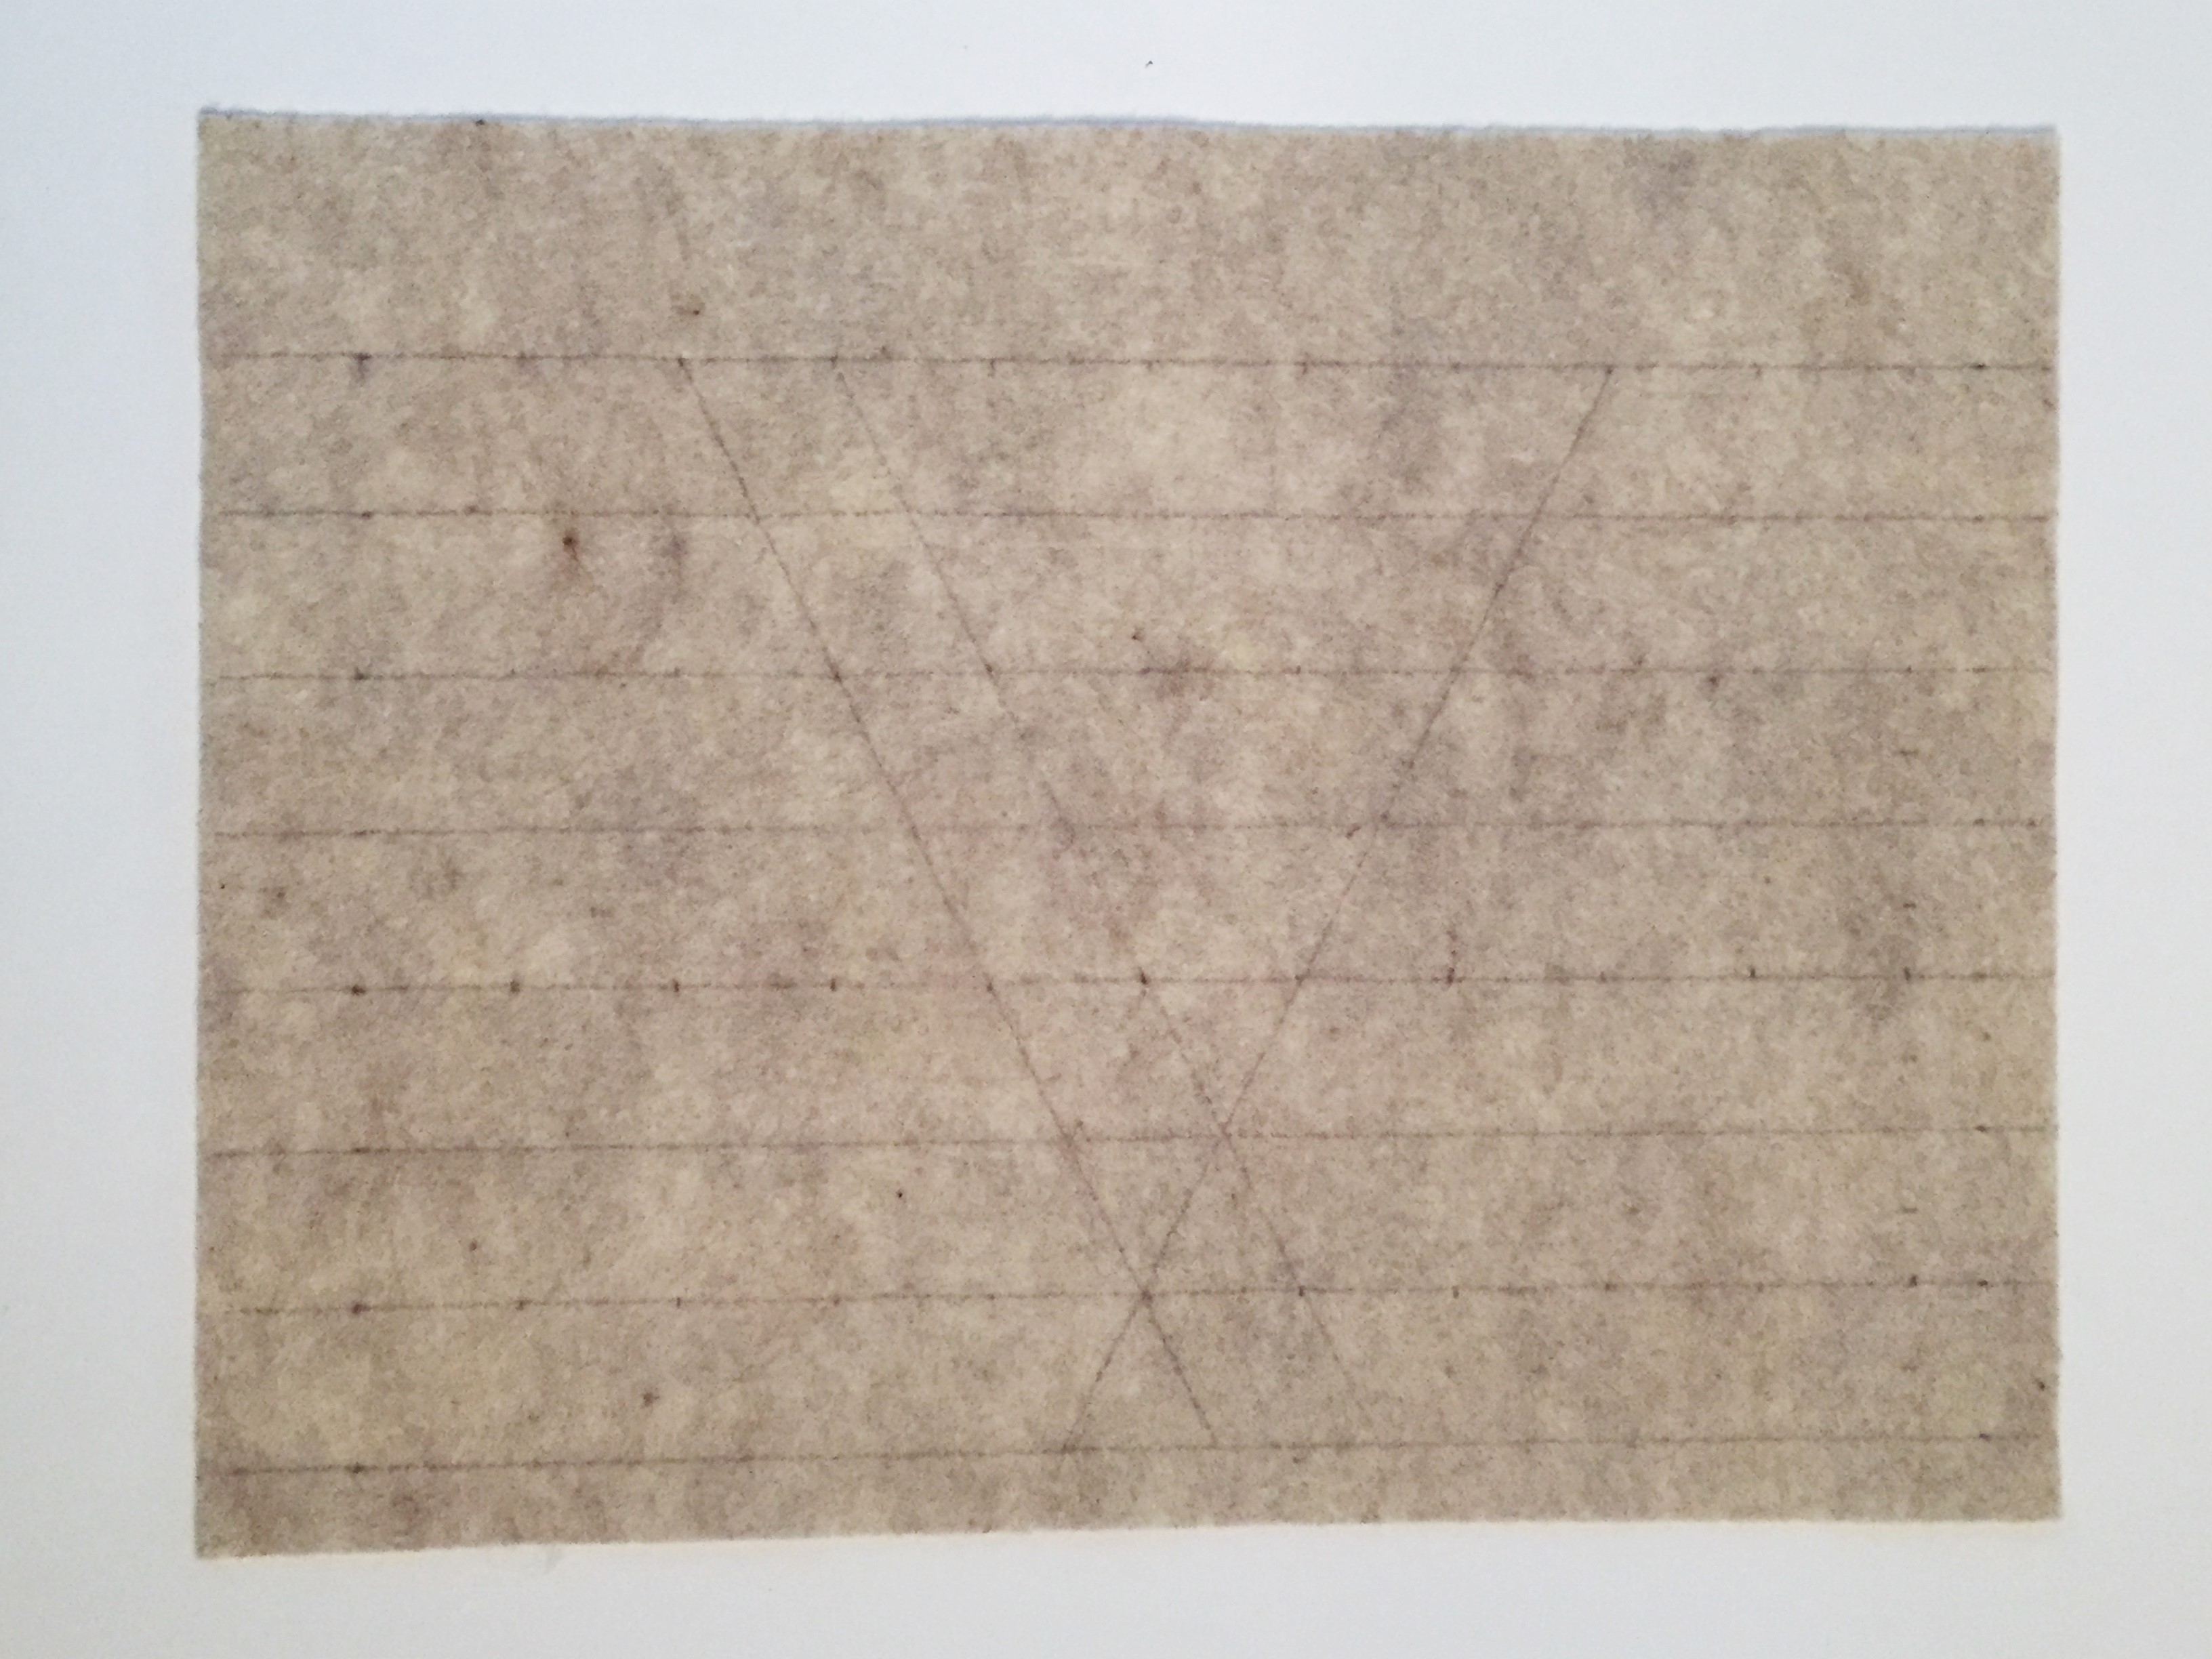
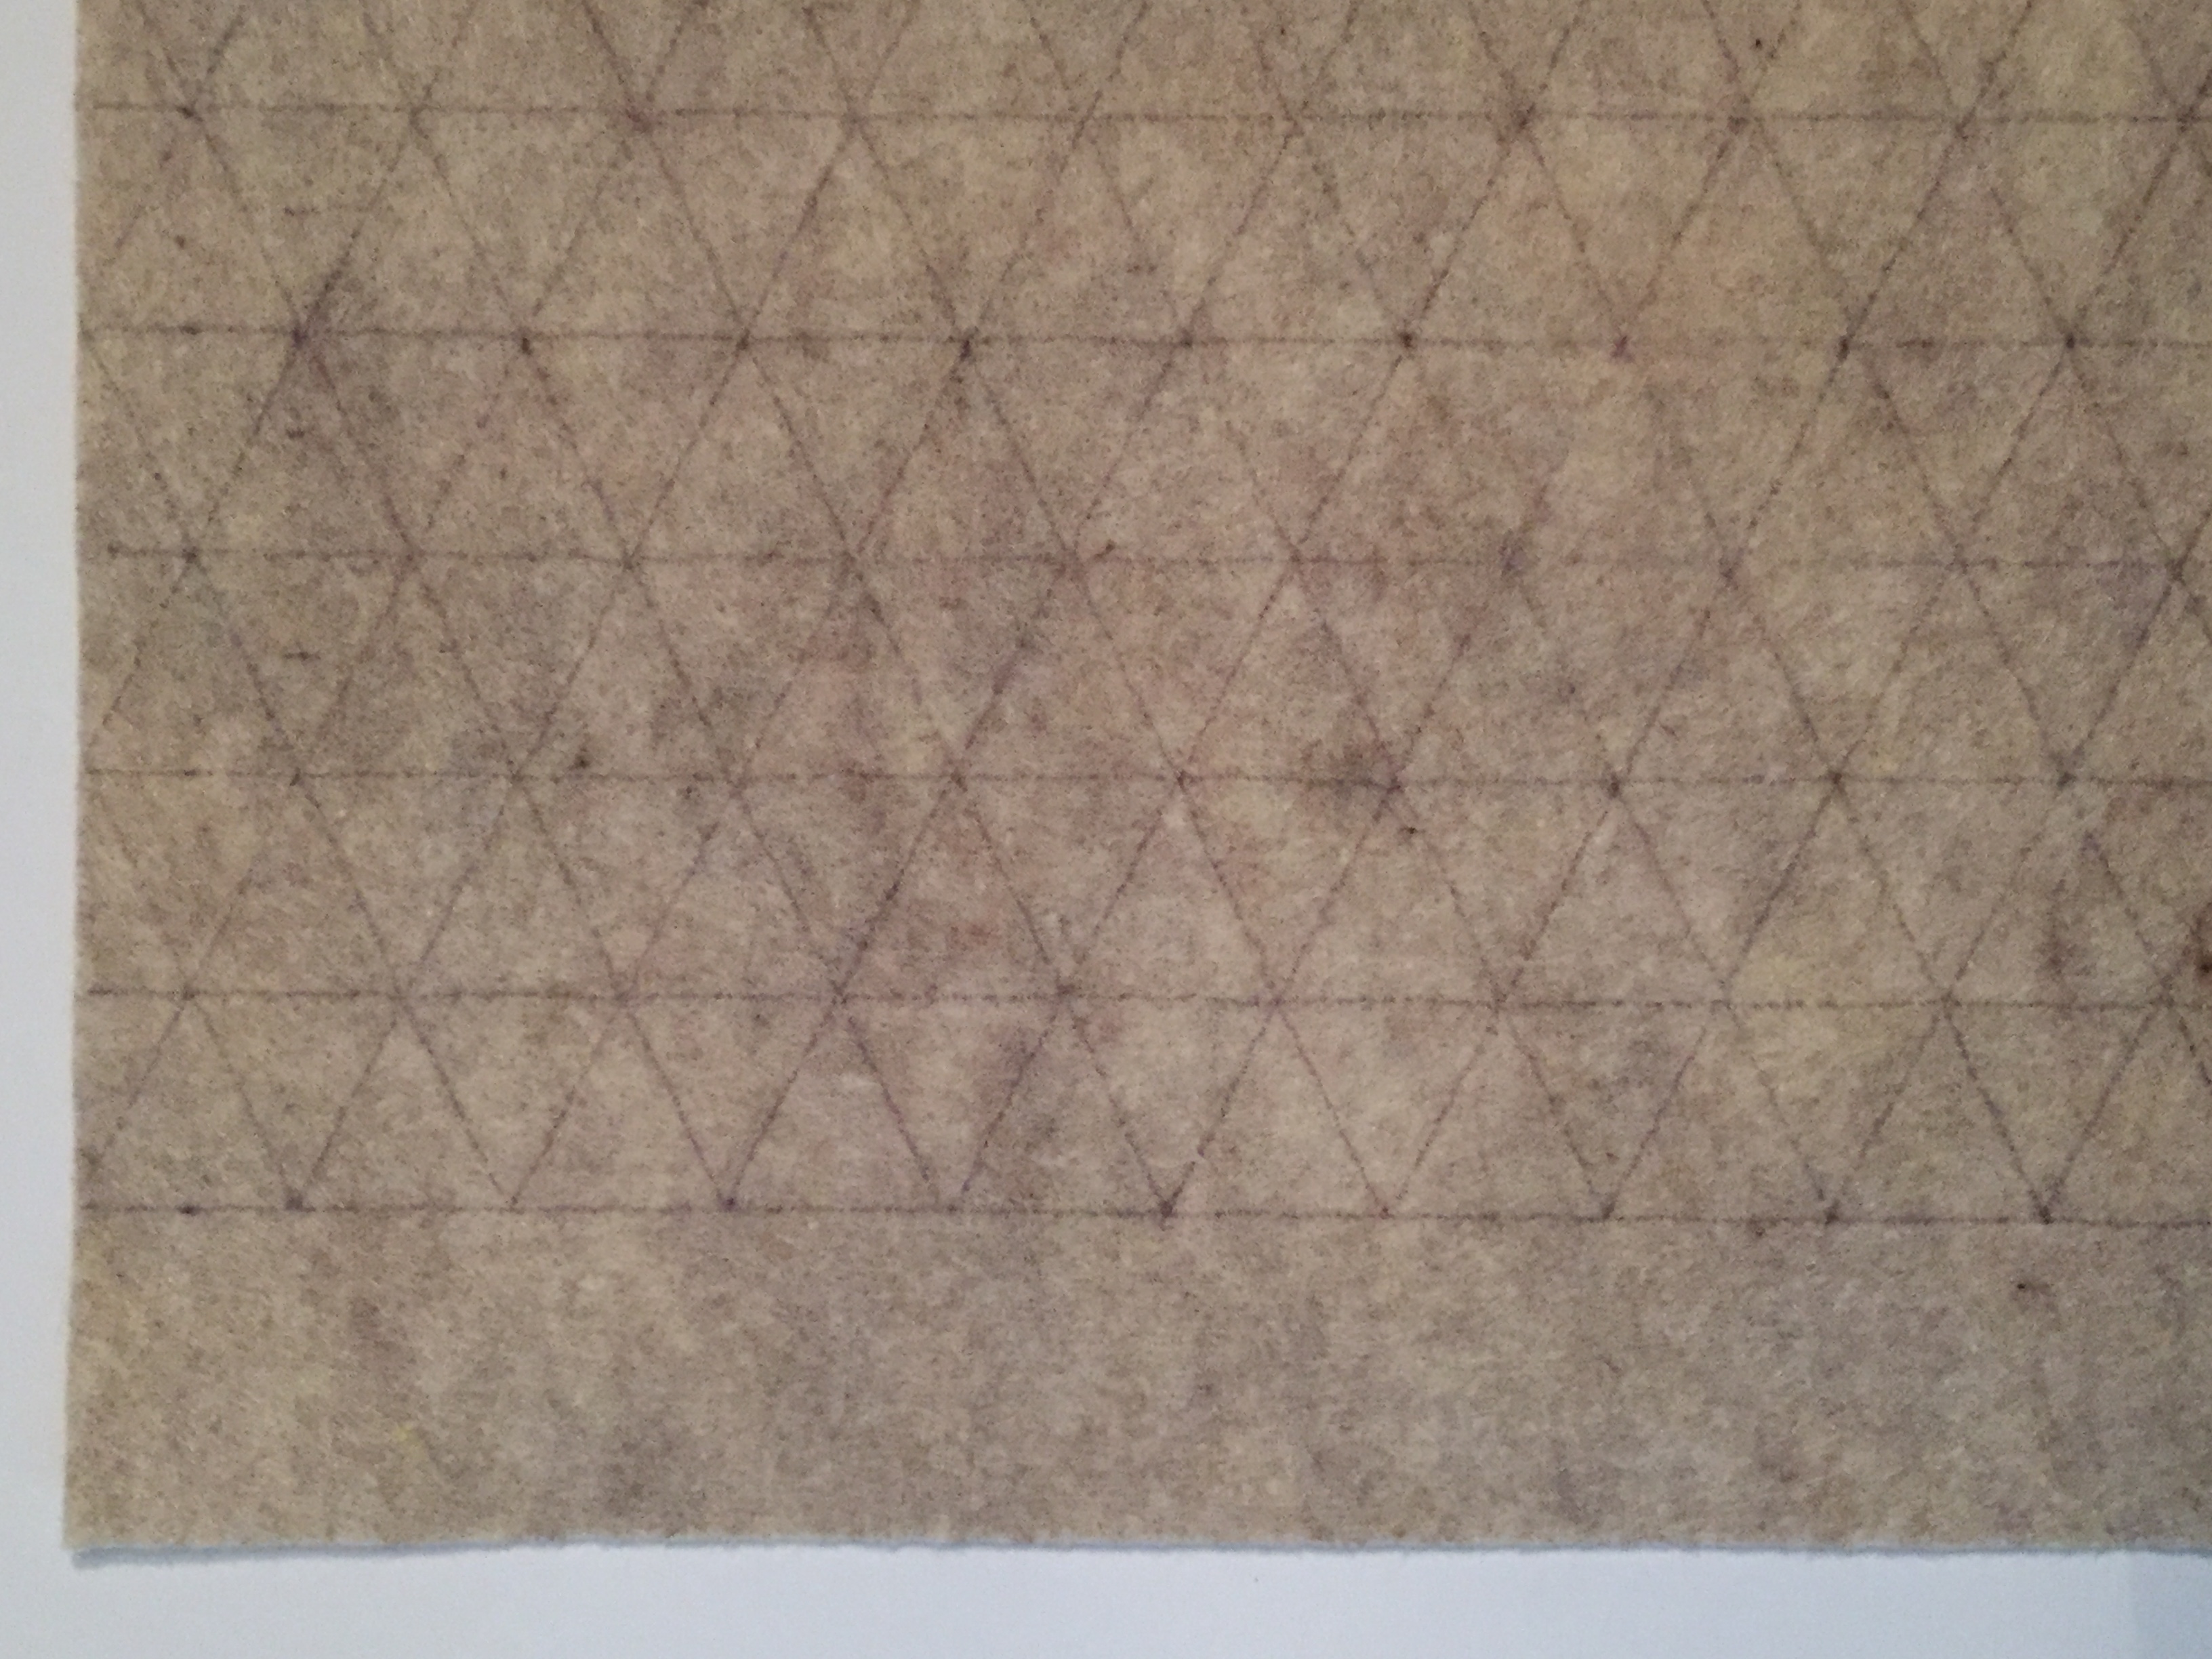
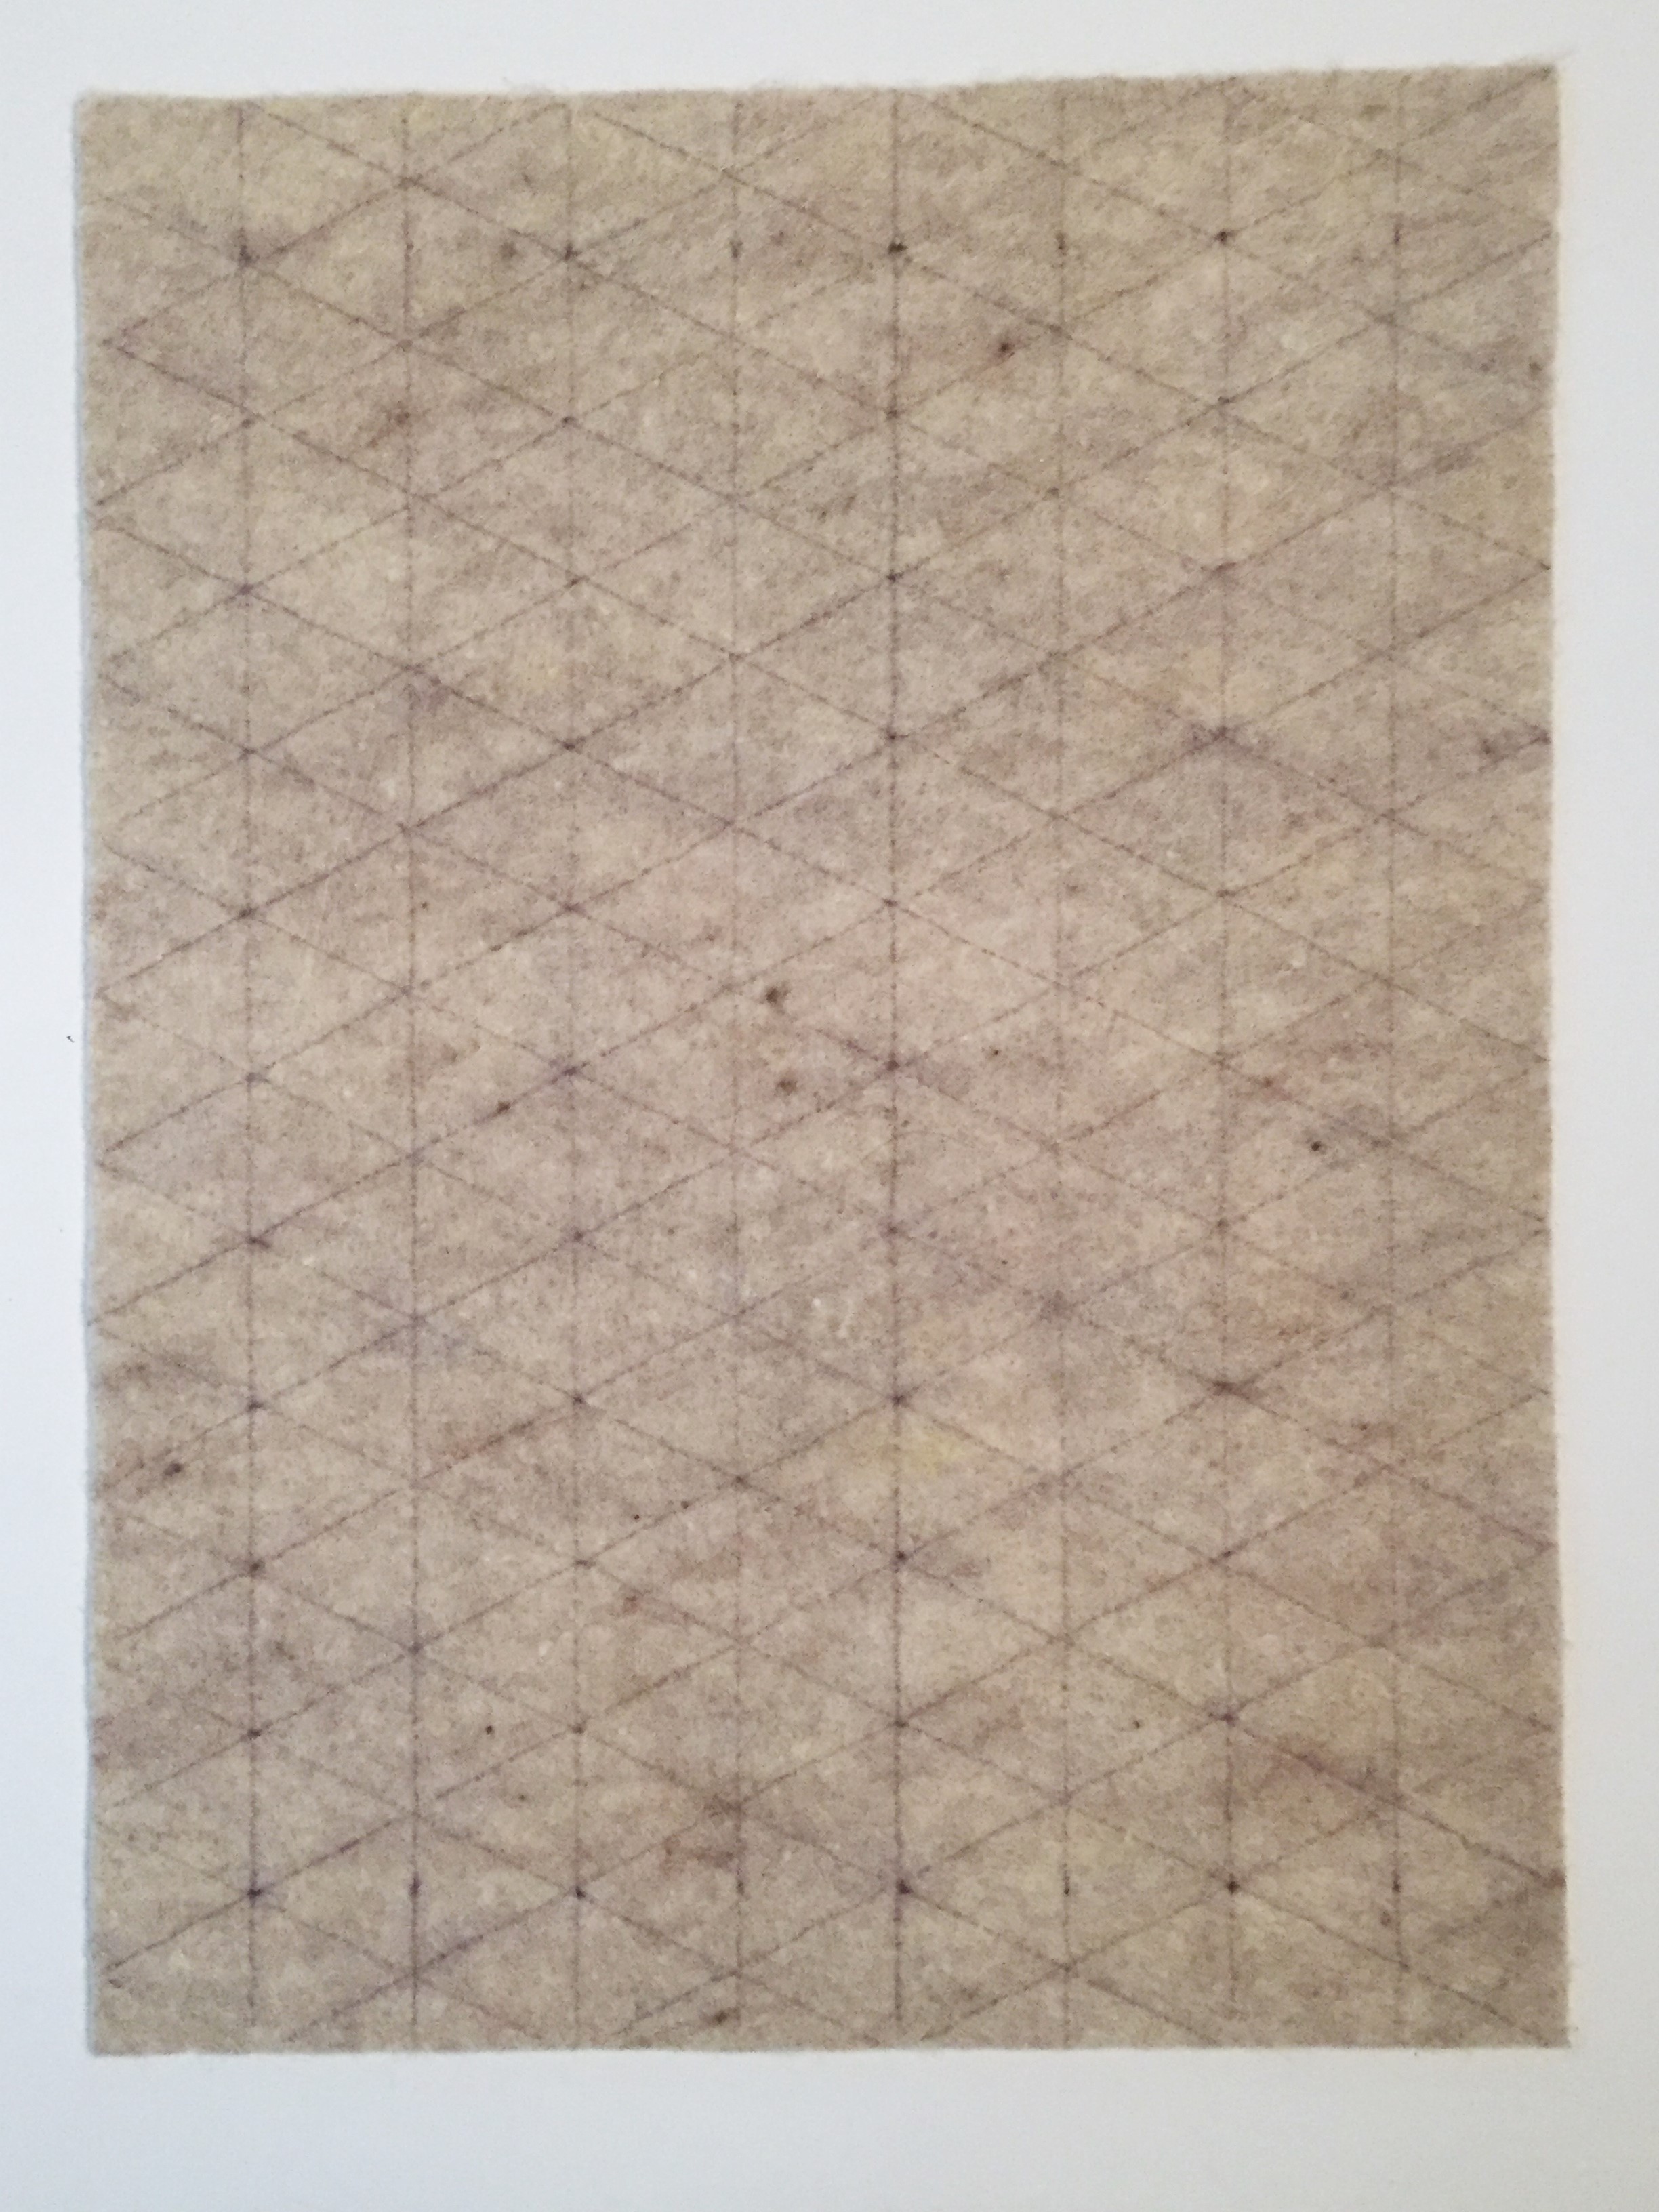
- 9″x 12″ sheet of felt (x2)
- scissors
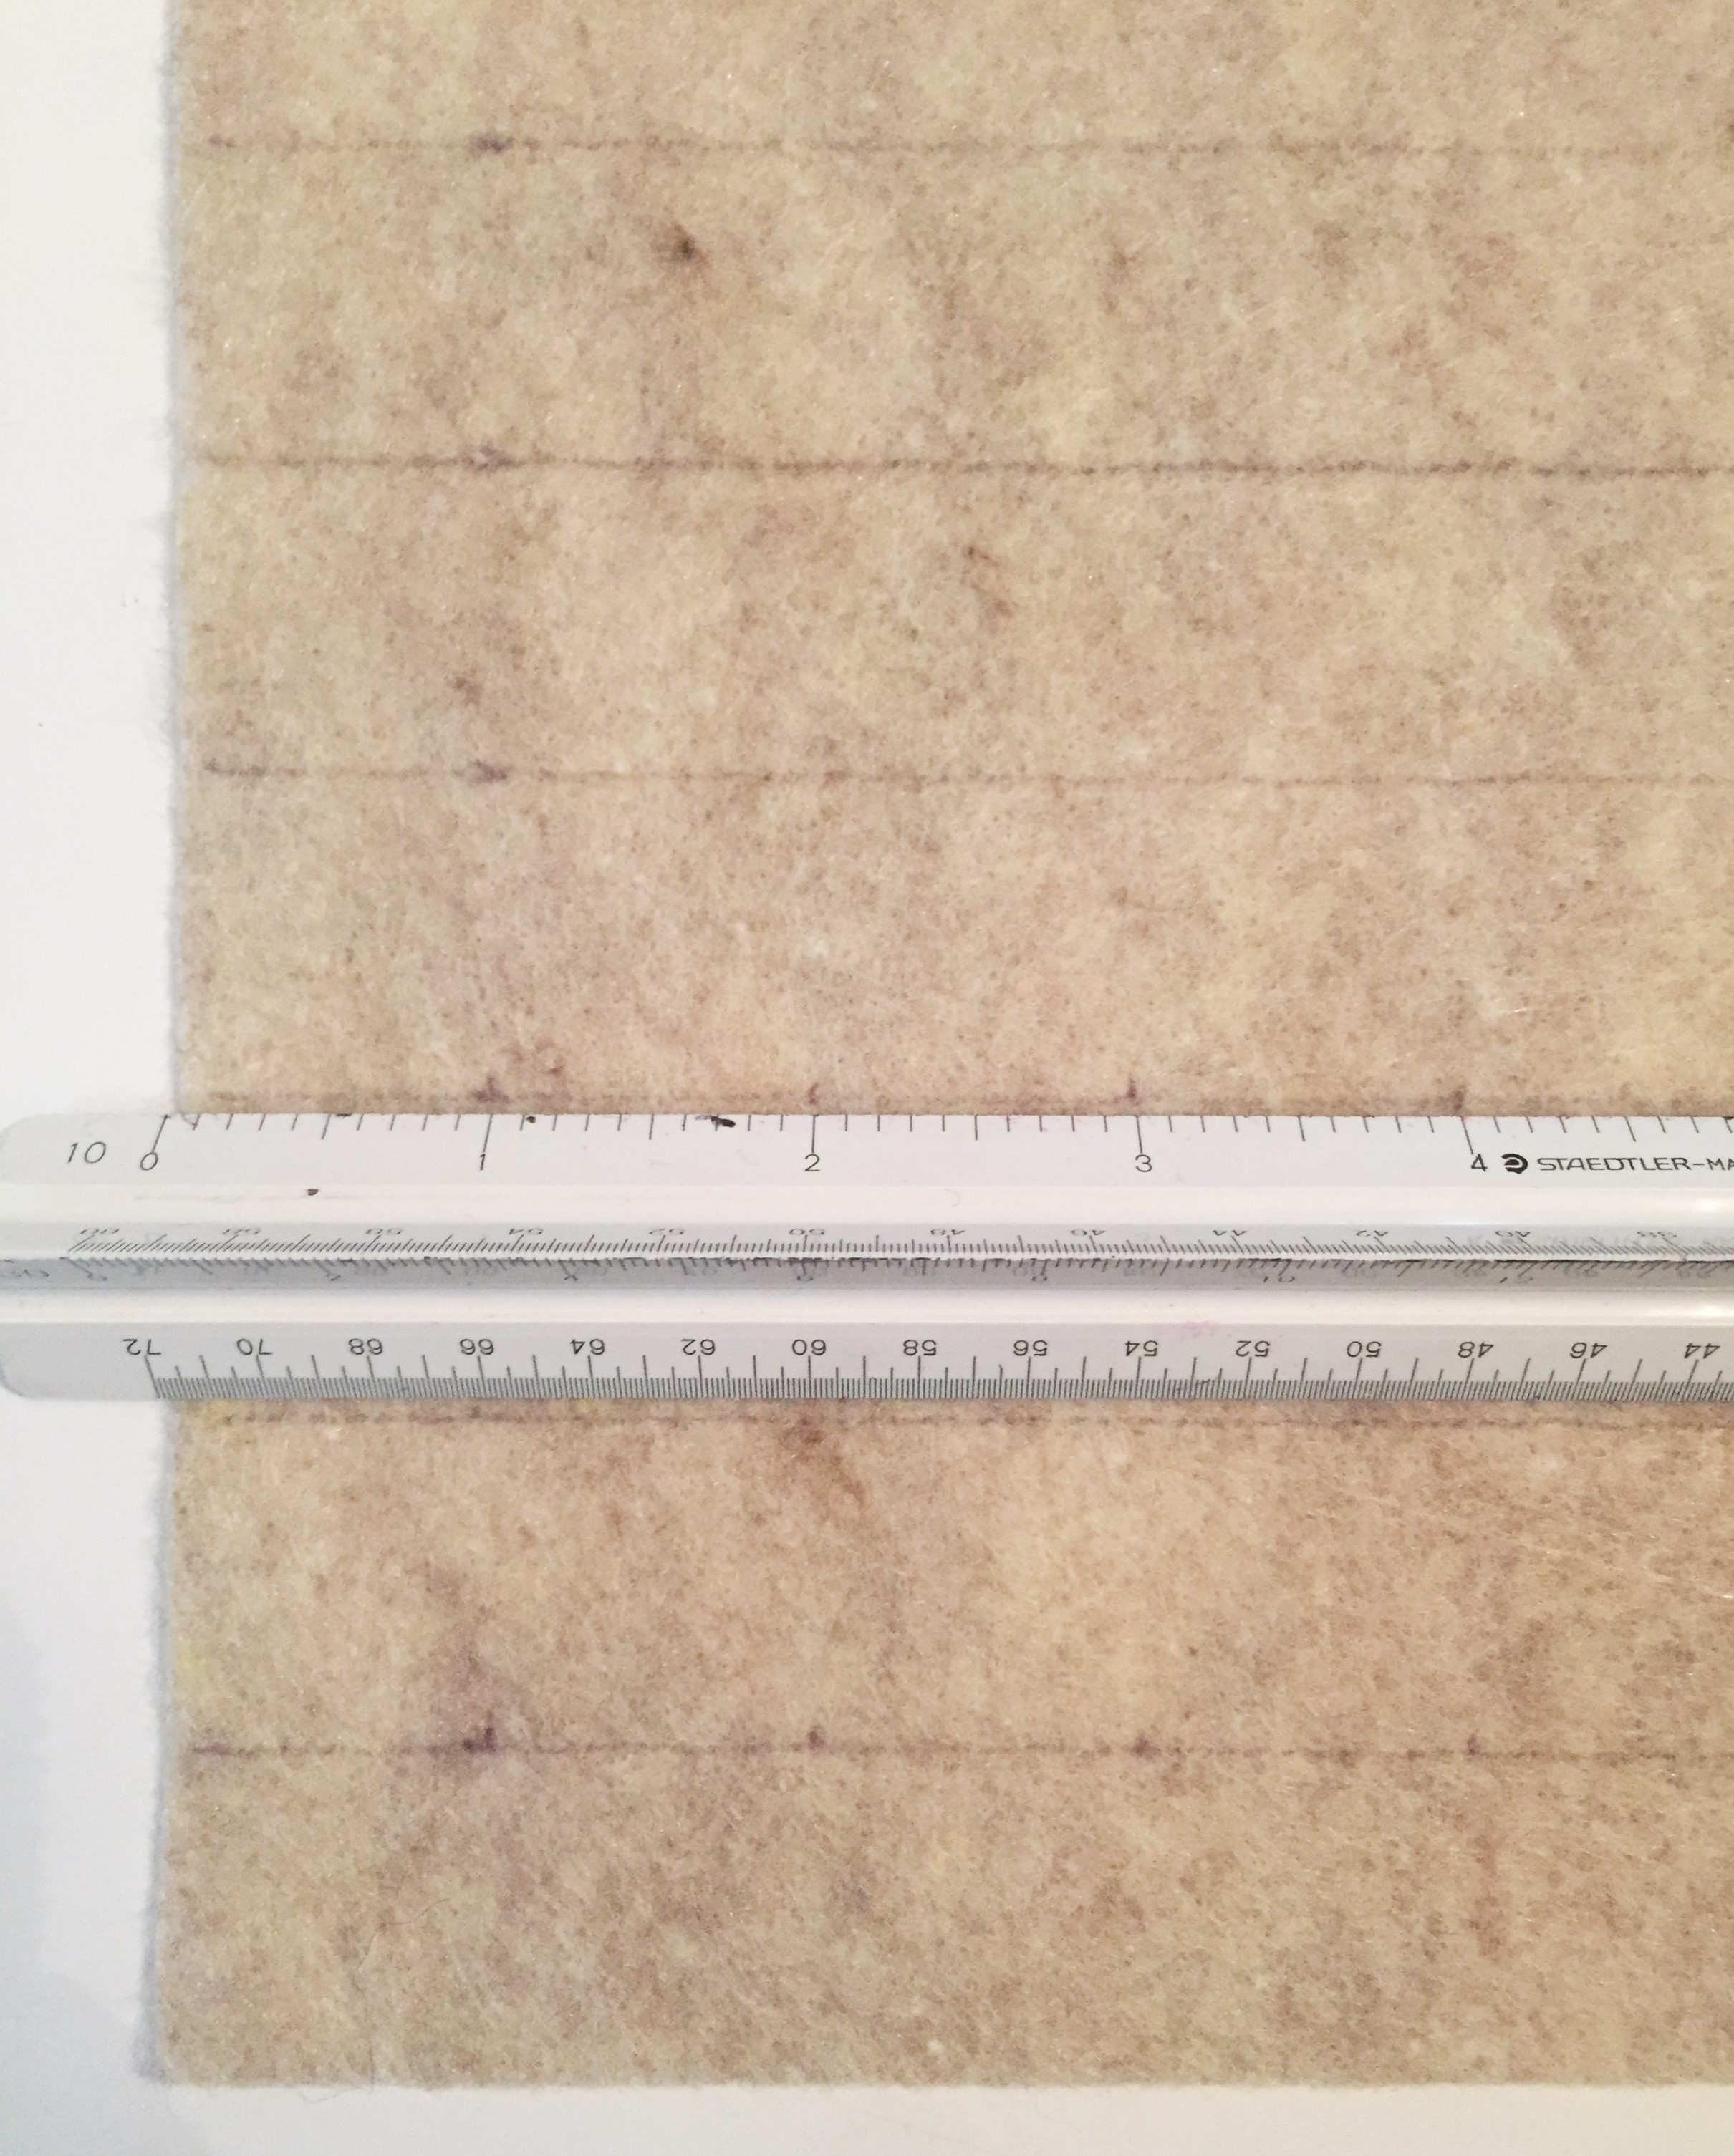
- ruler or scale (seen here)
- pen or fabric pencil
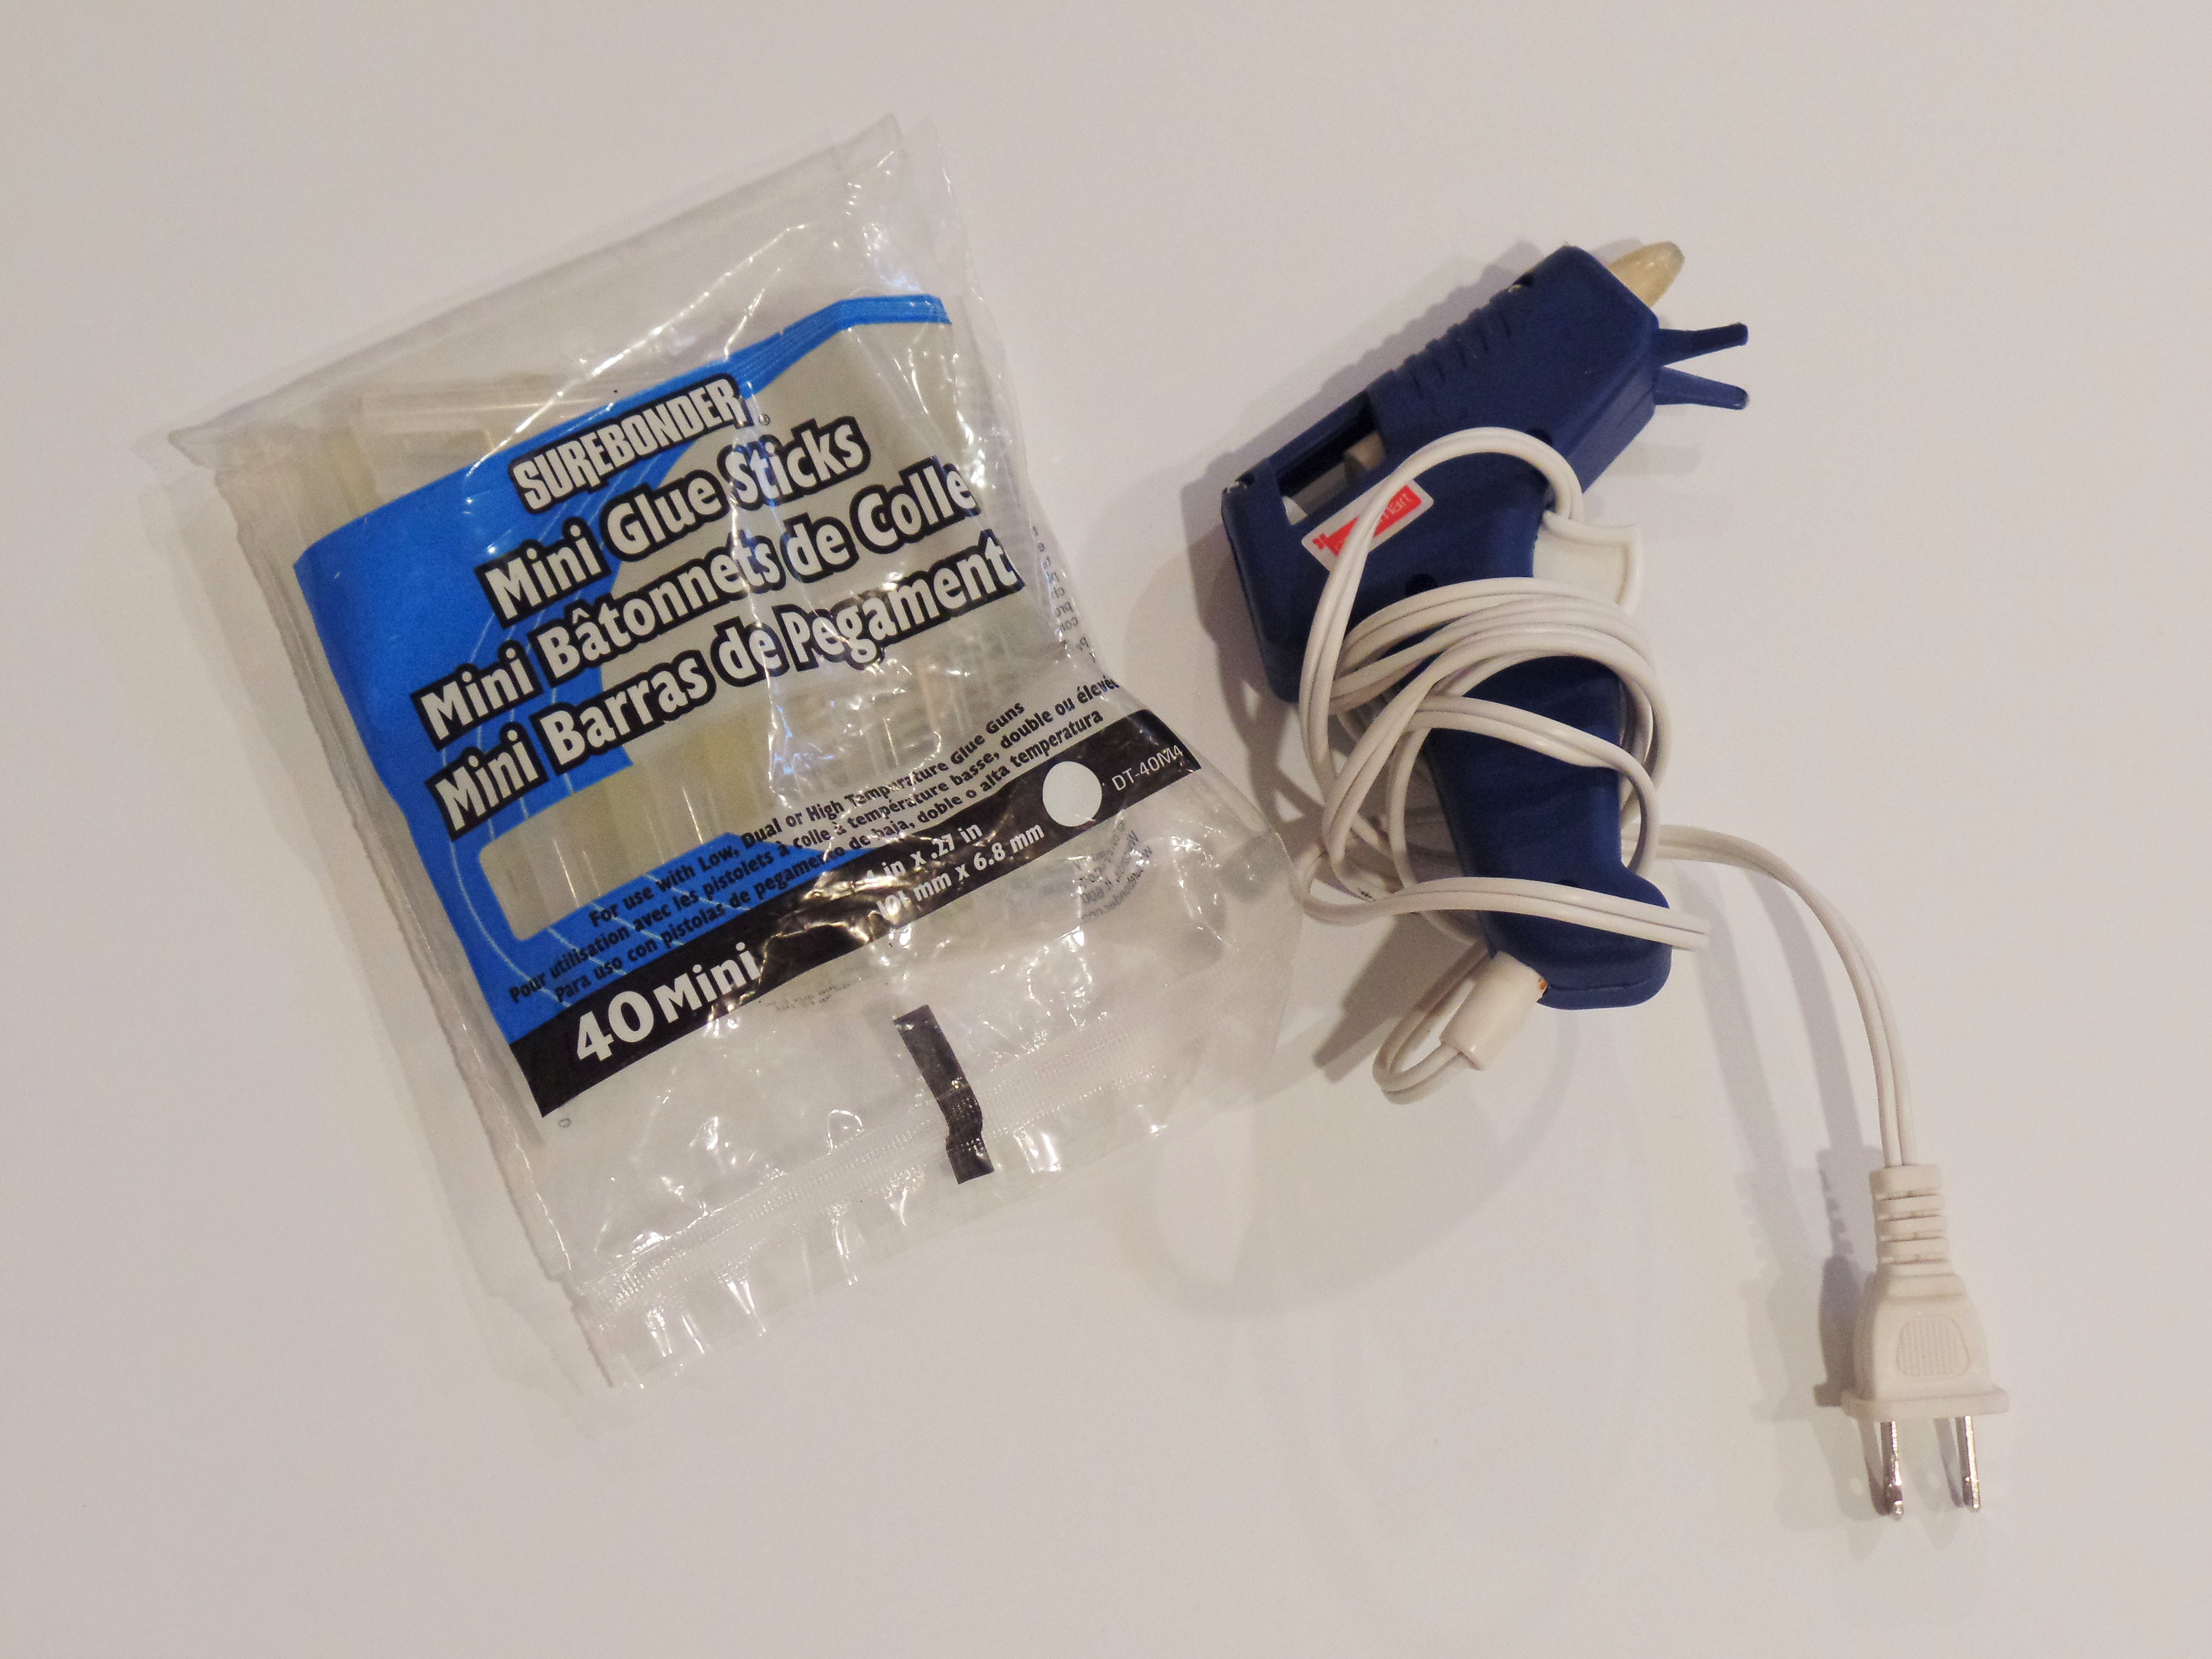
- hot glue gun and coordinating glue sticks
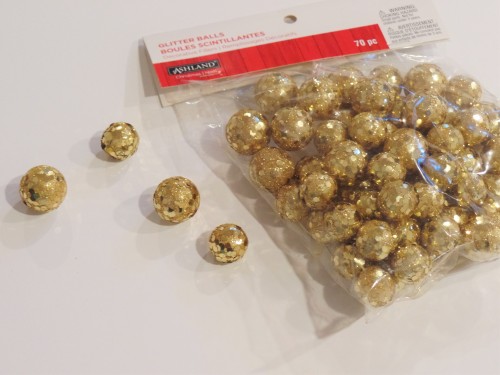
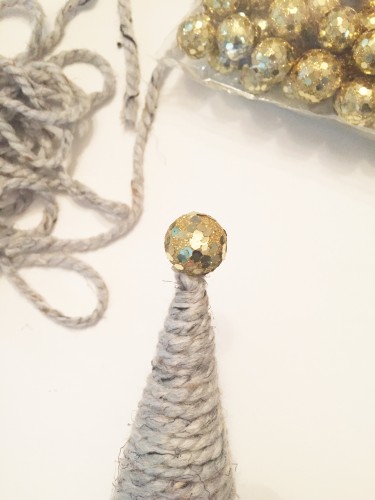
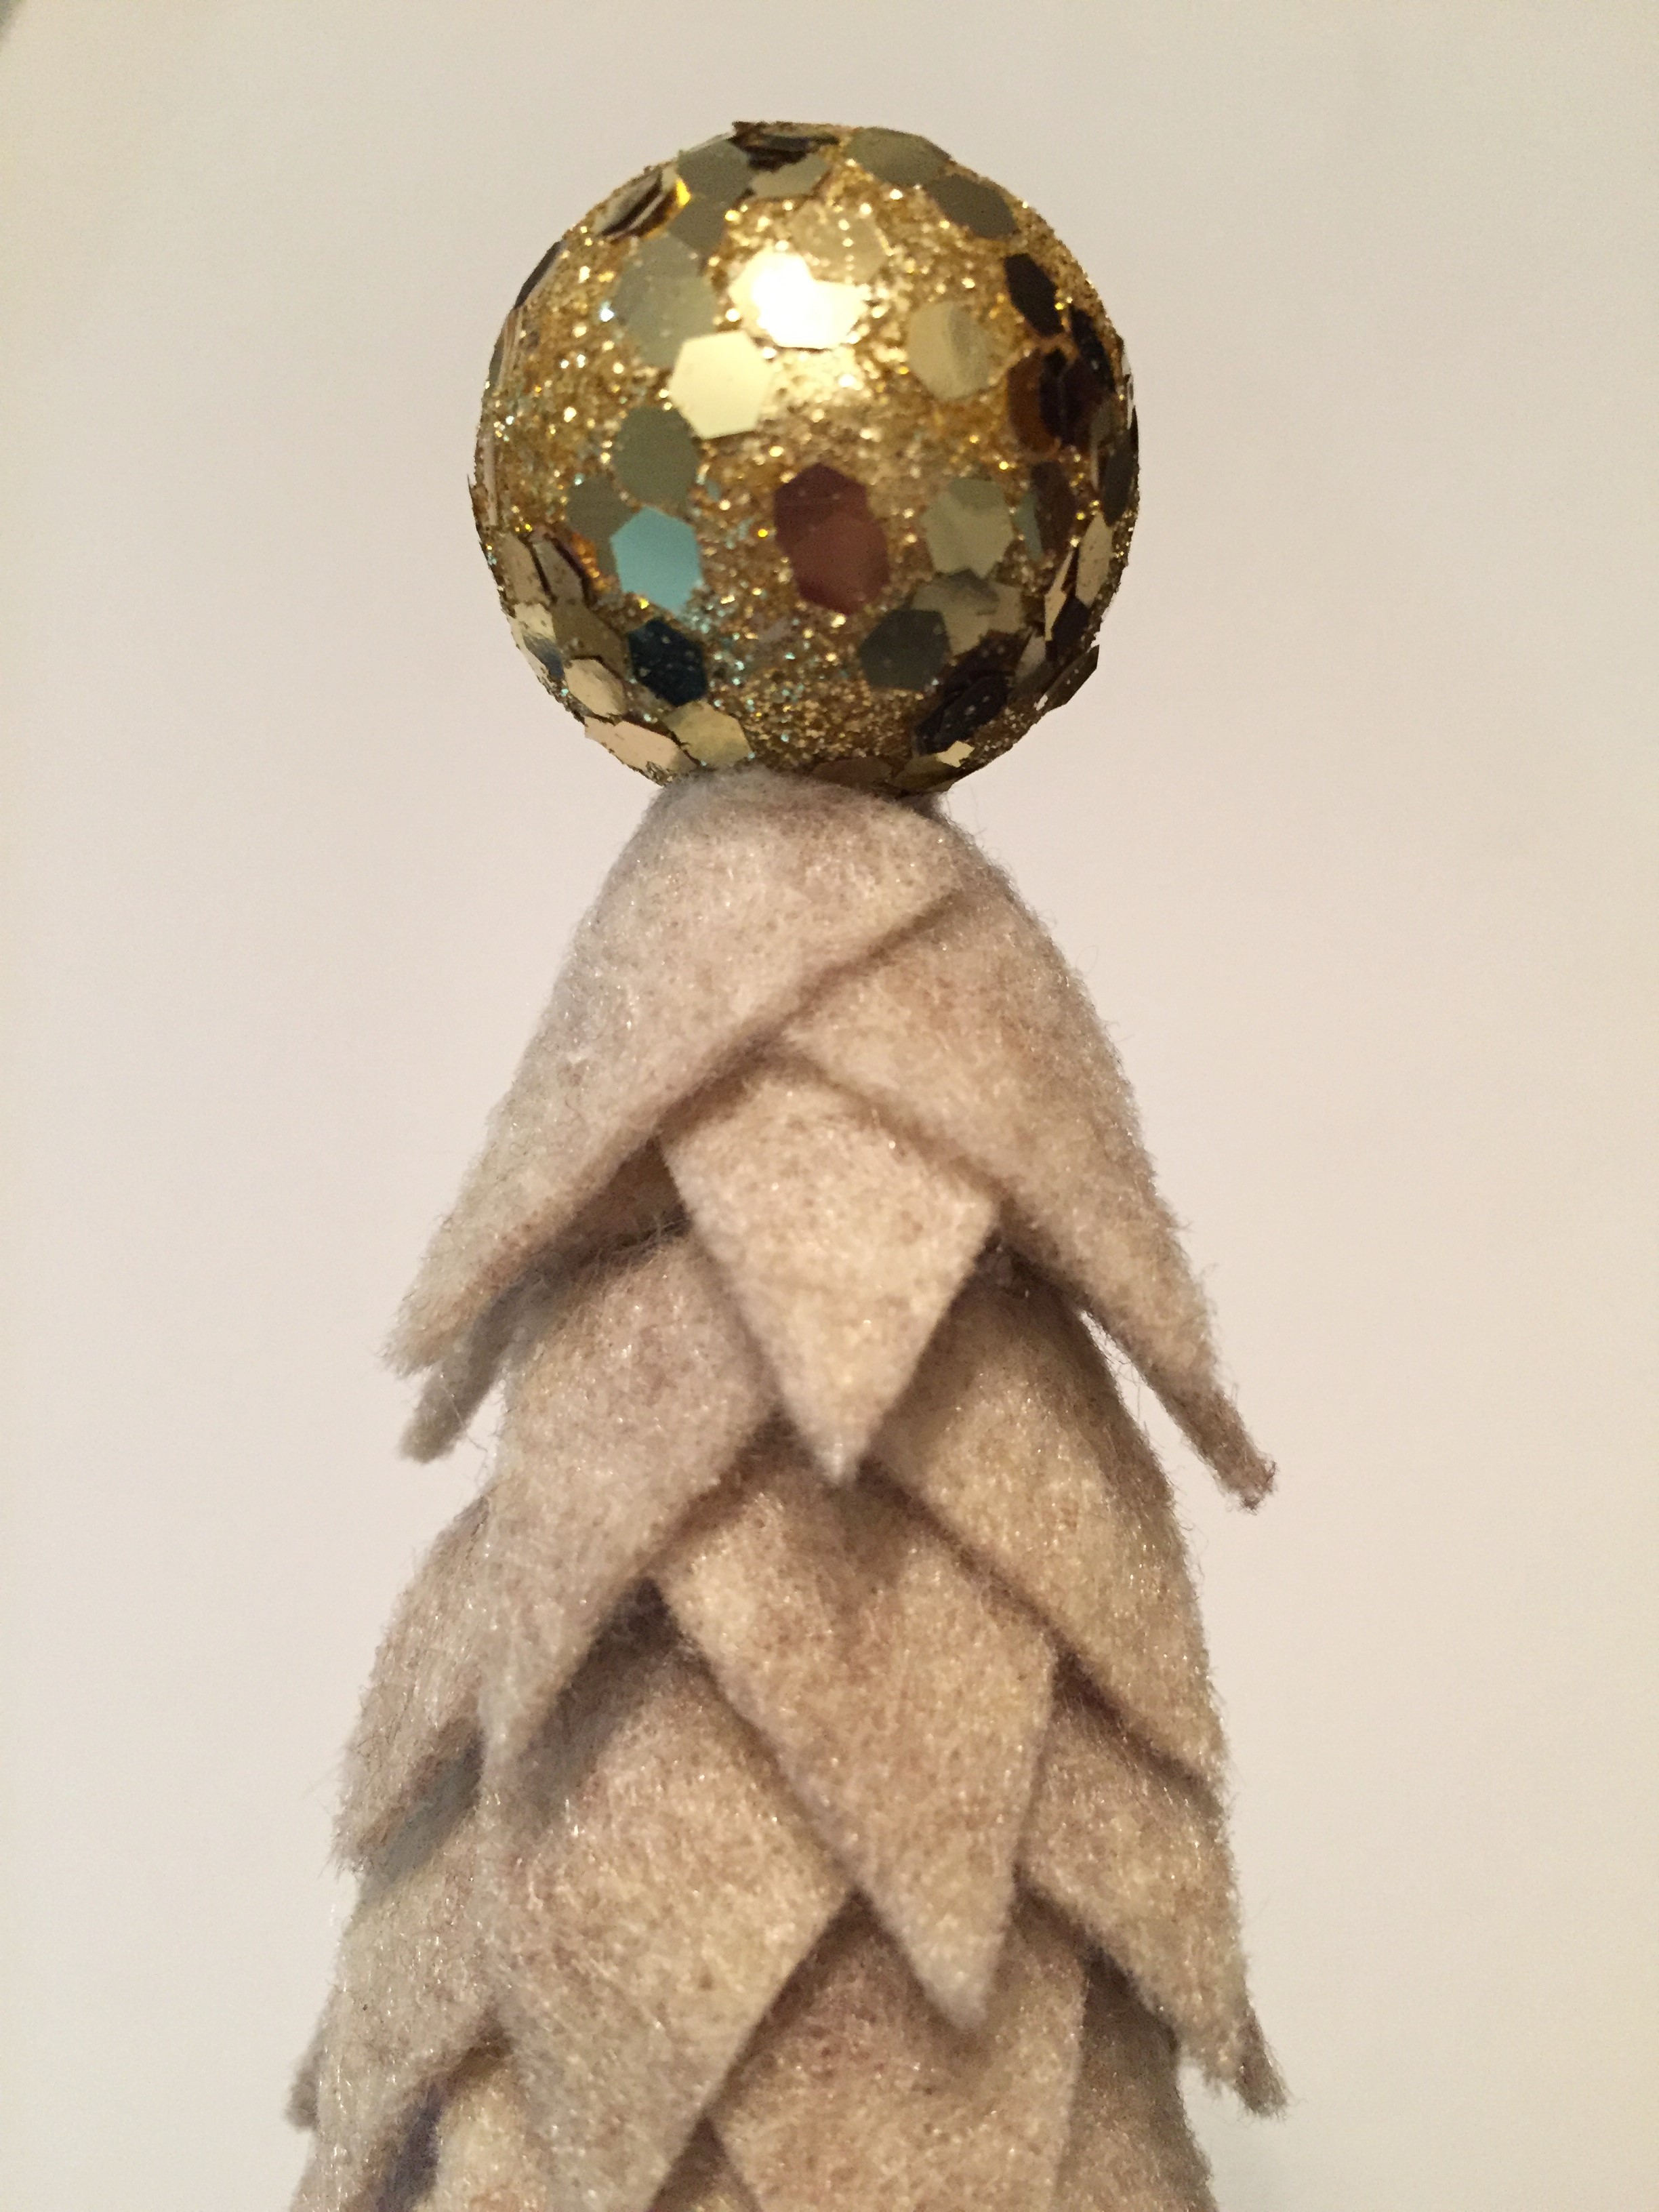
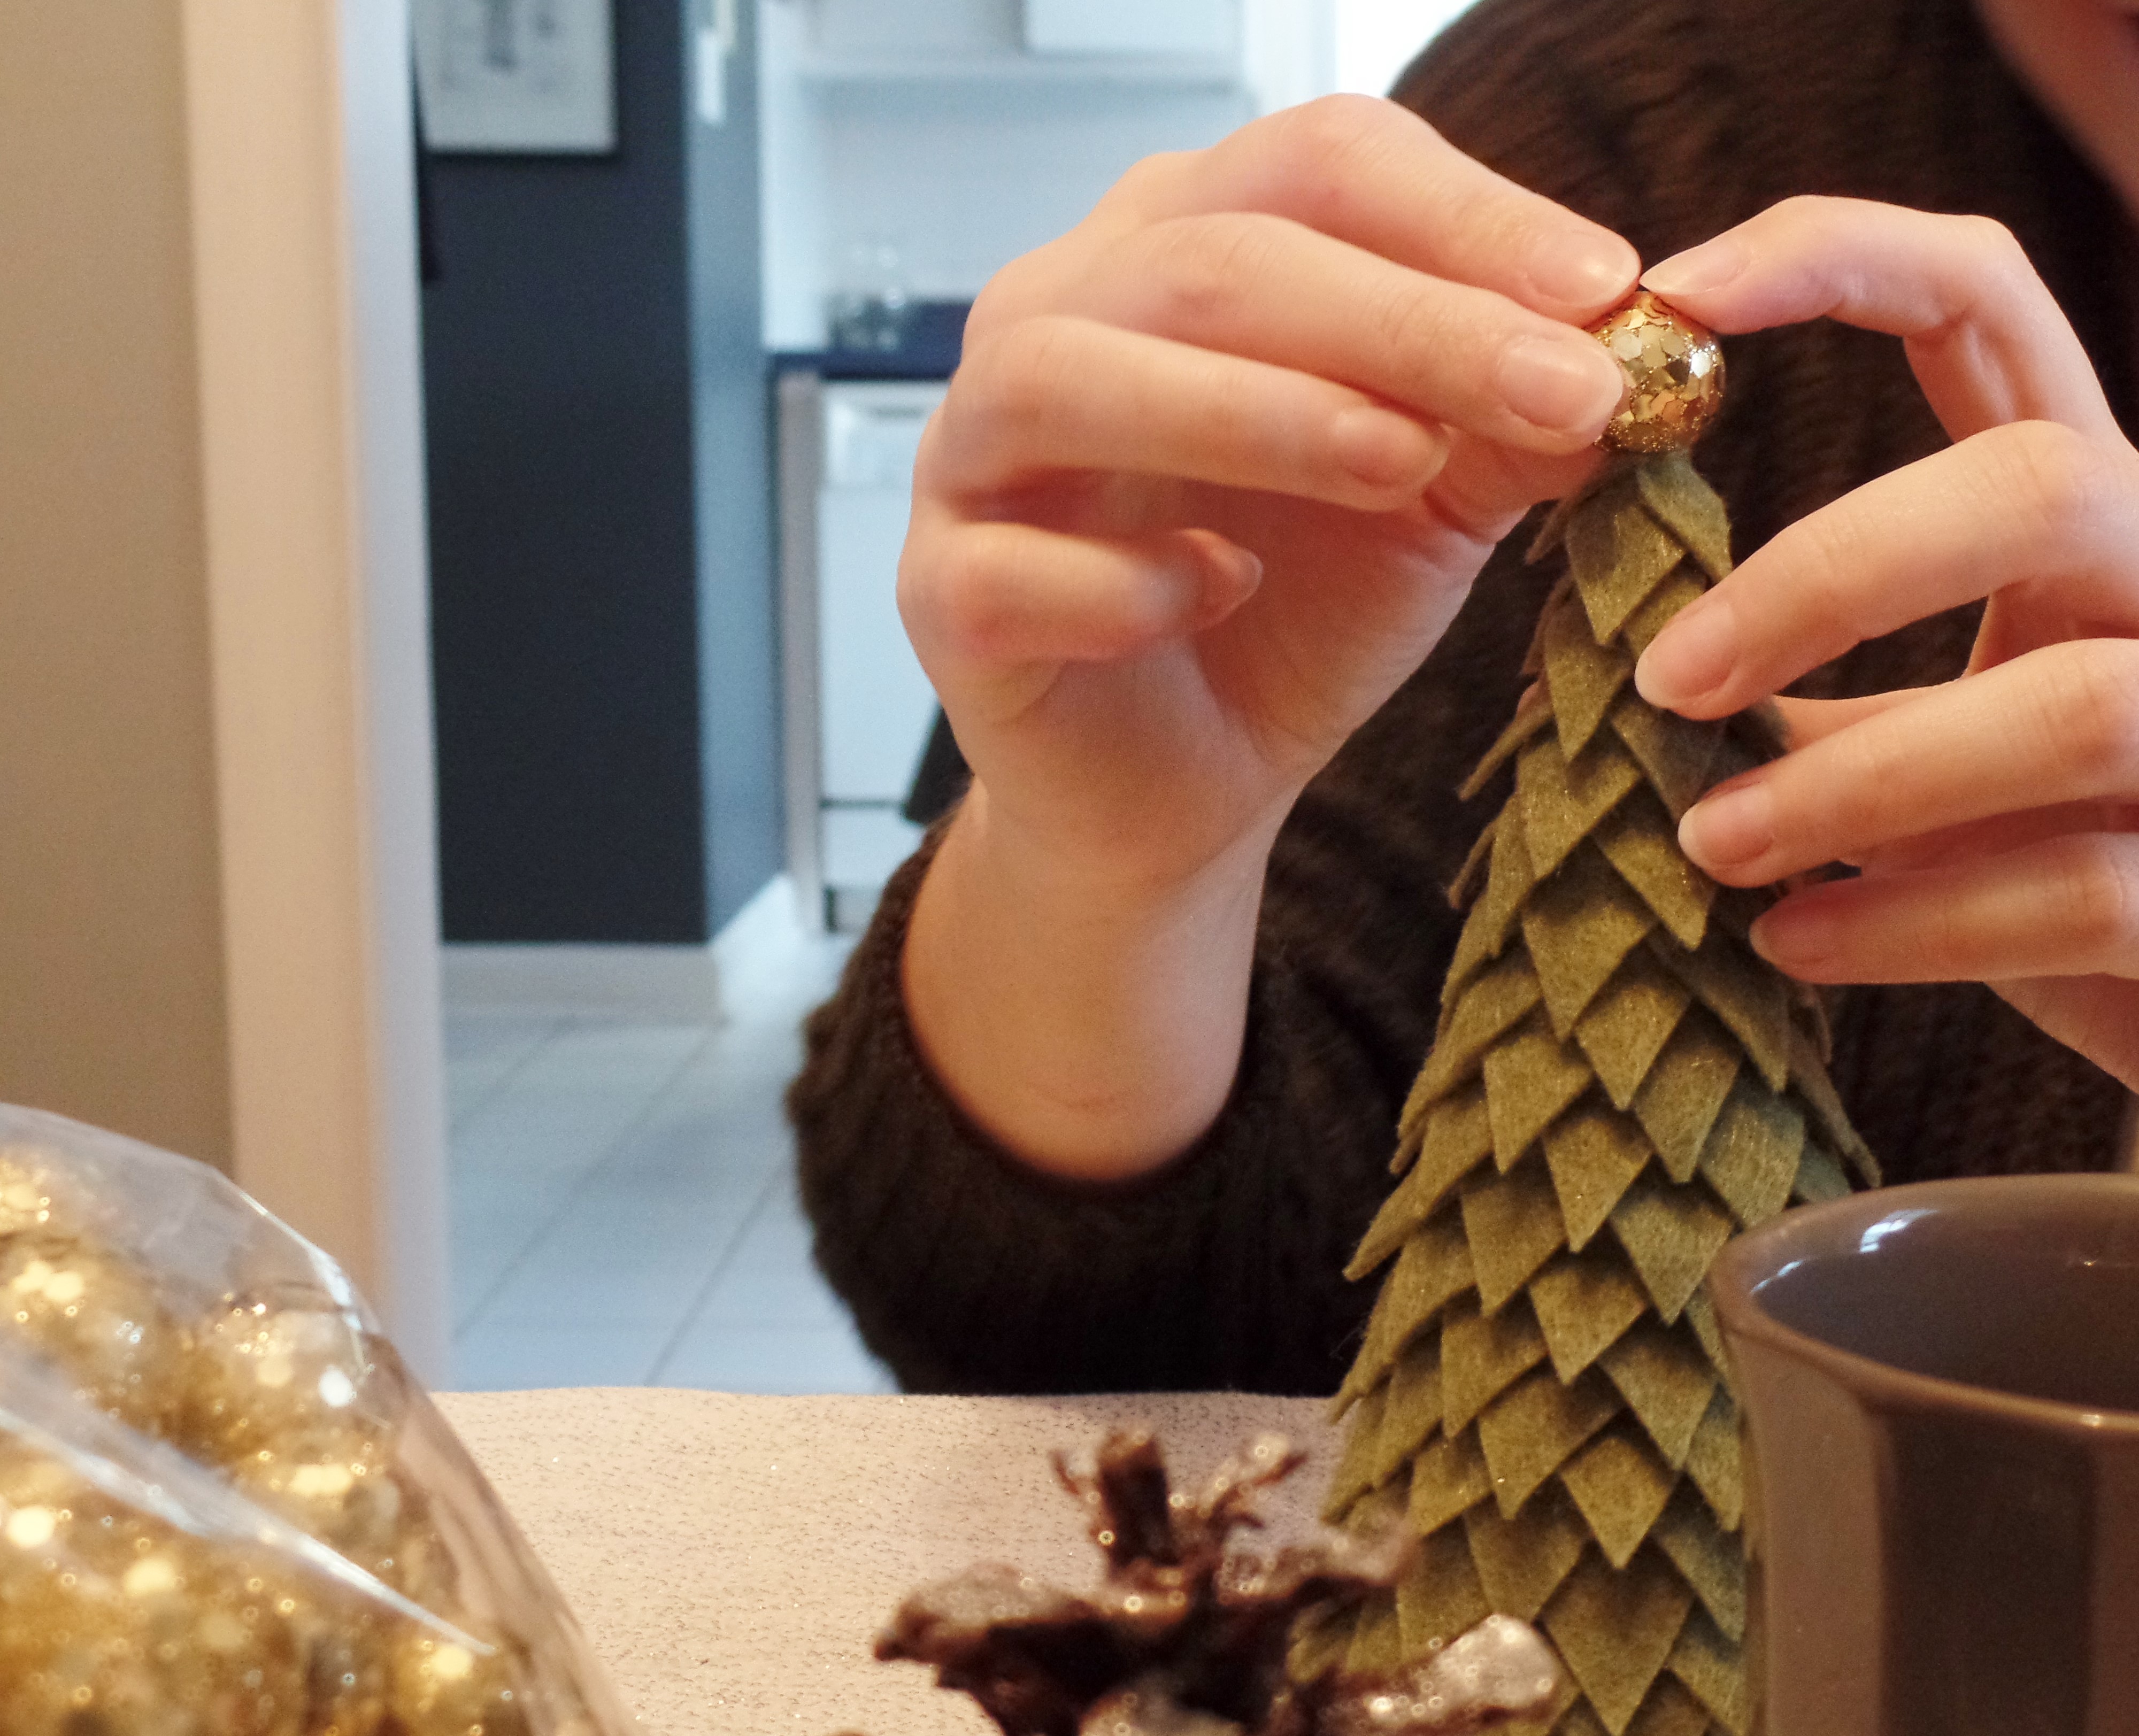
- glitter balls (actually decorative filler) found mine at Michaels. Very similar here at Amazon.
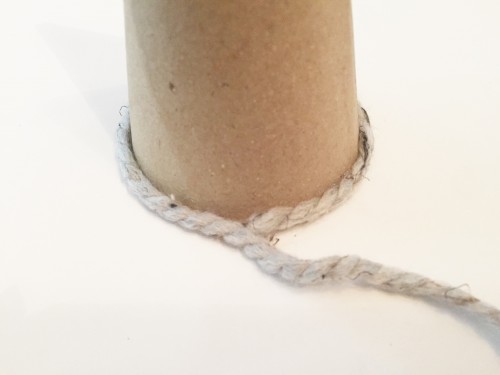
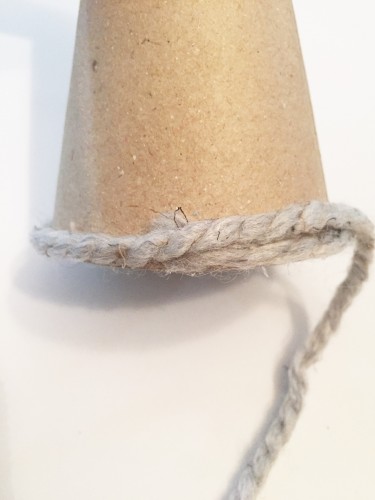
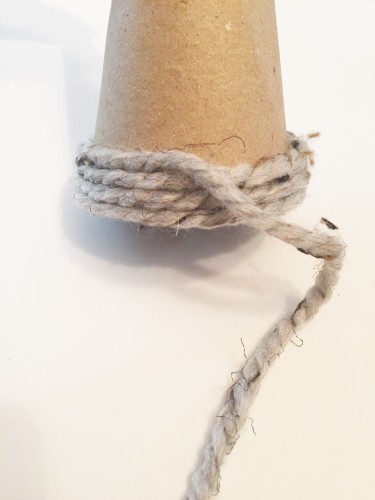
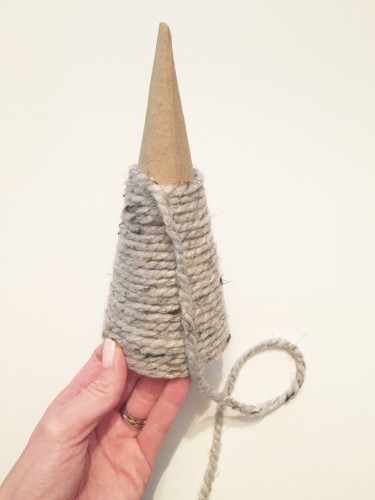
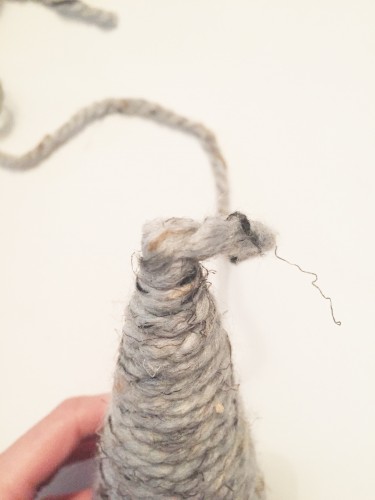
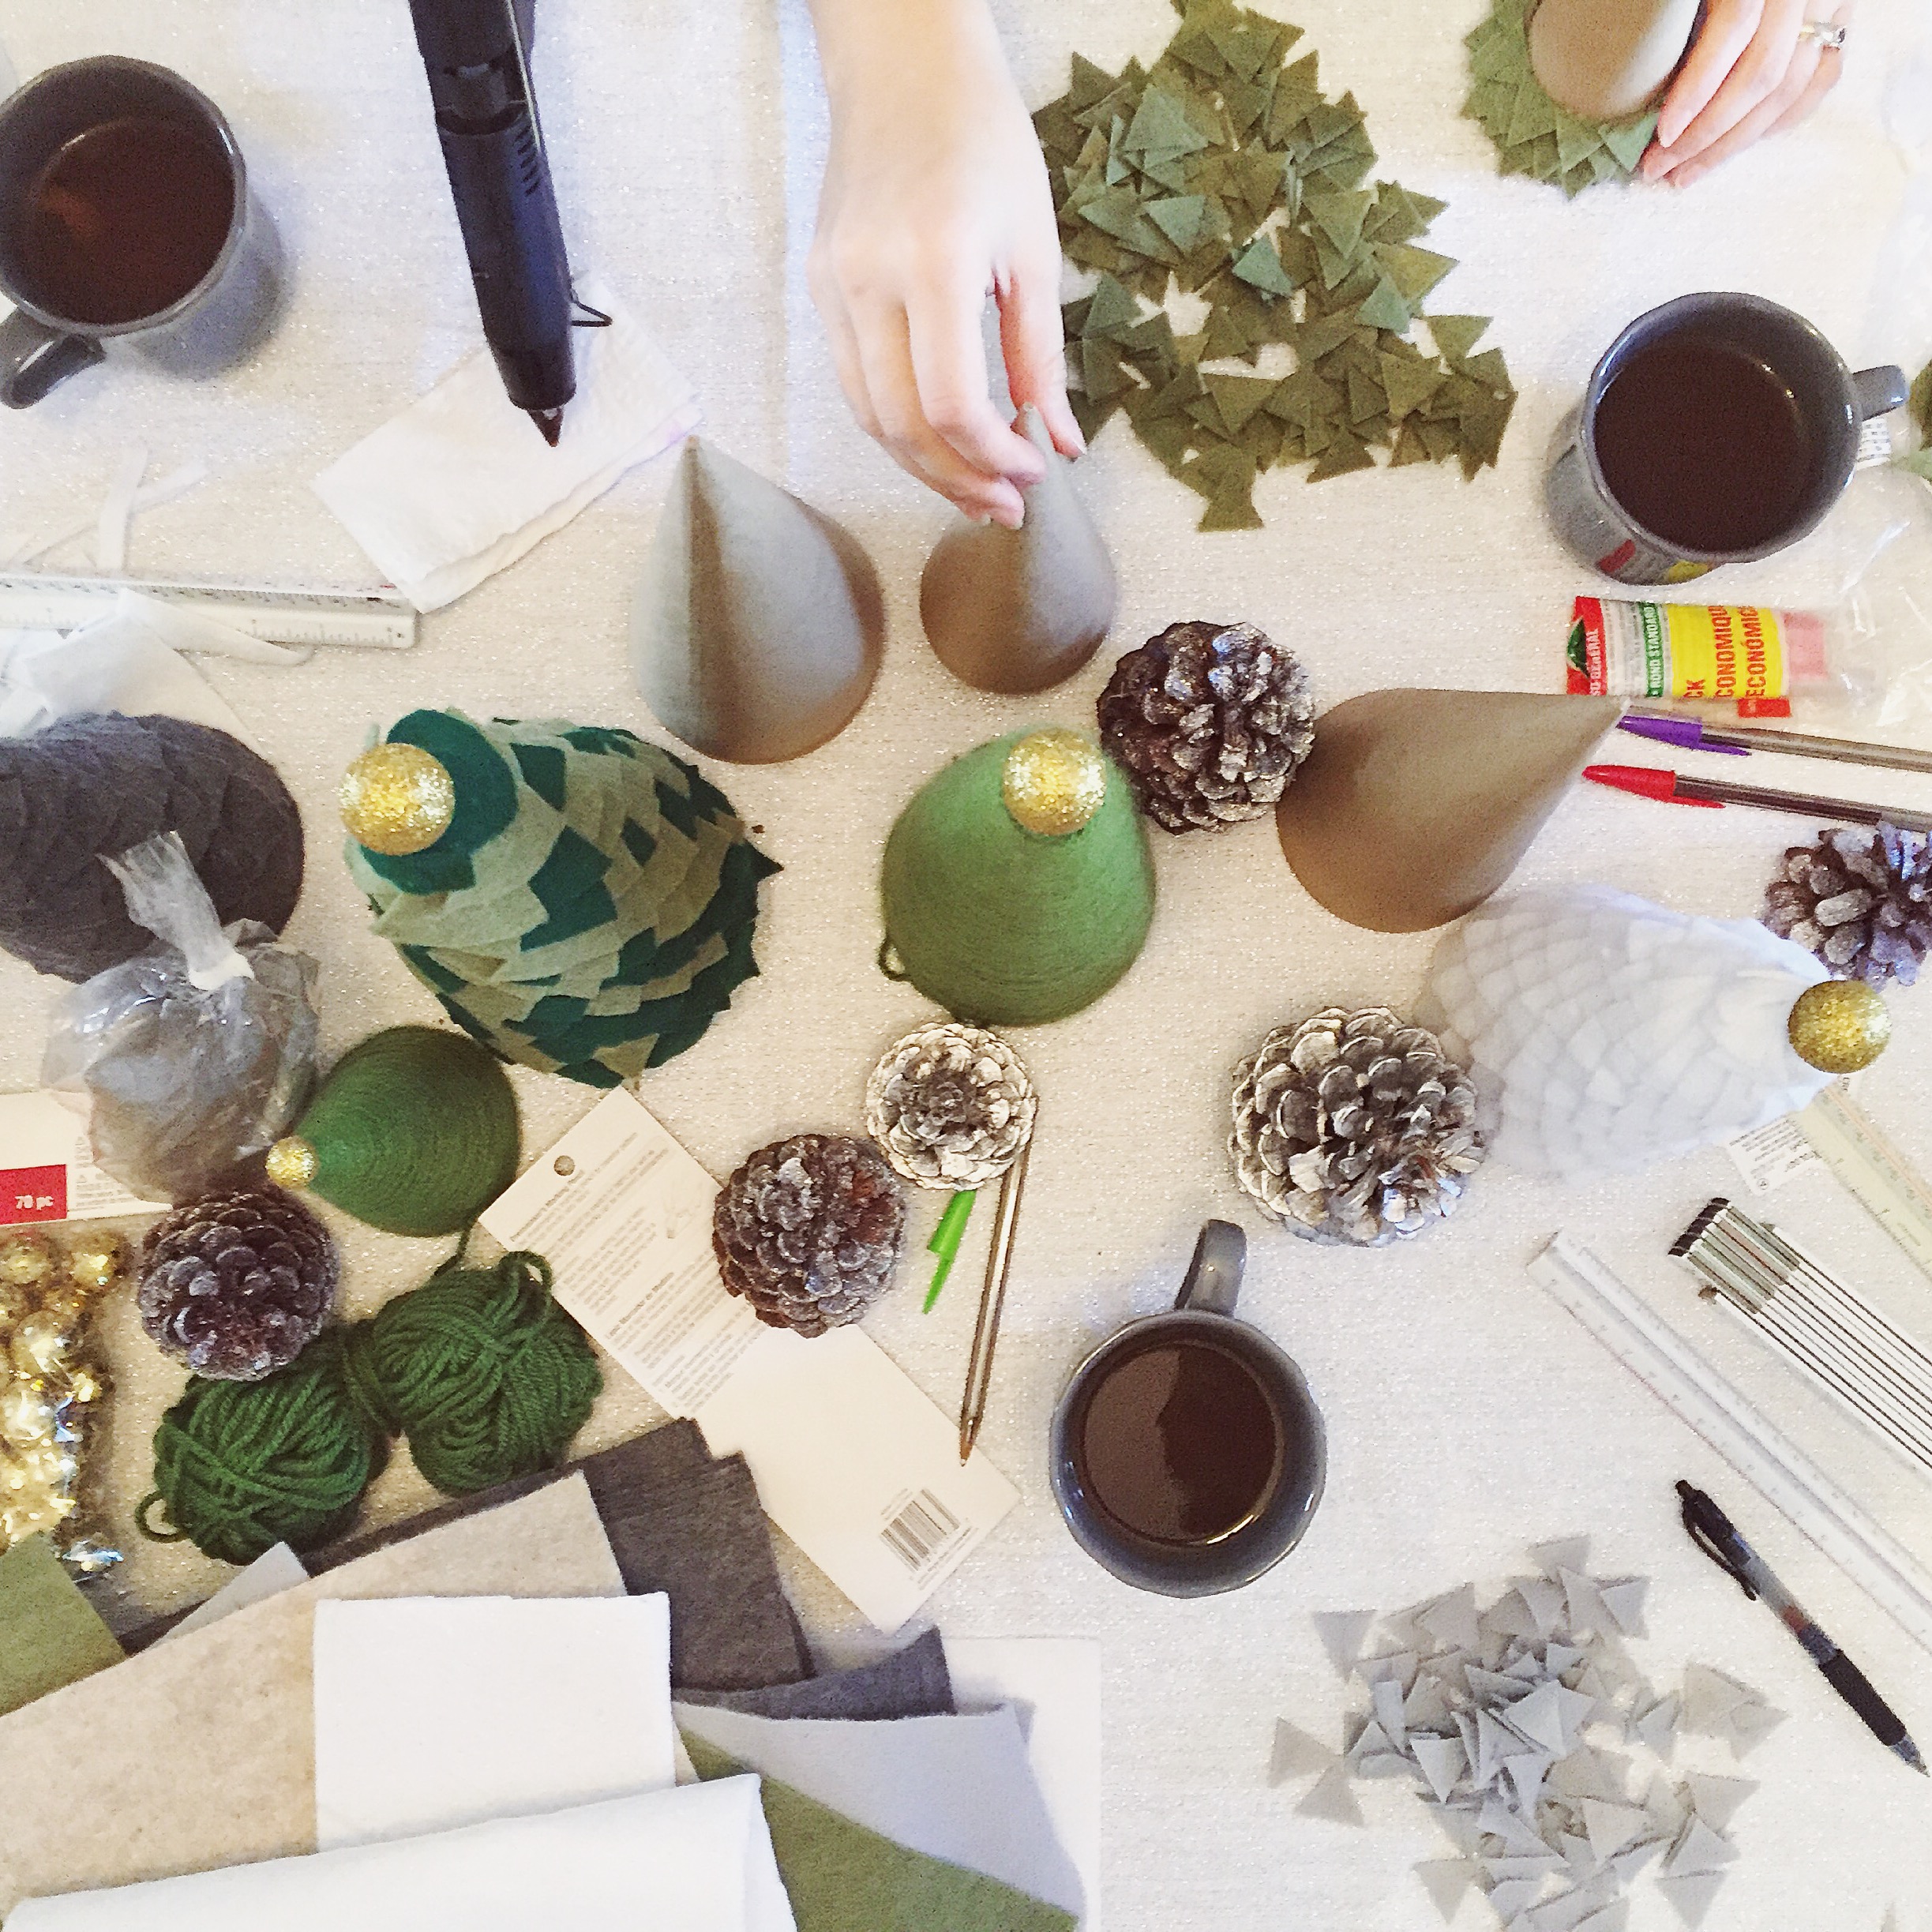
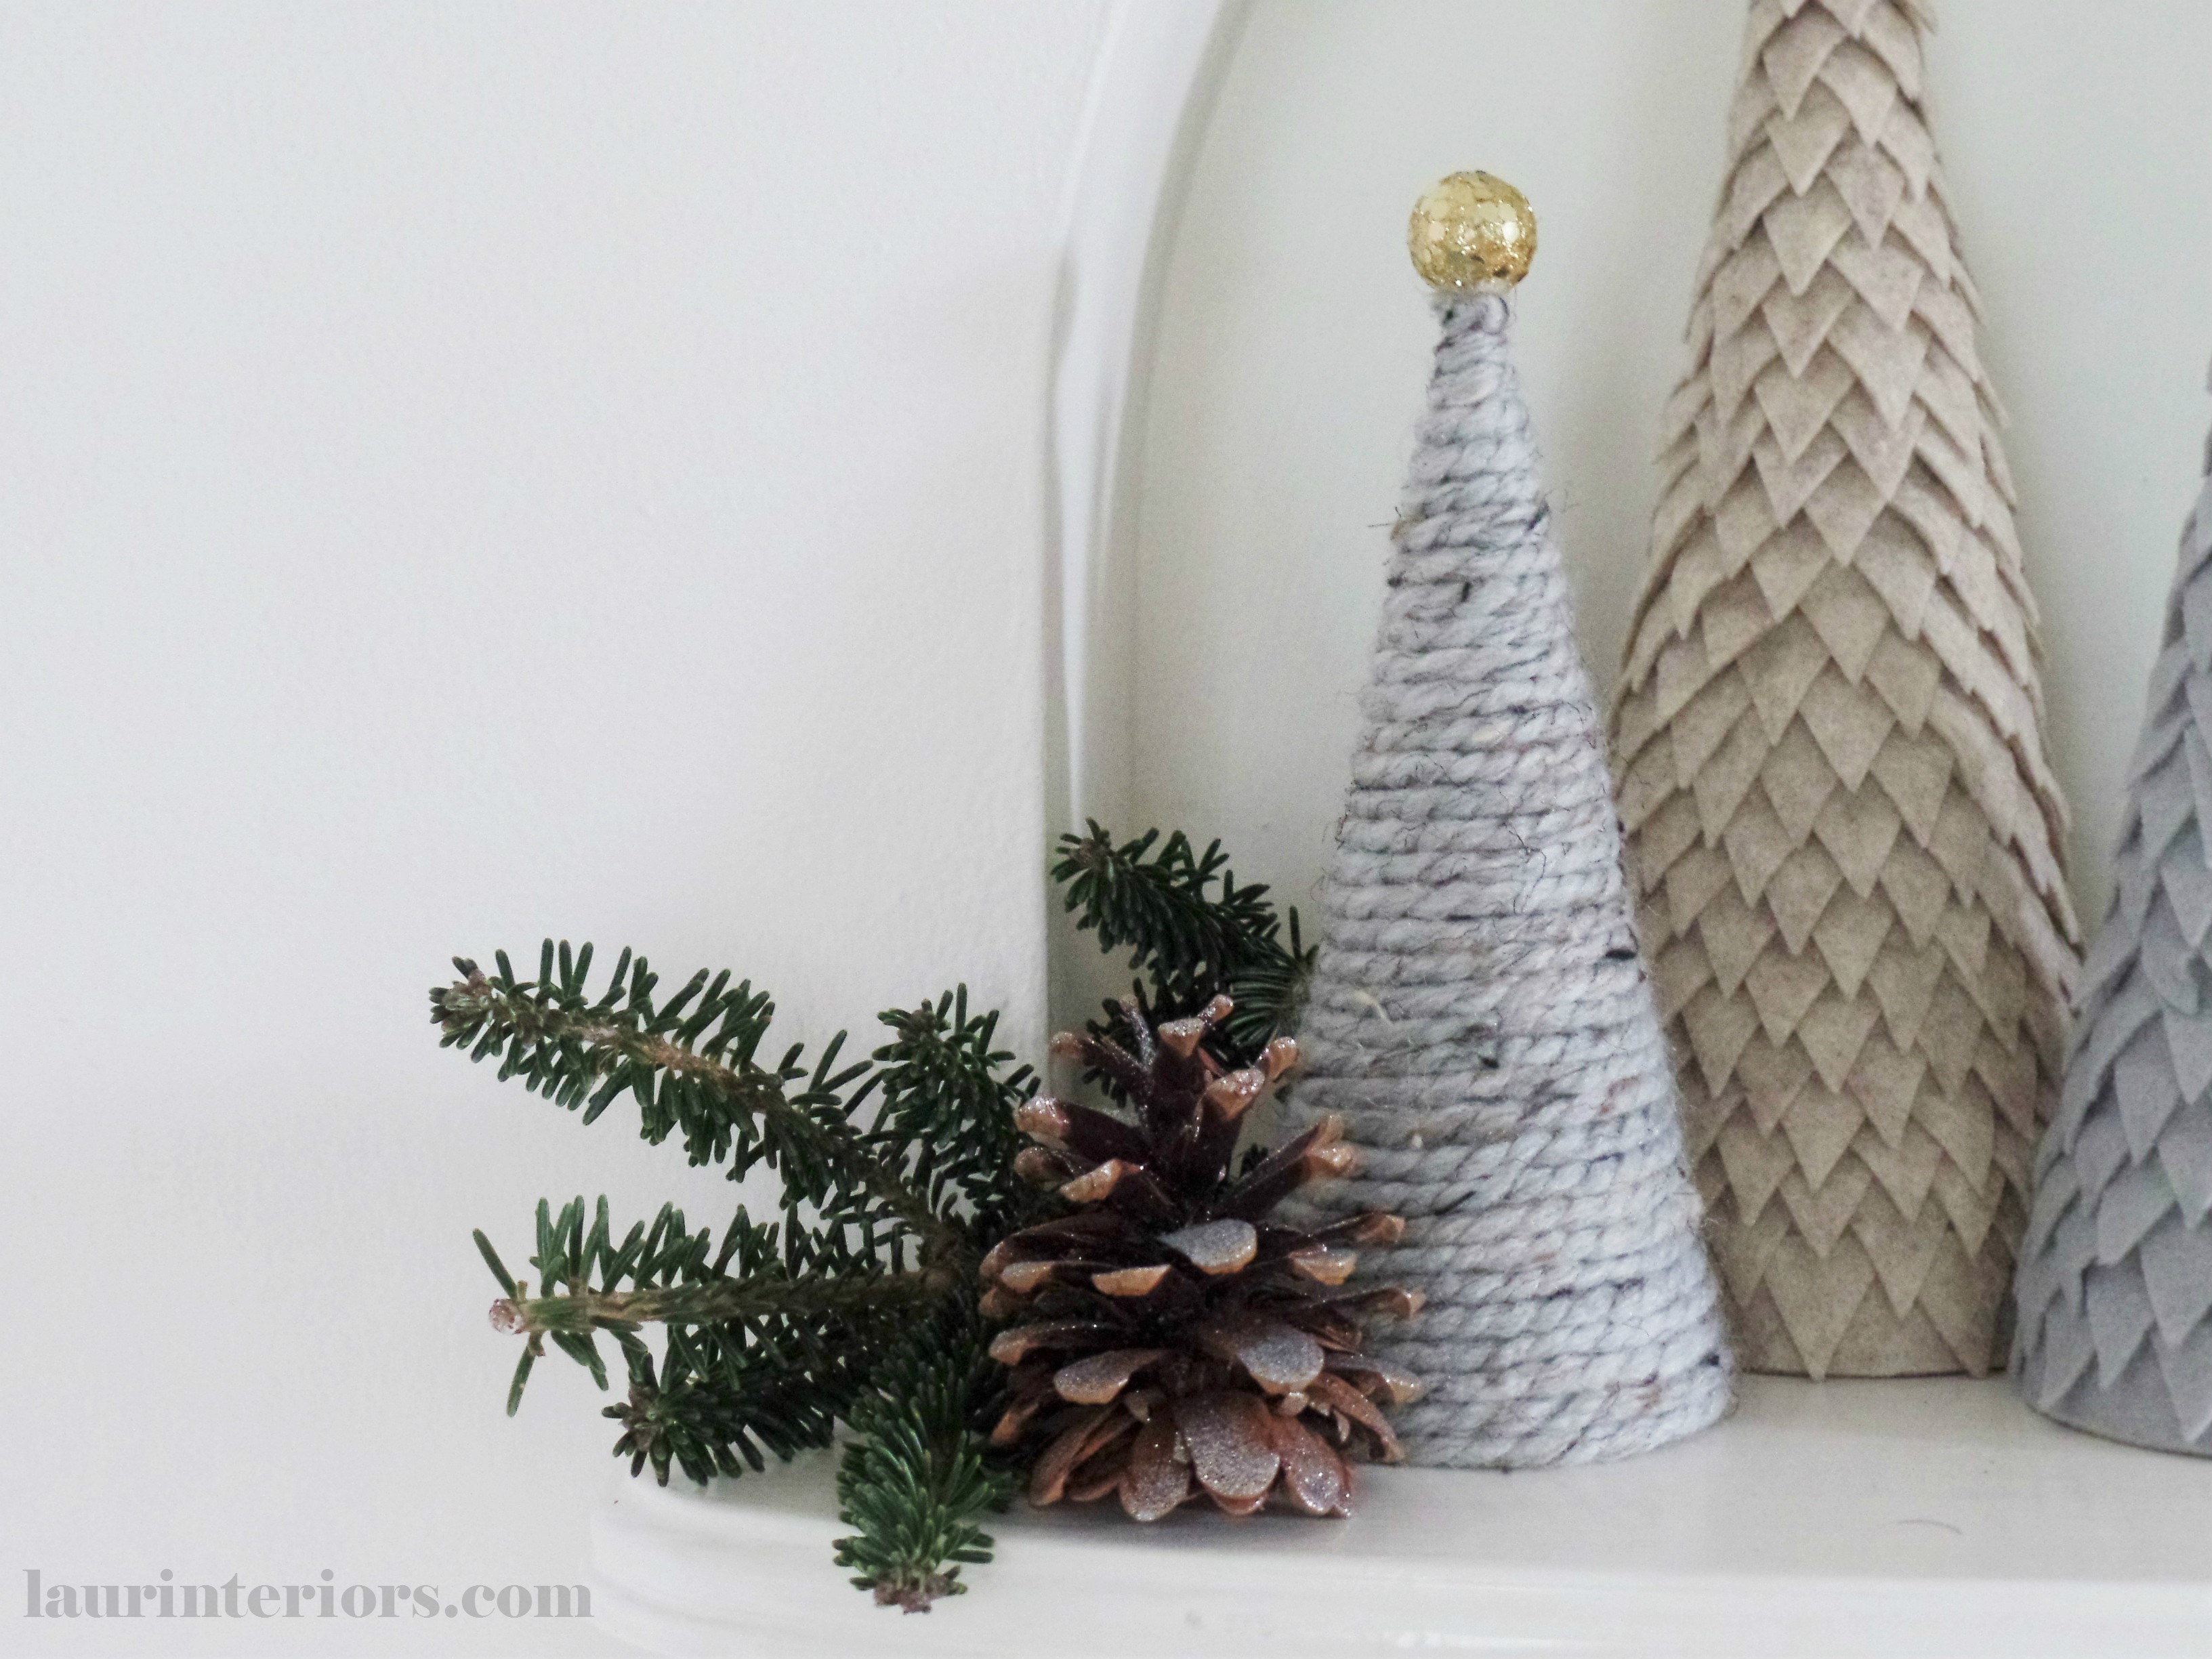
Yarn Tree
*smaller cone used here
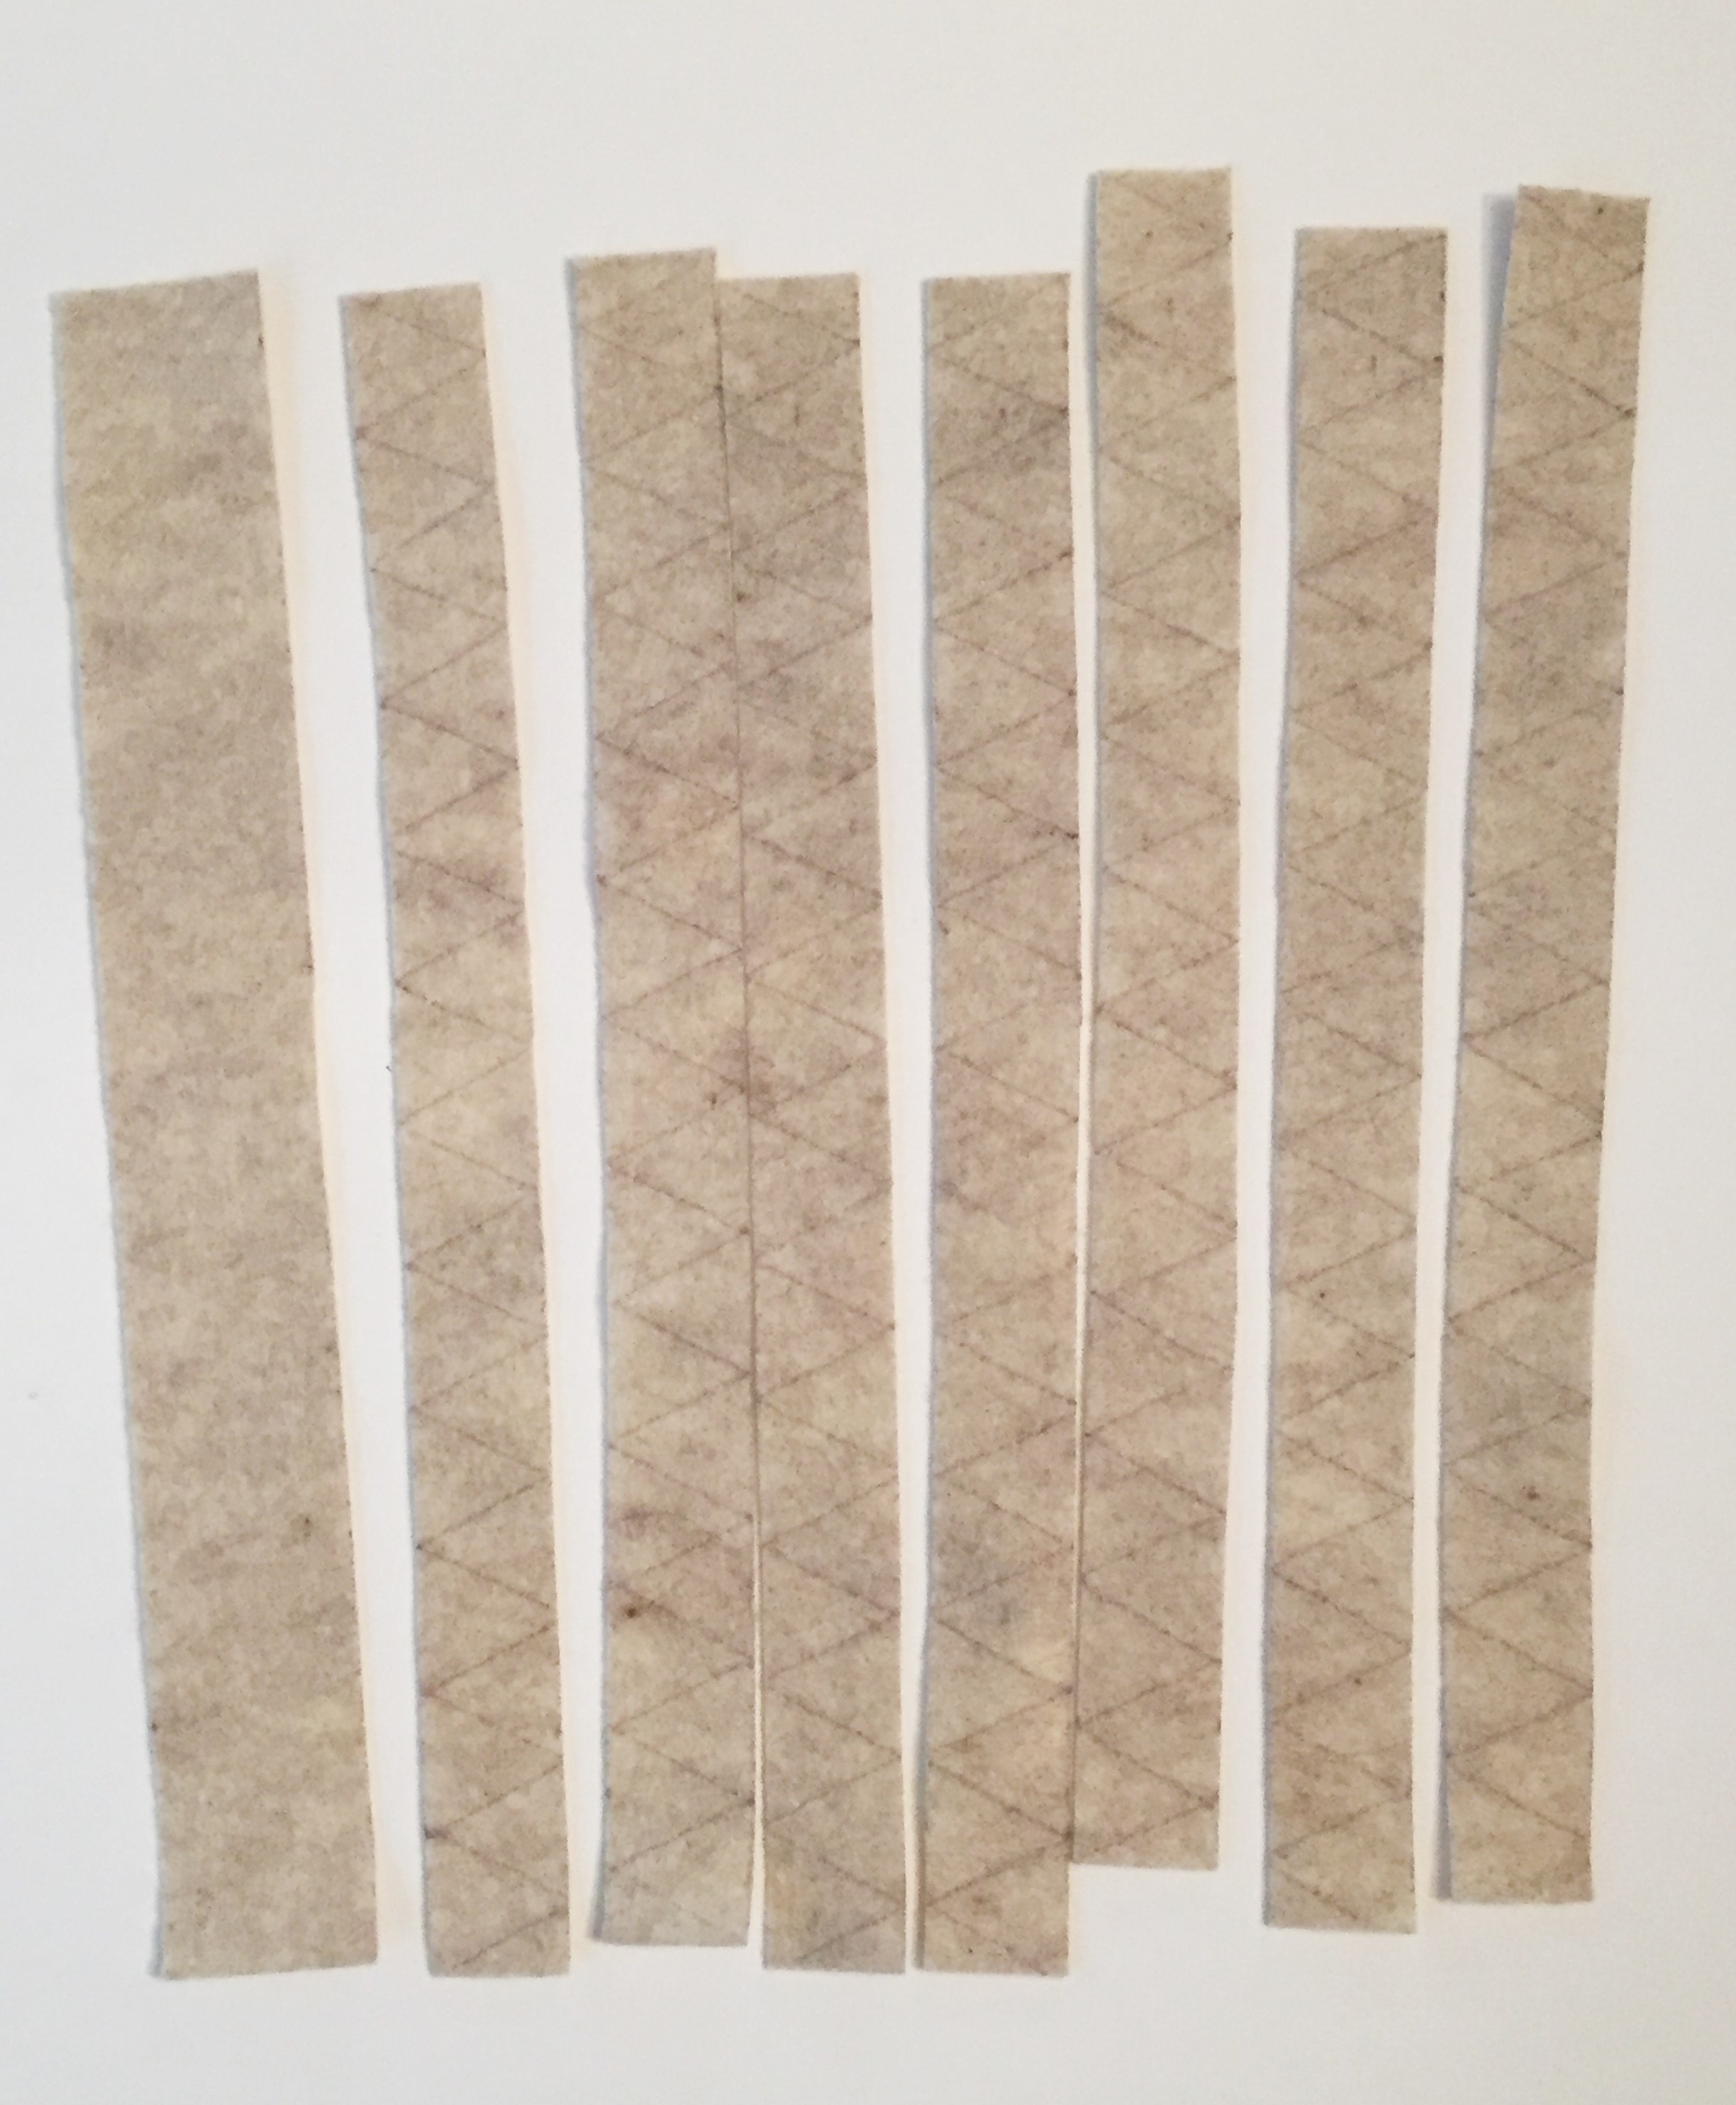
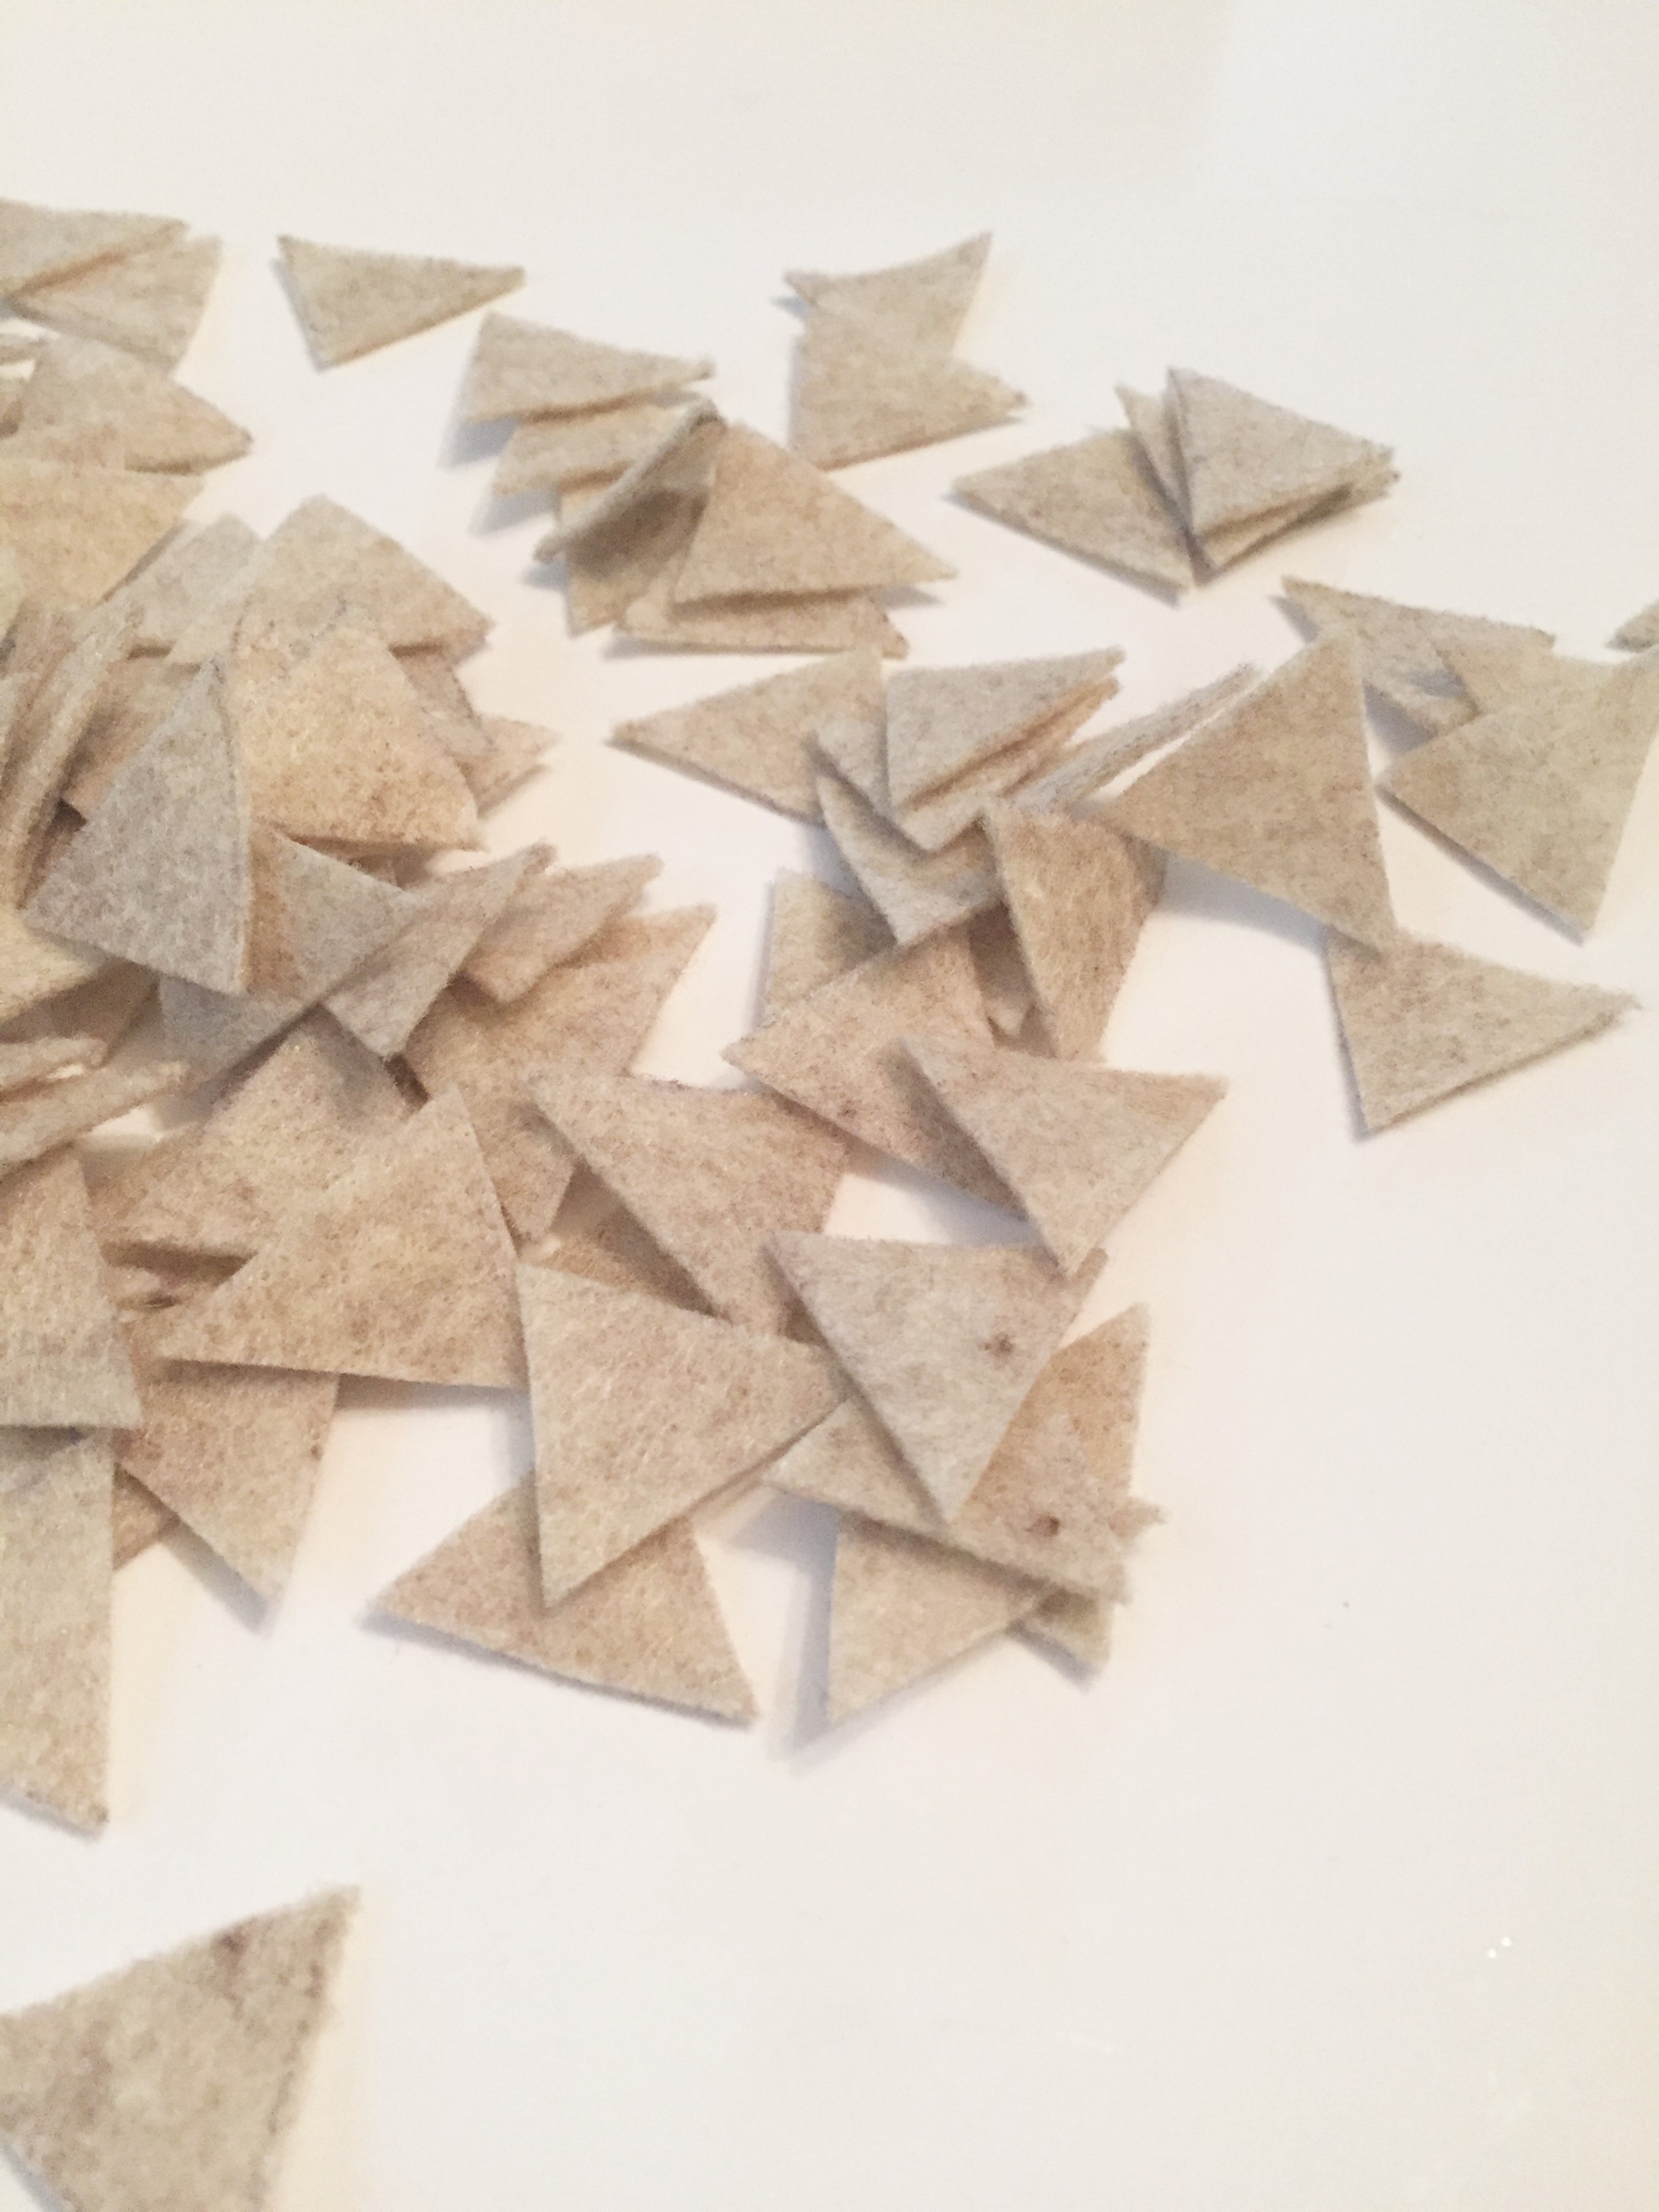
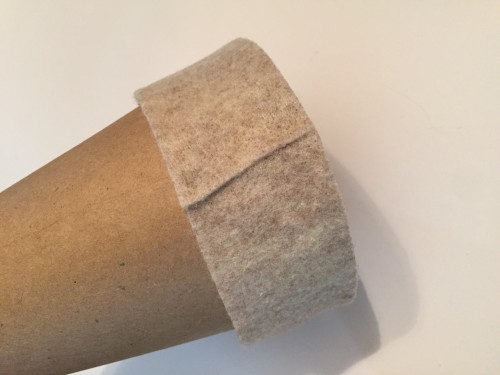
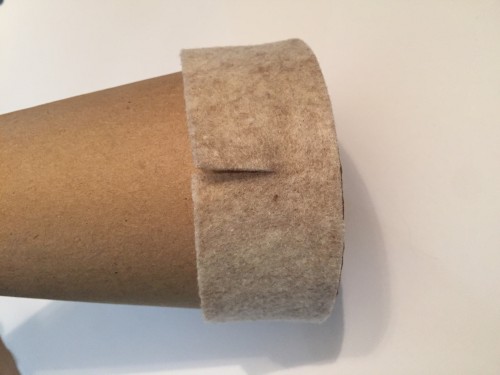
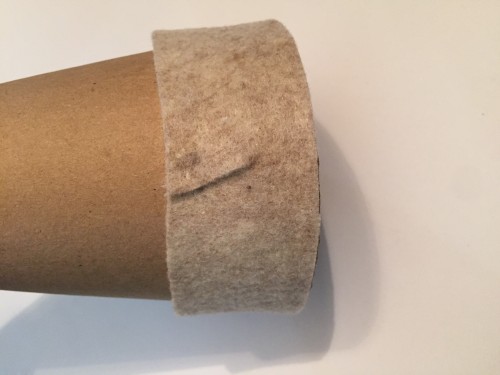
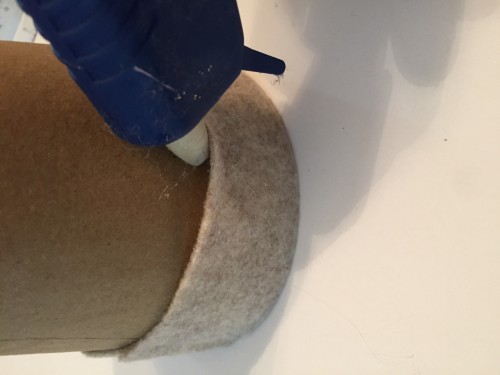
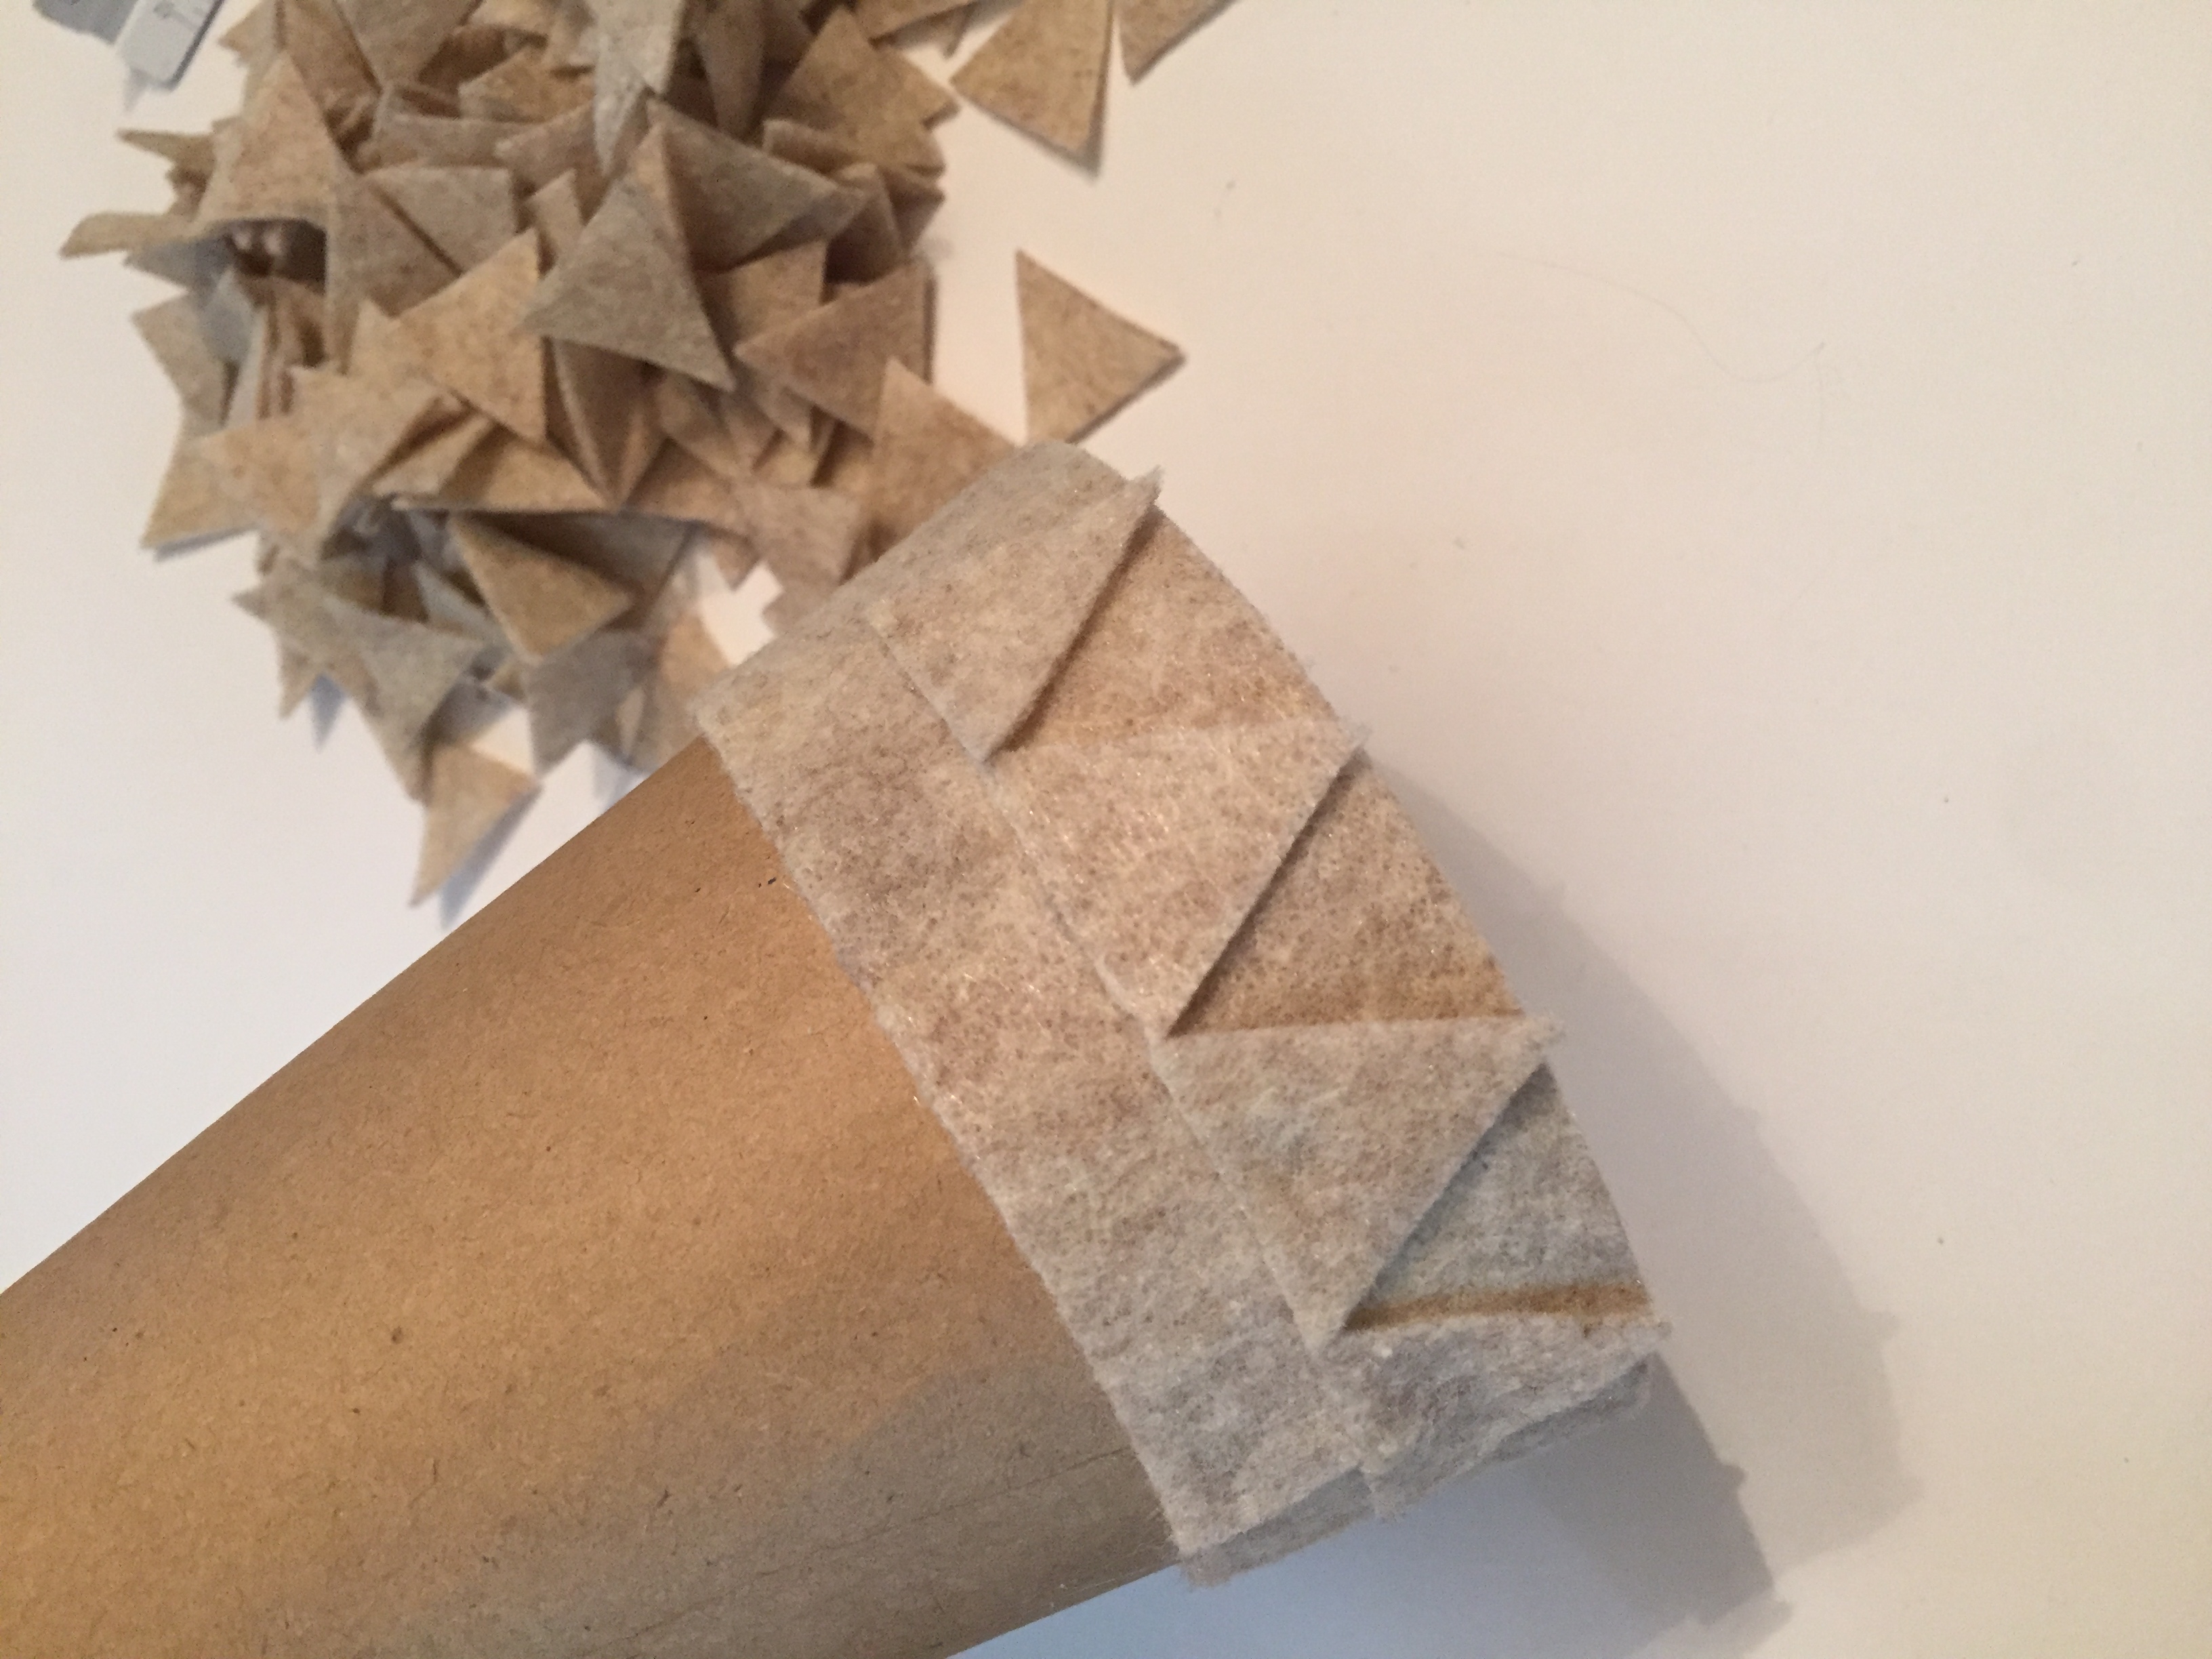
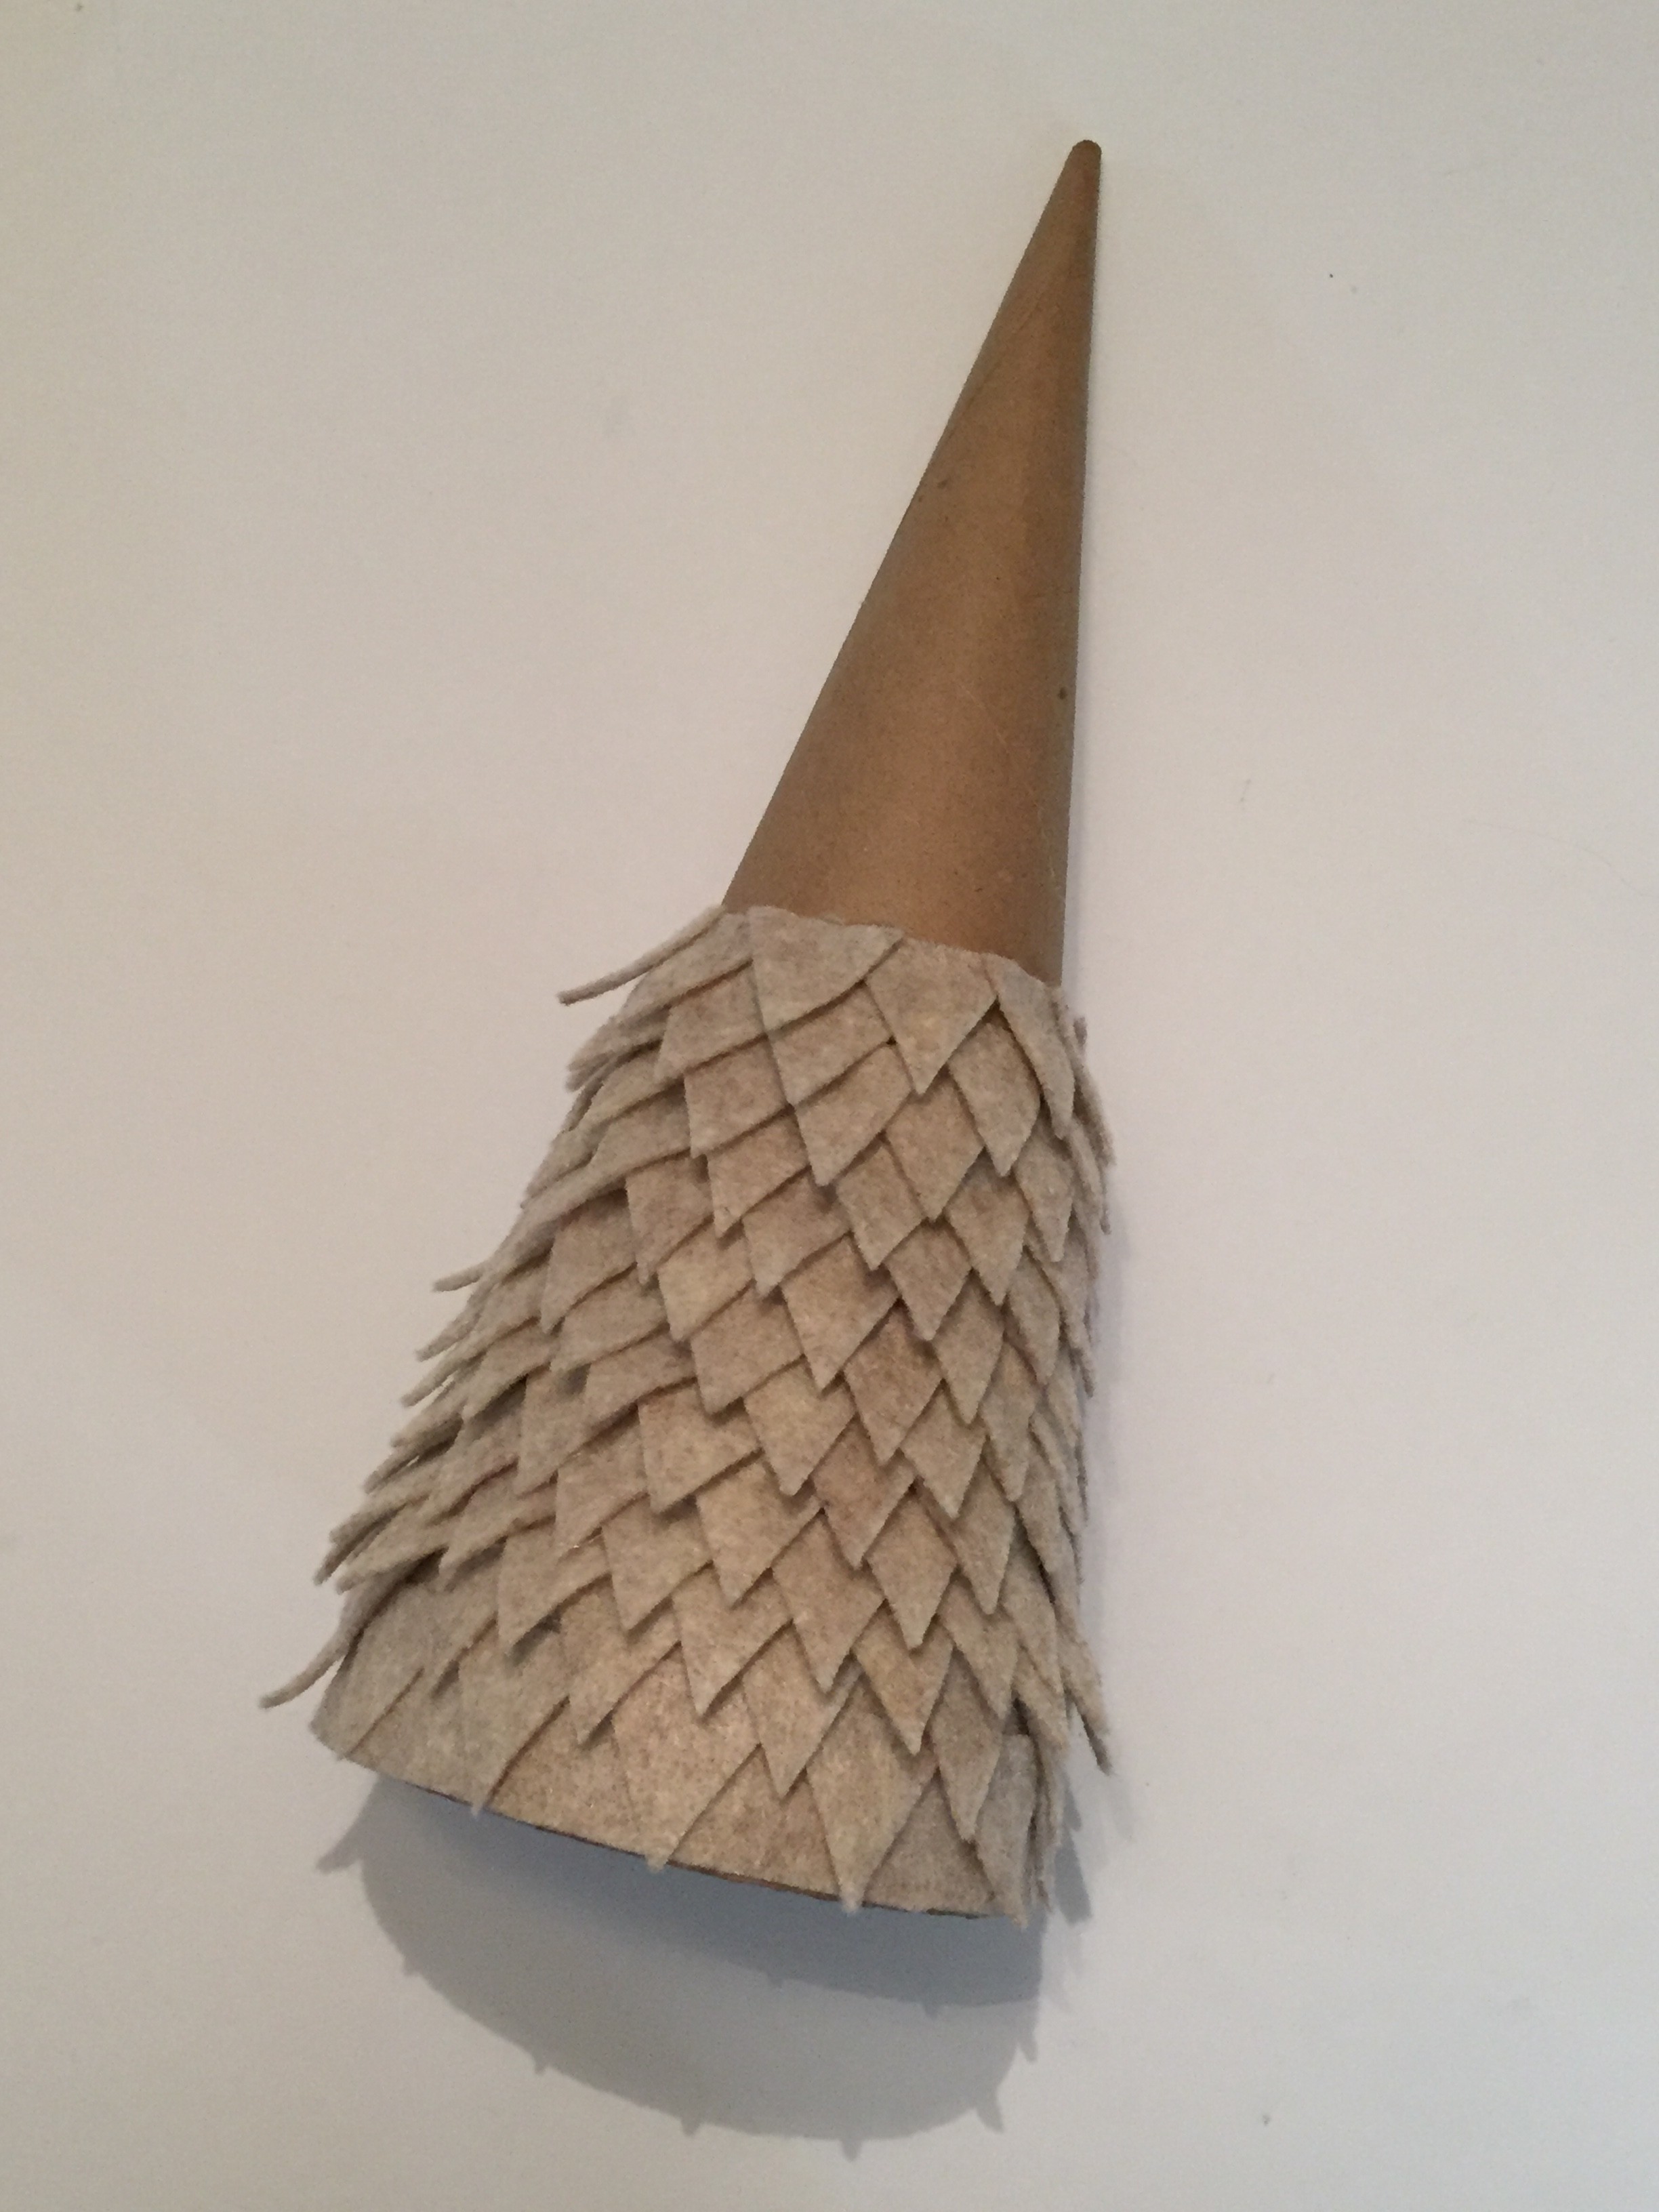
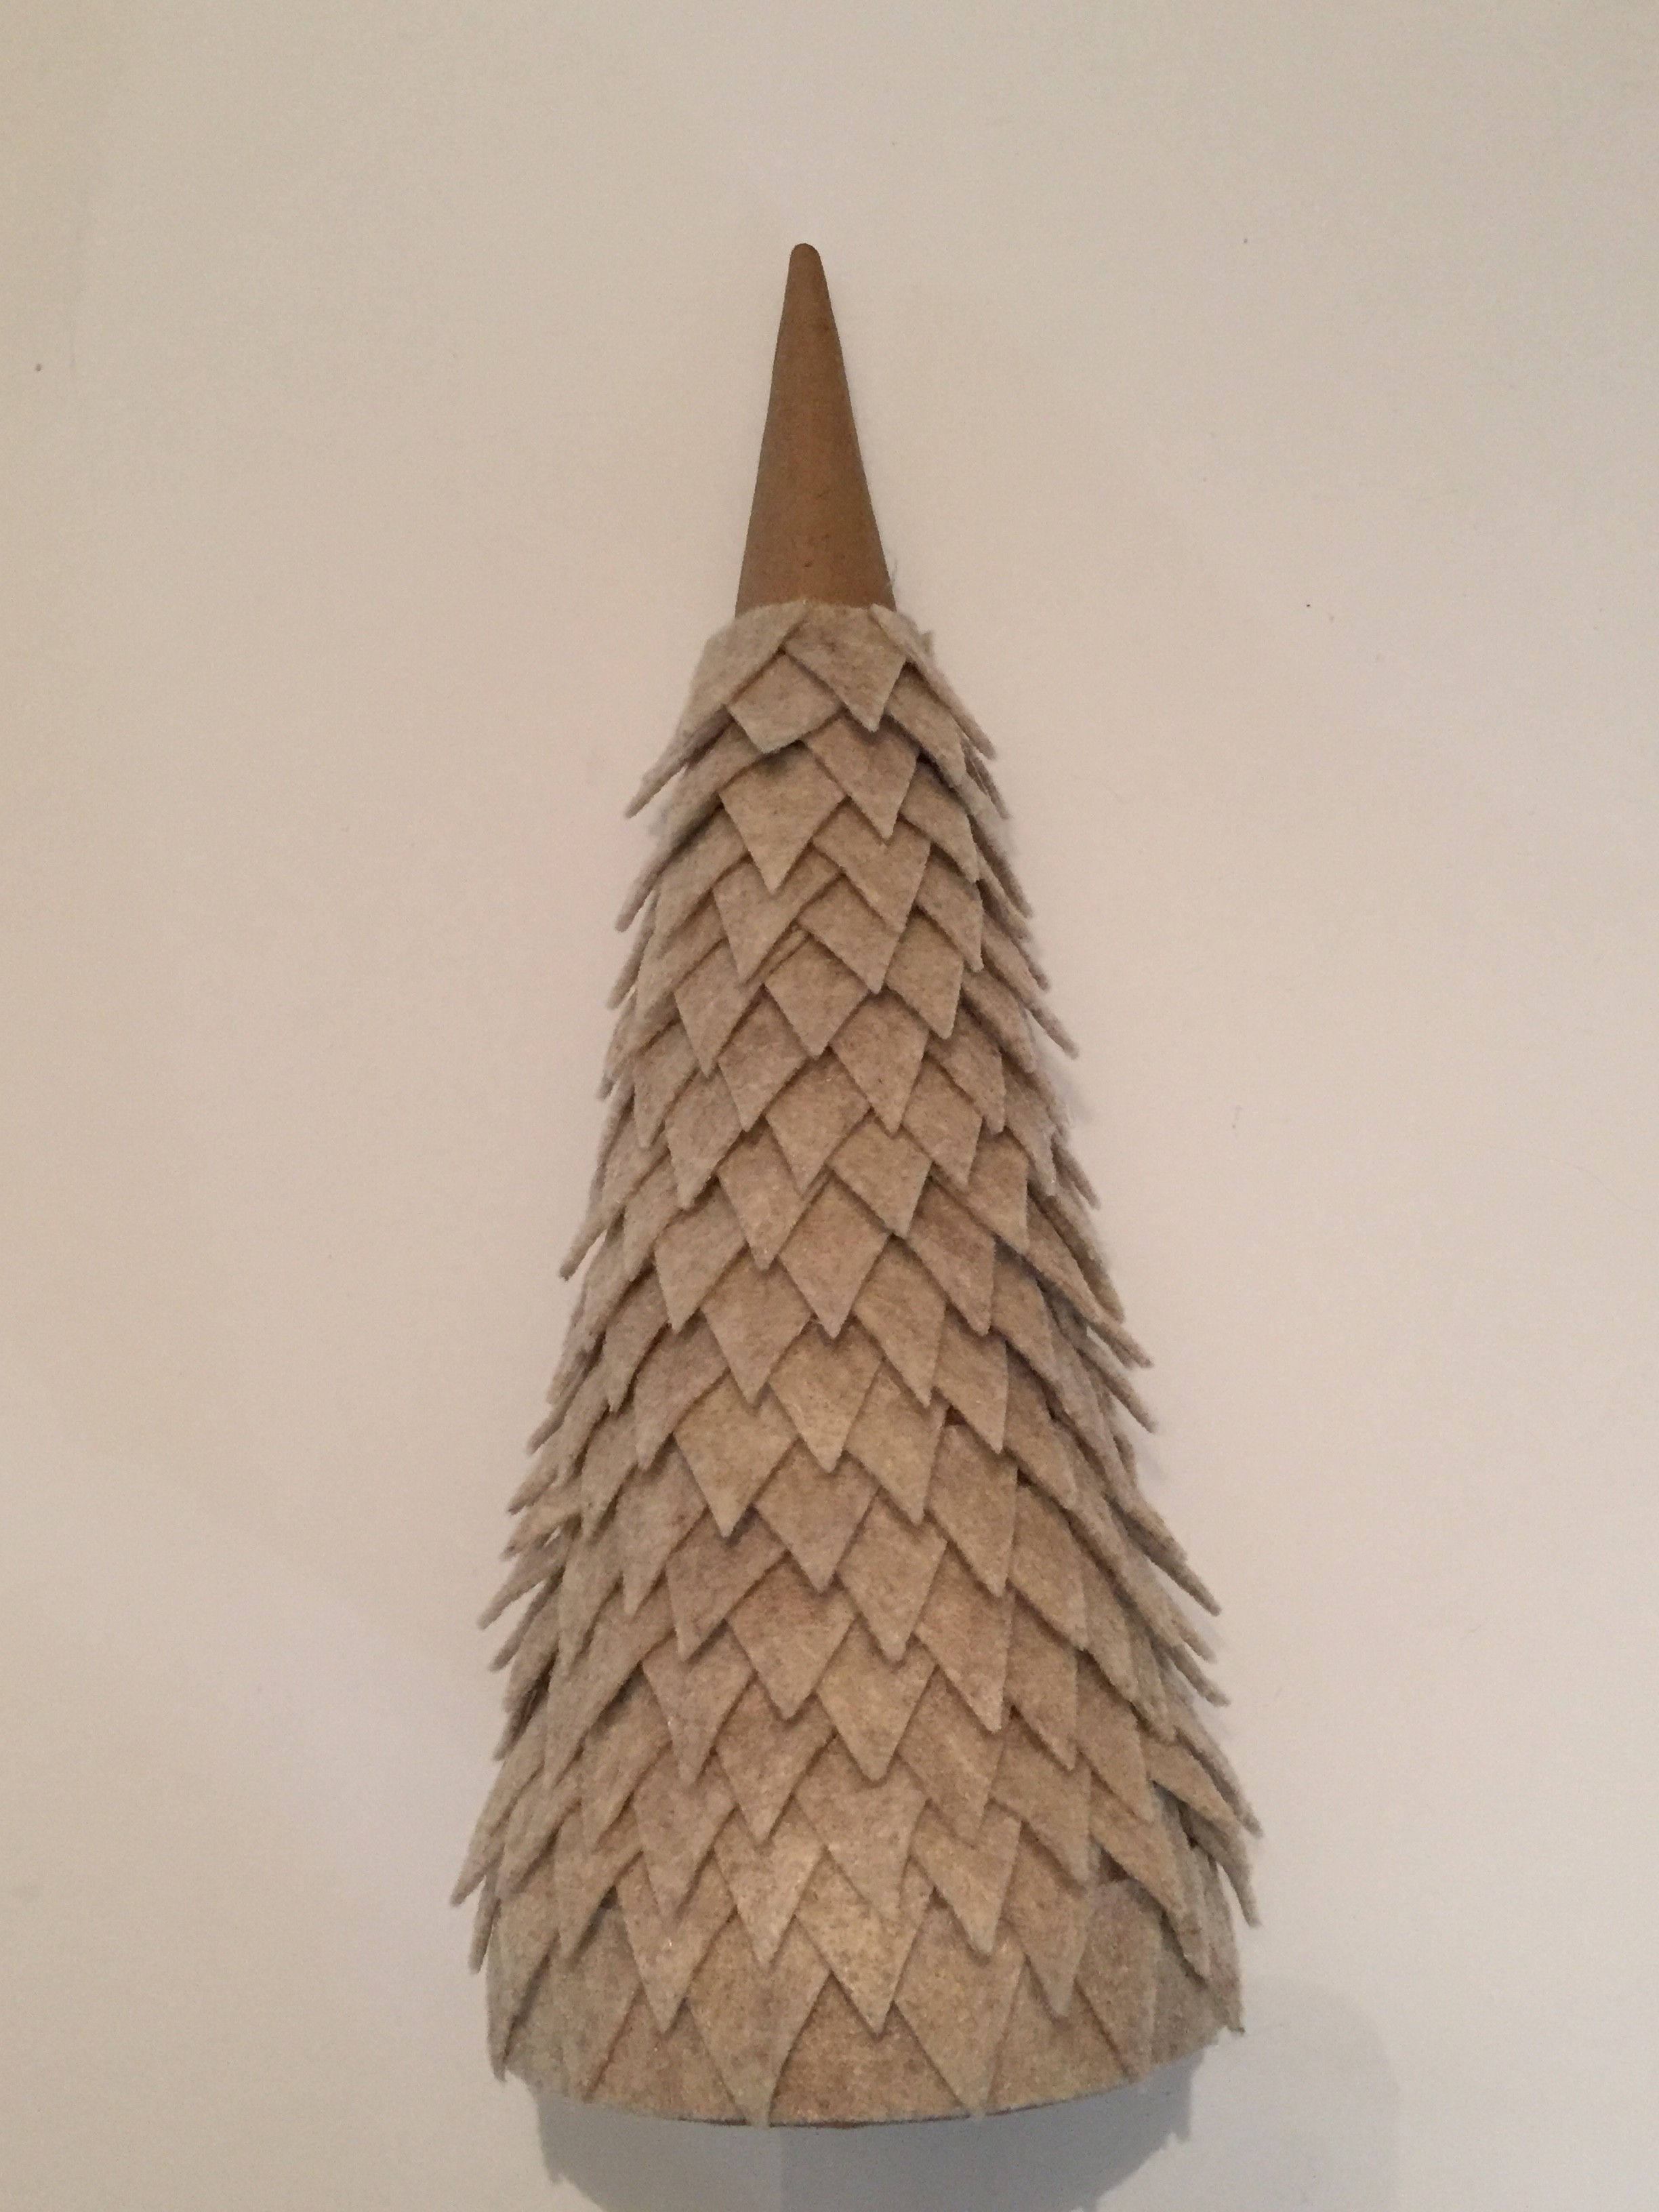
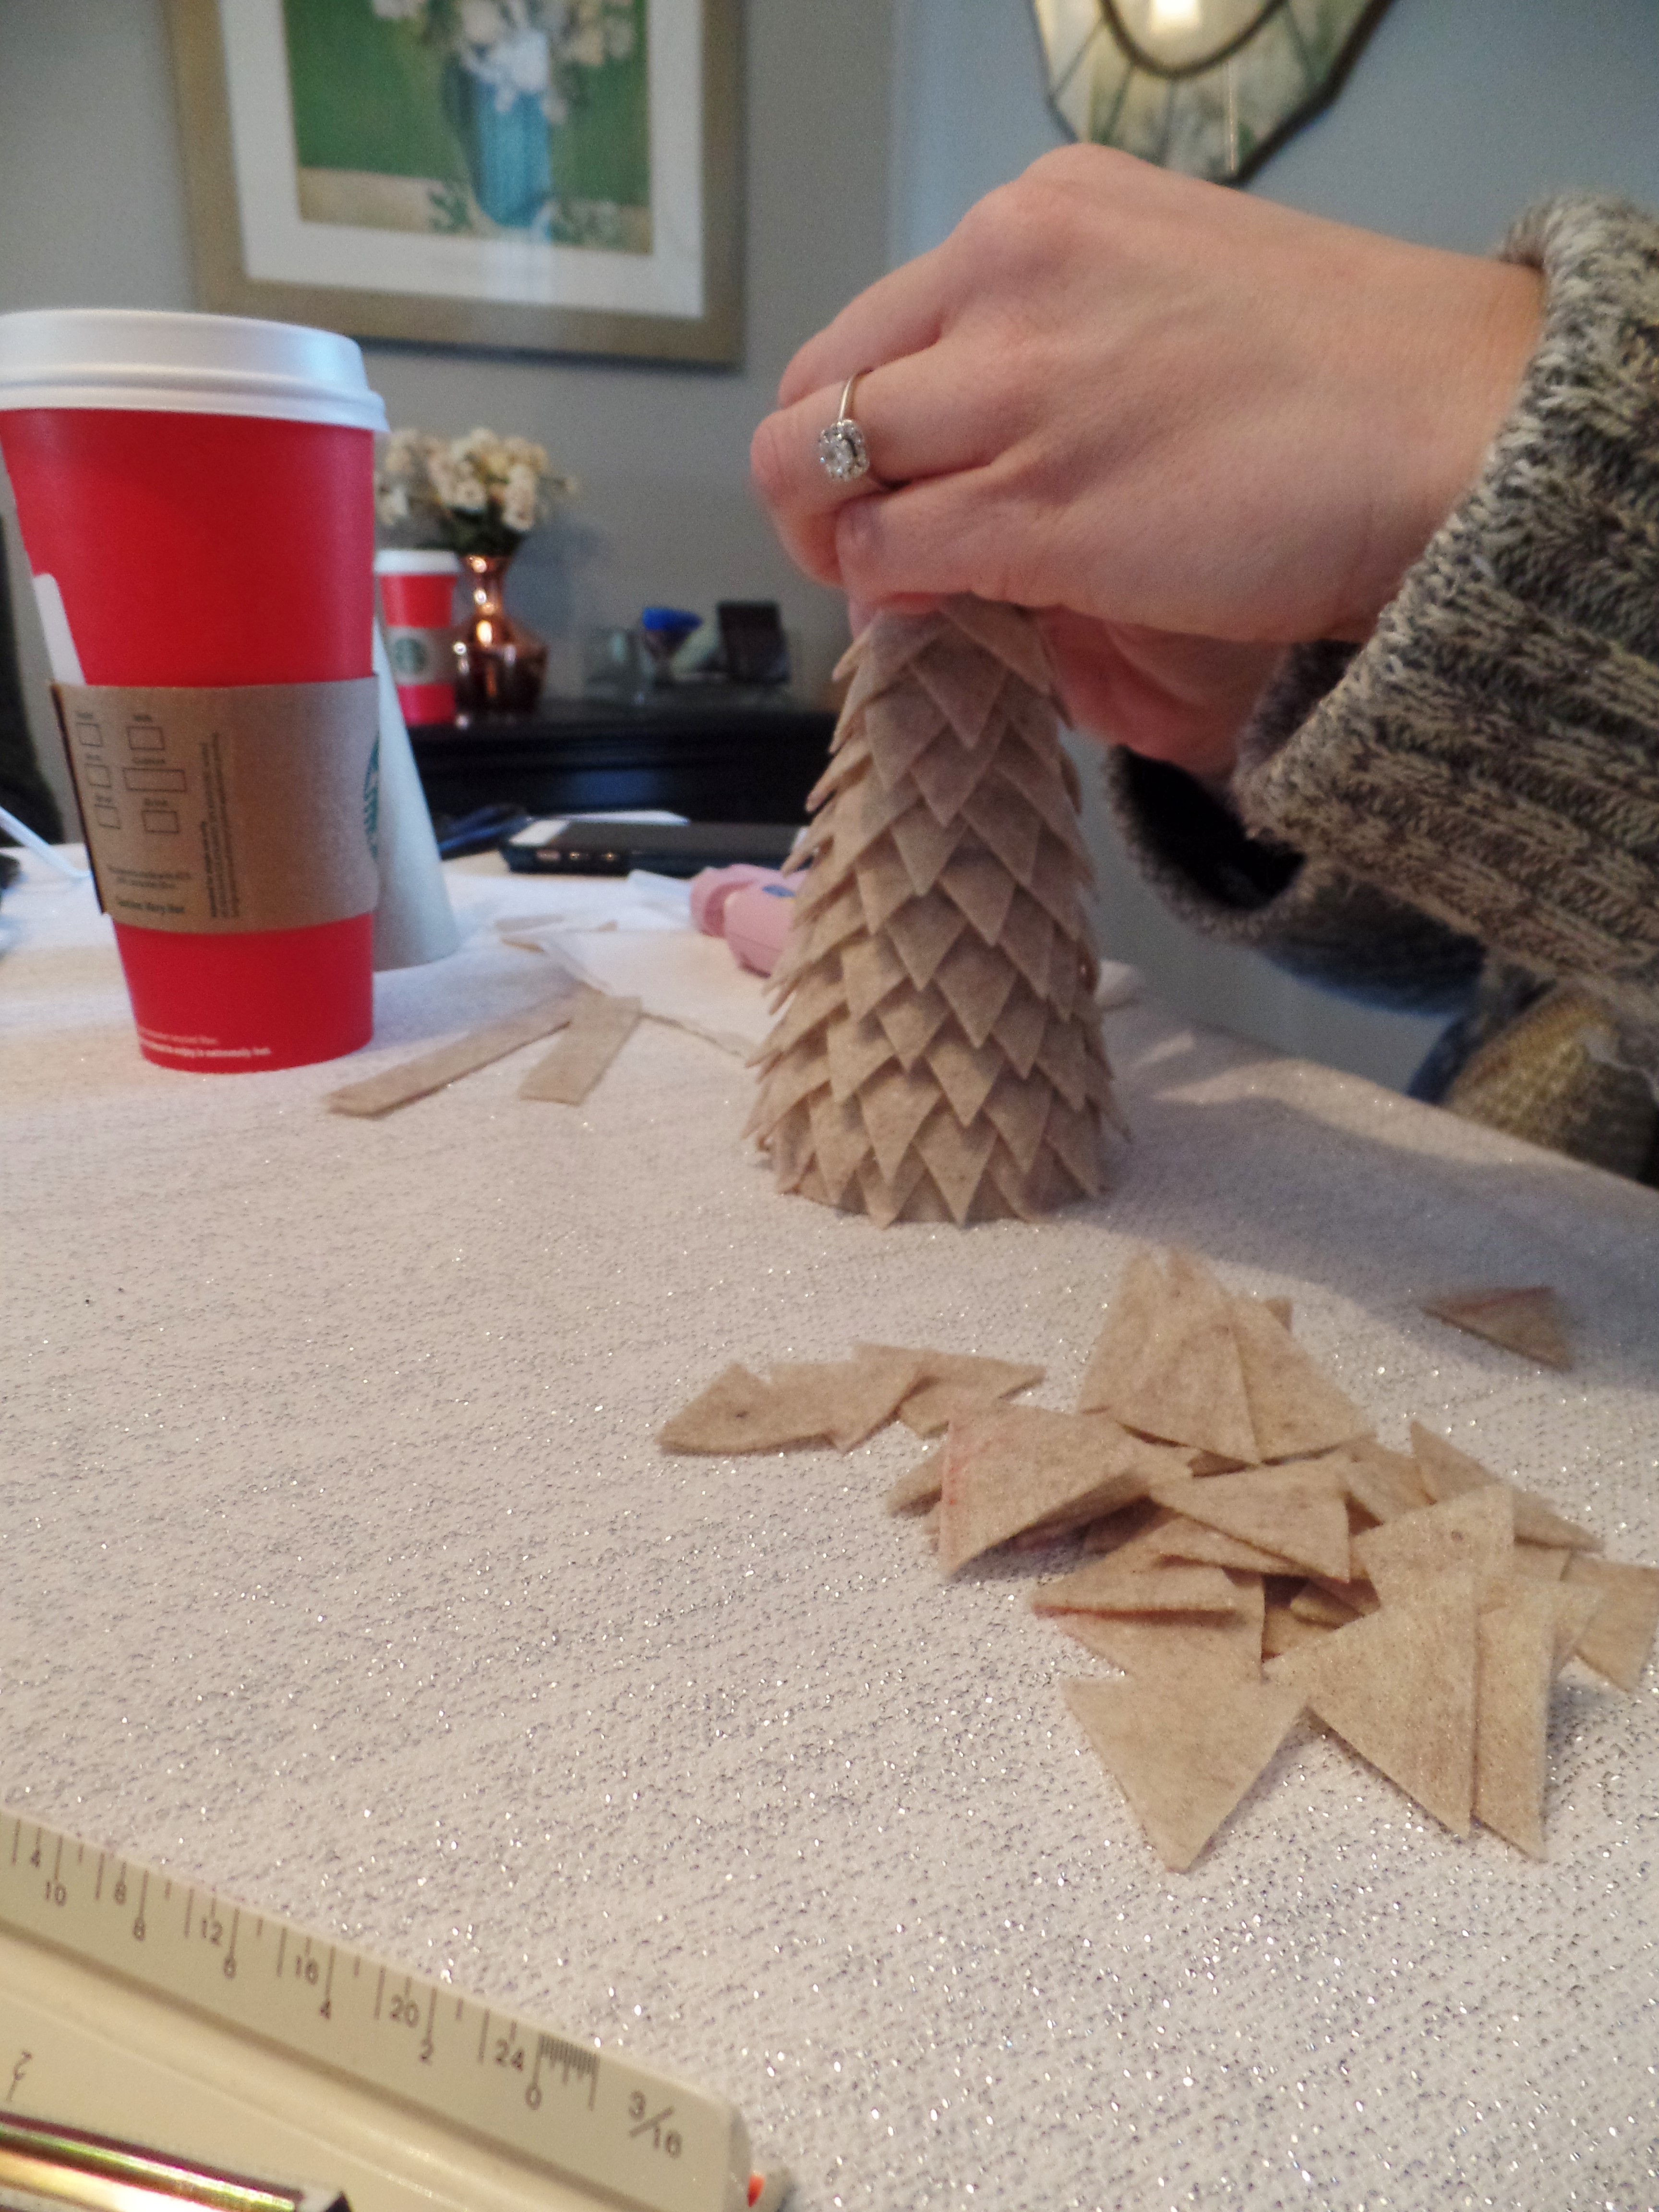
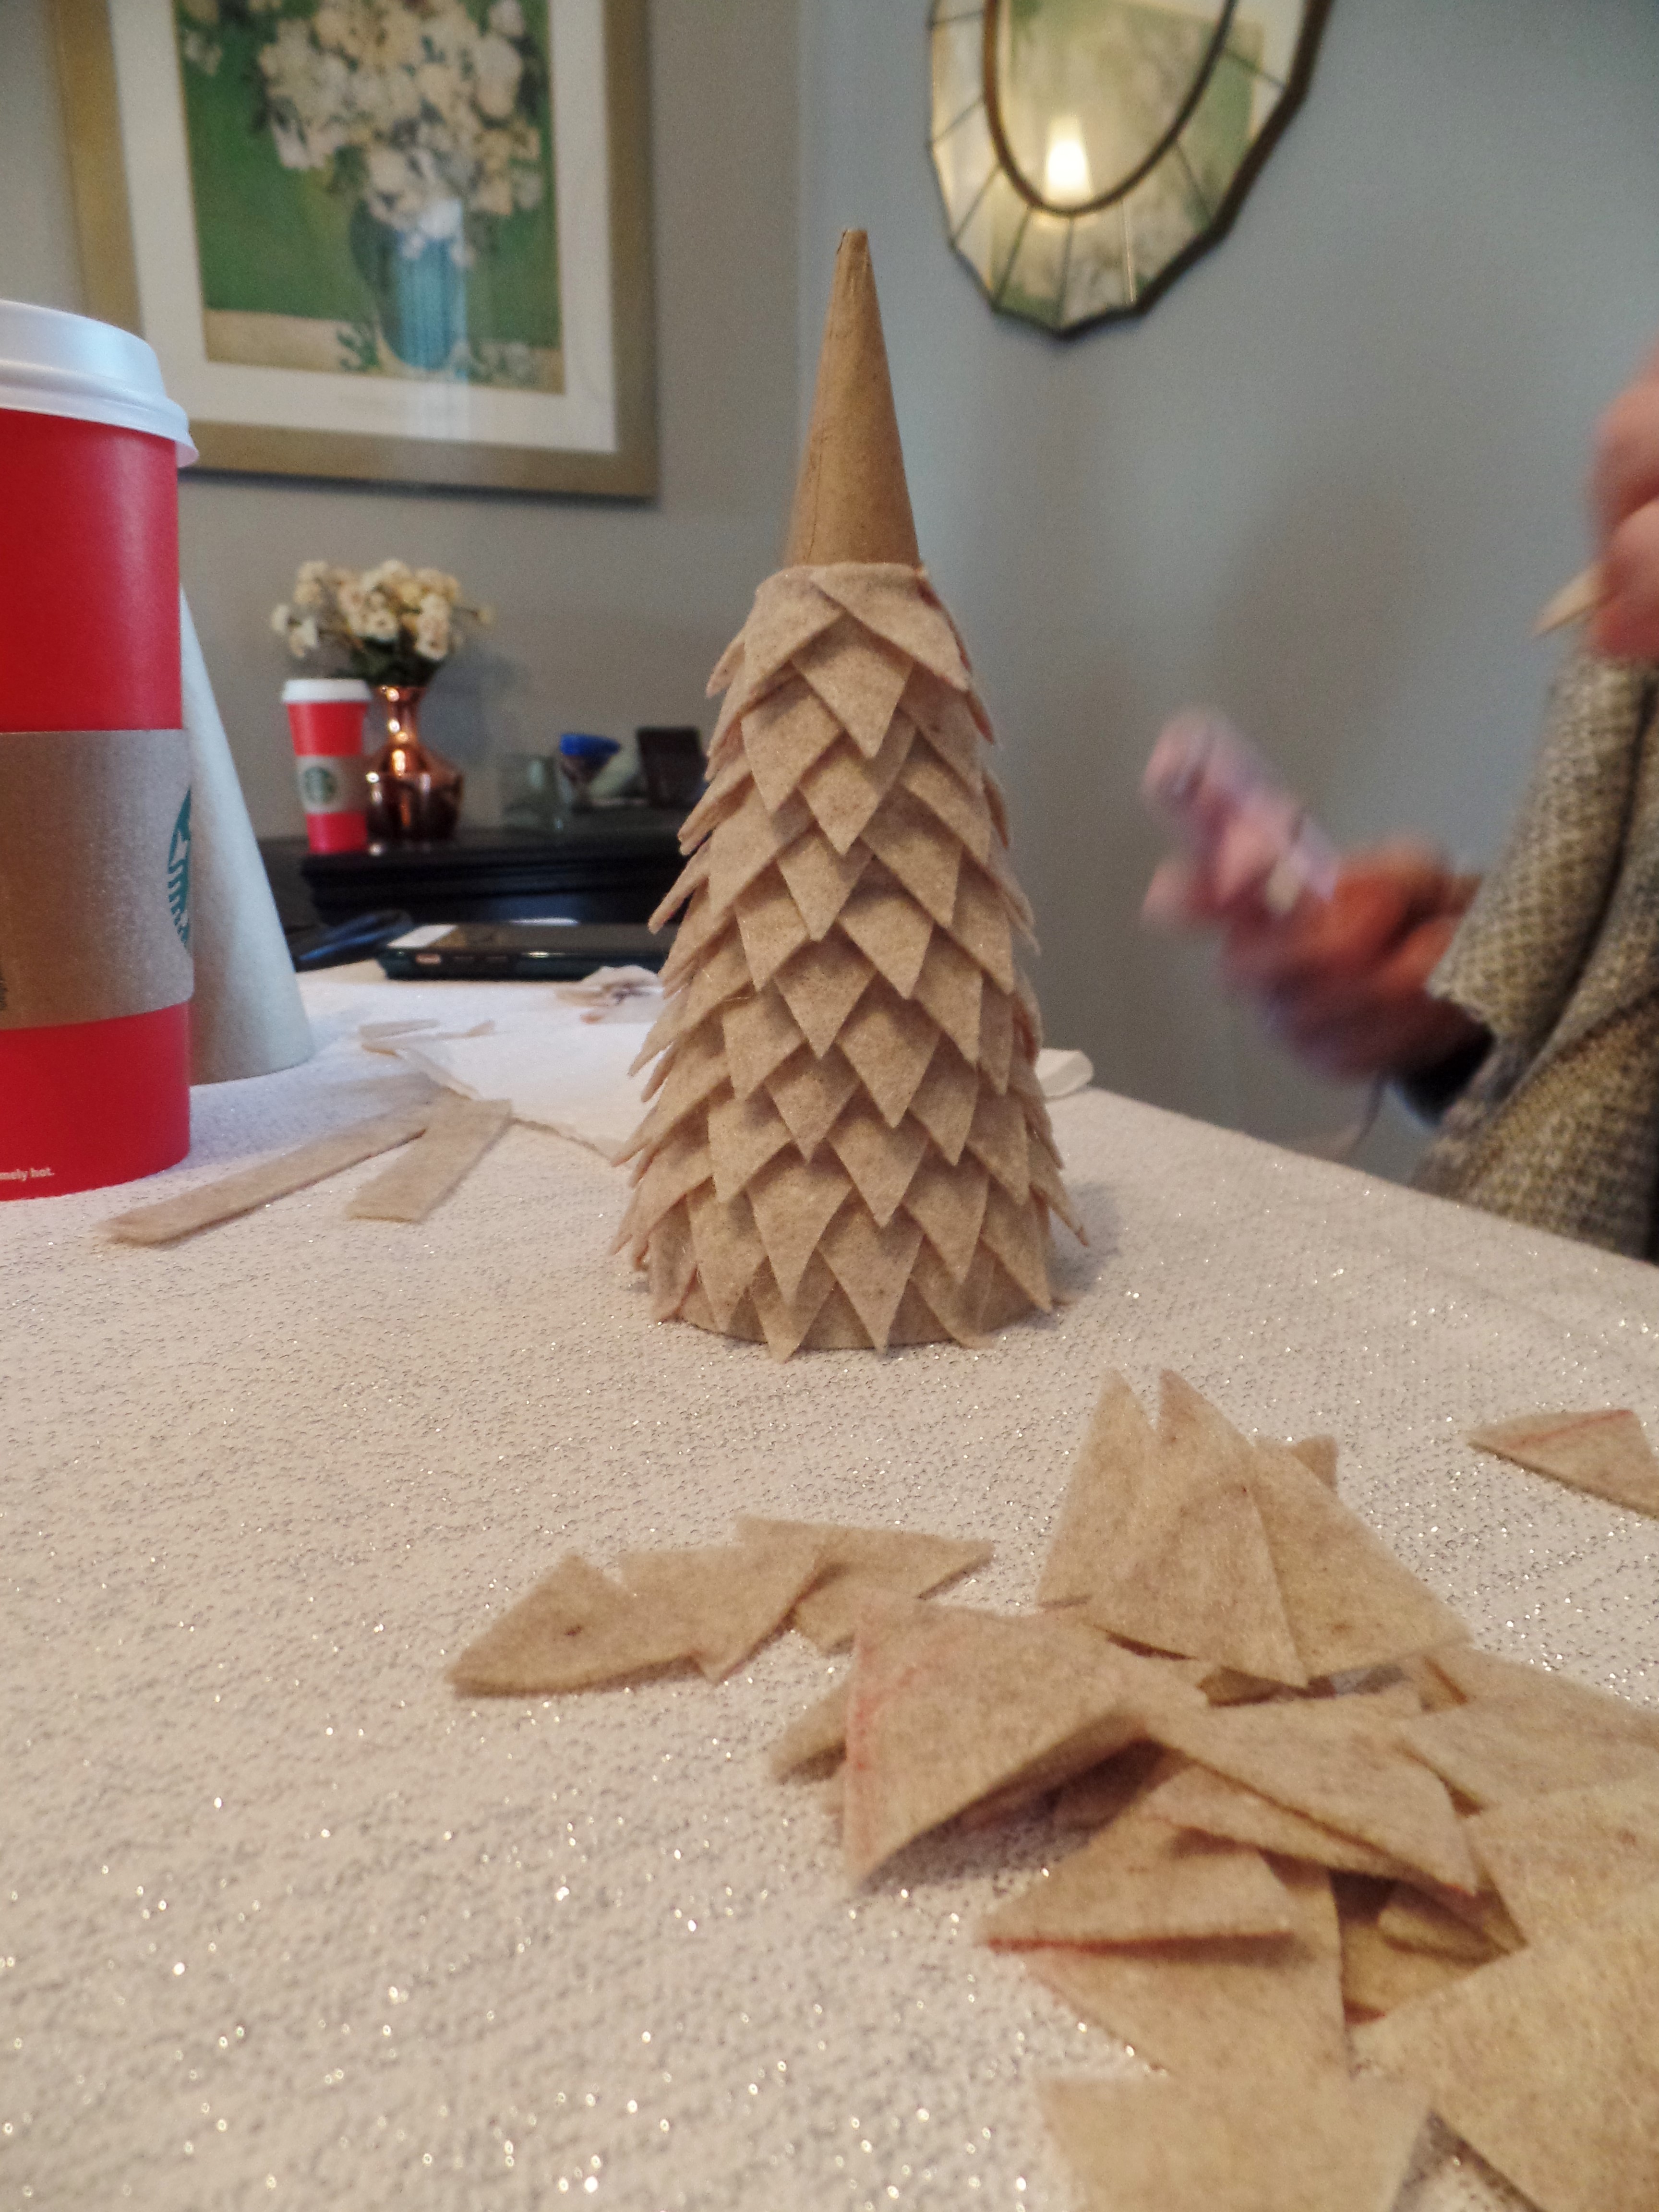
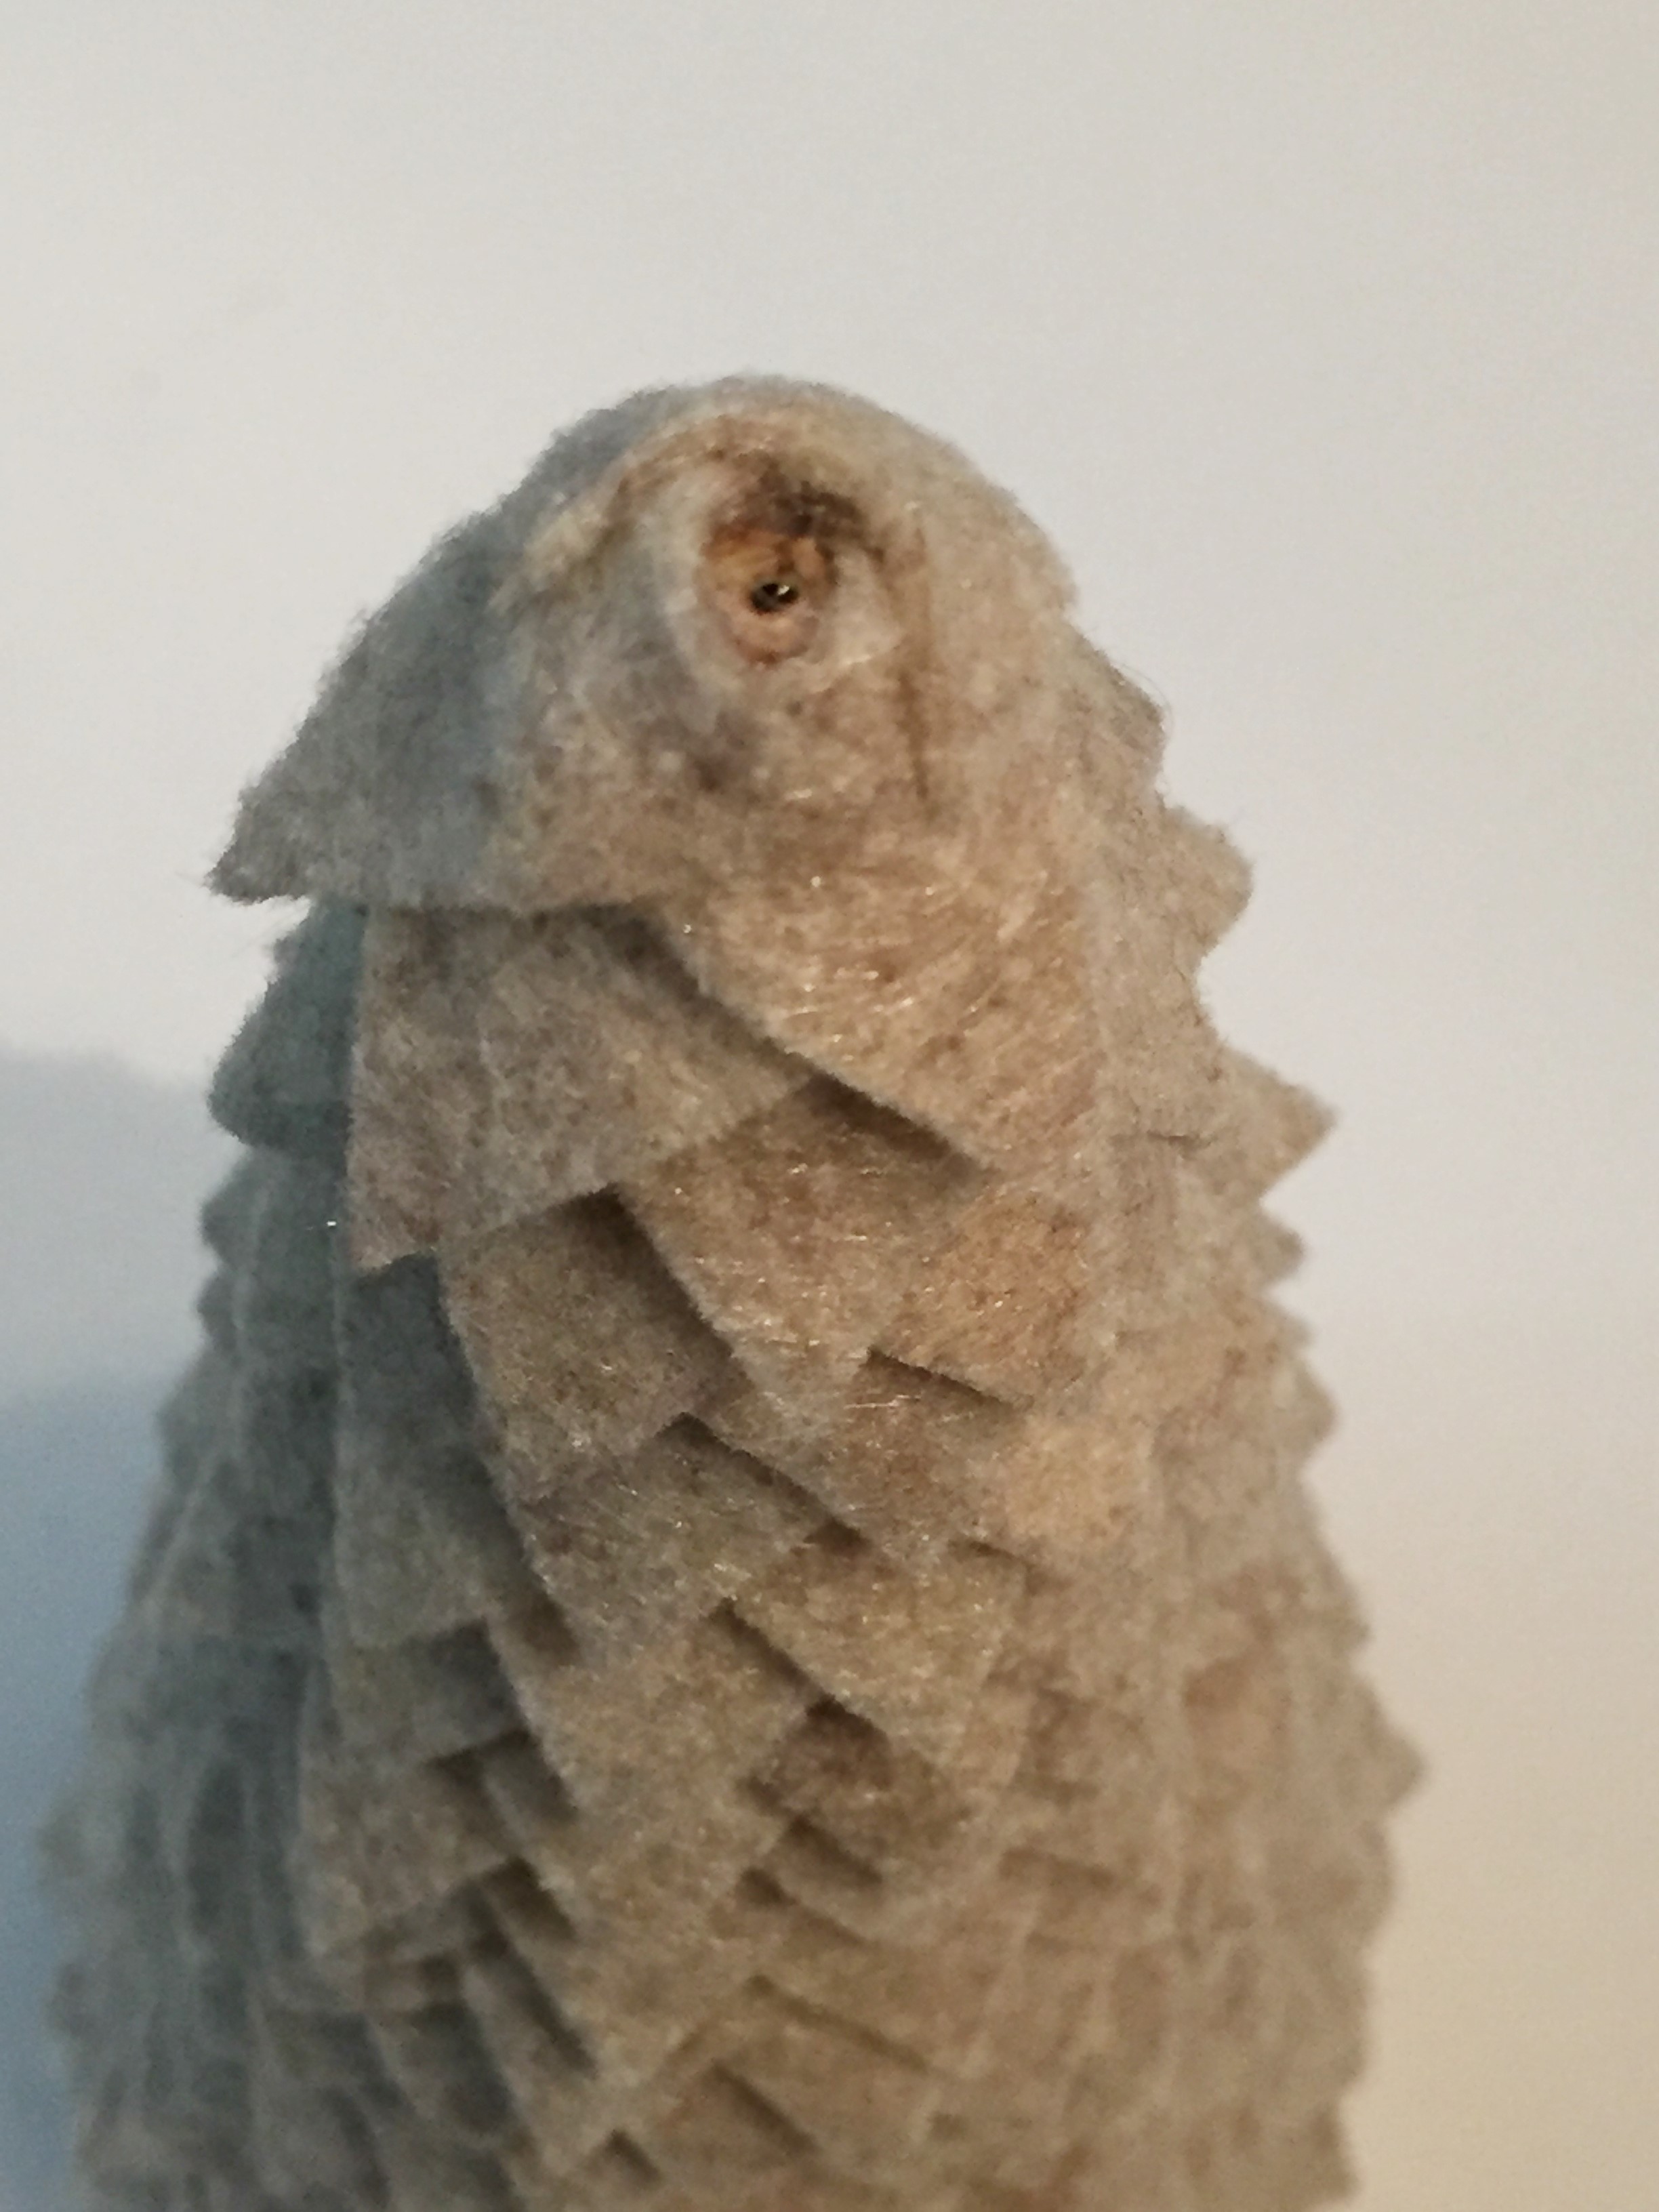
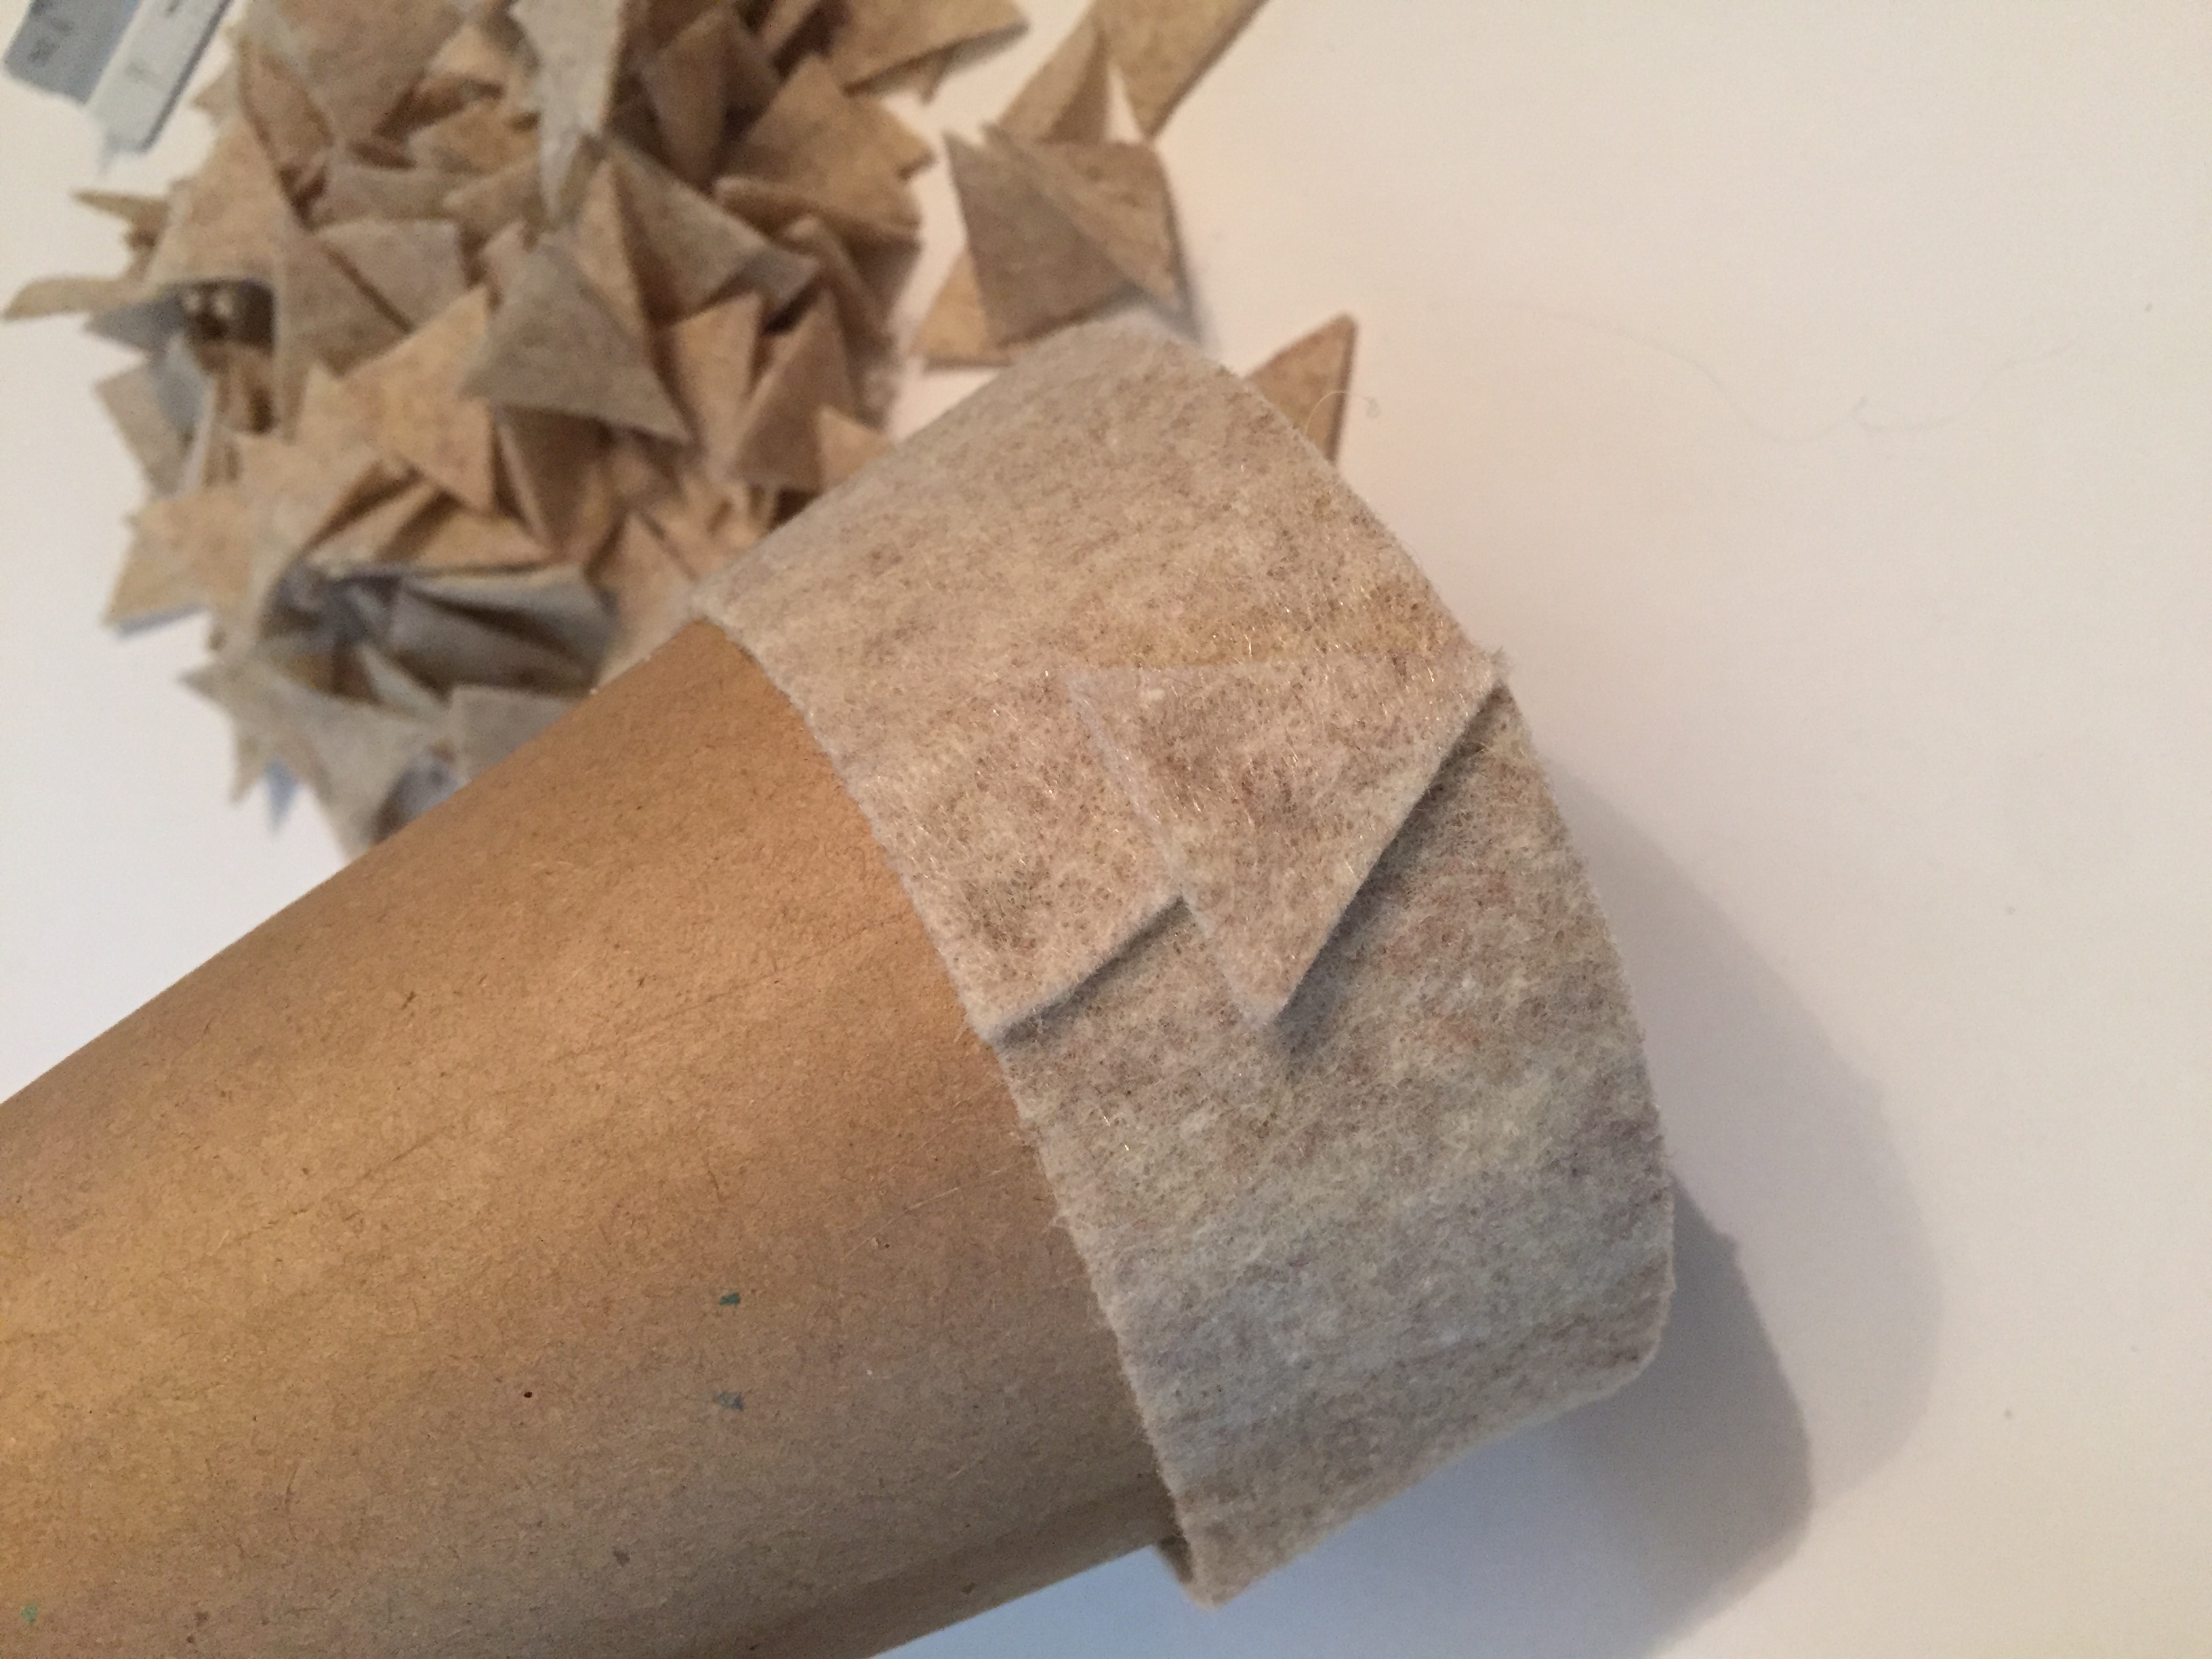
Felt Tree
*larger cone used here
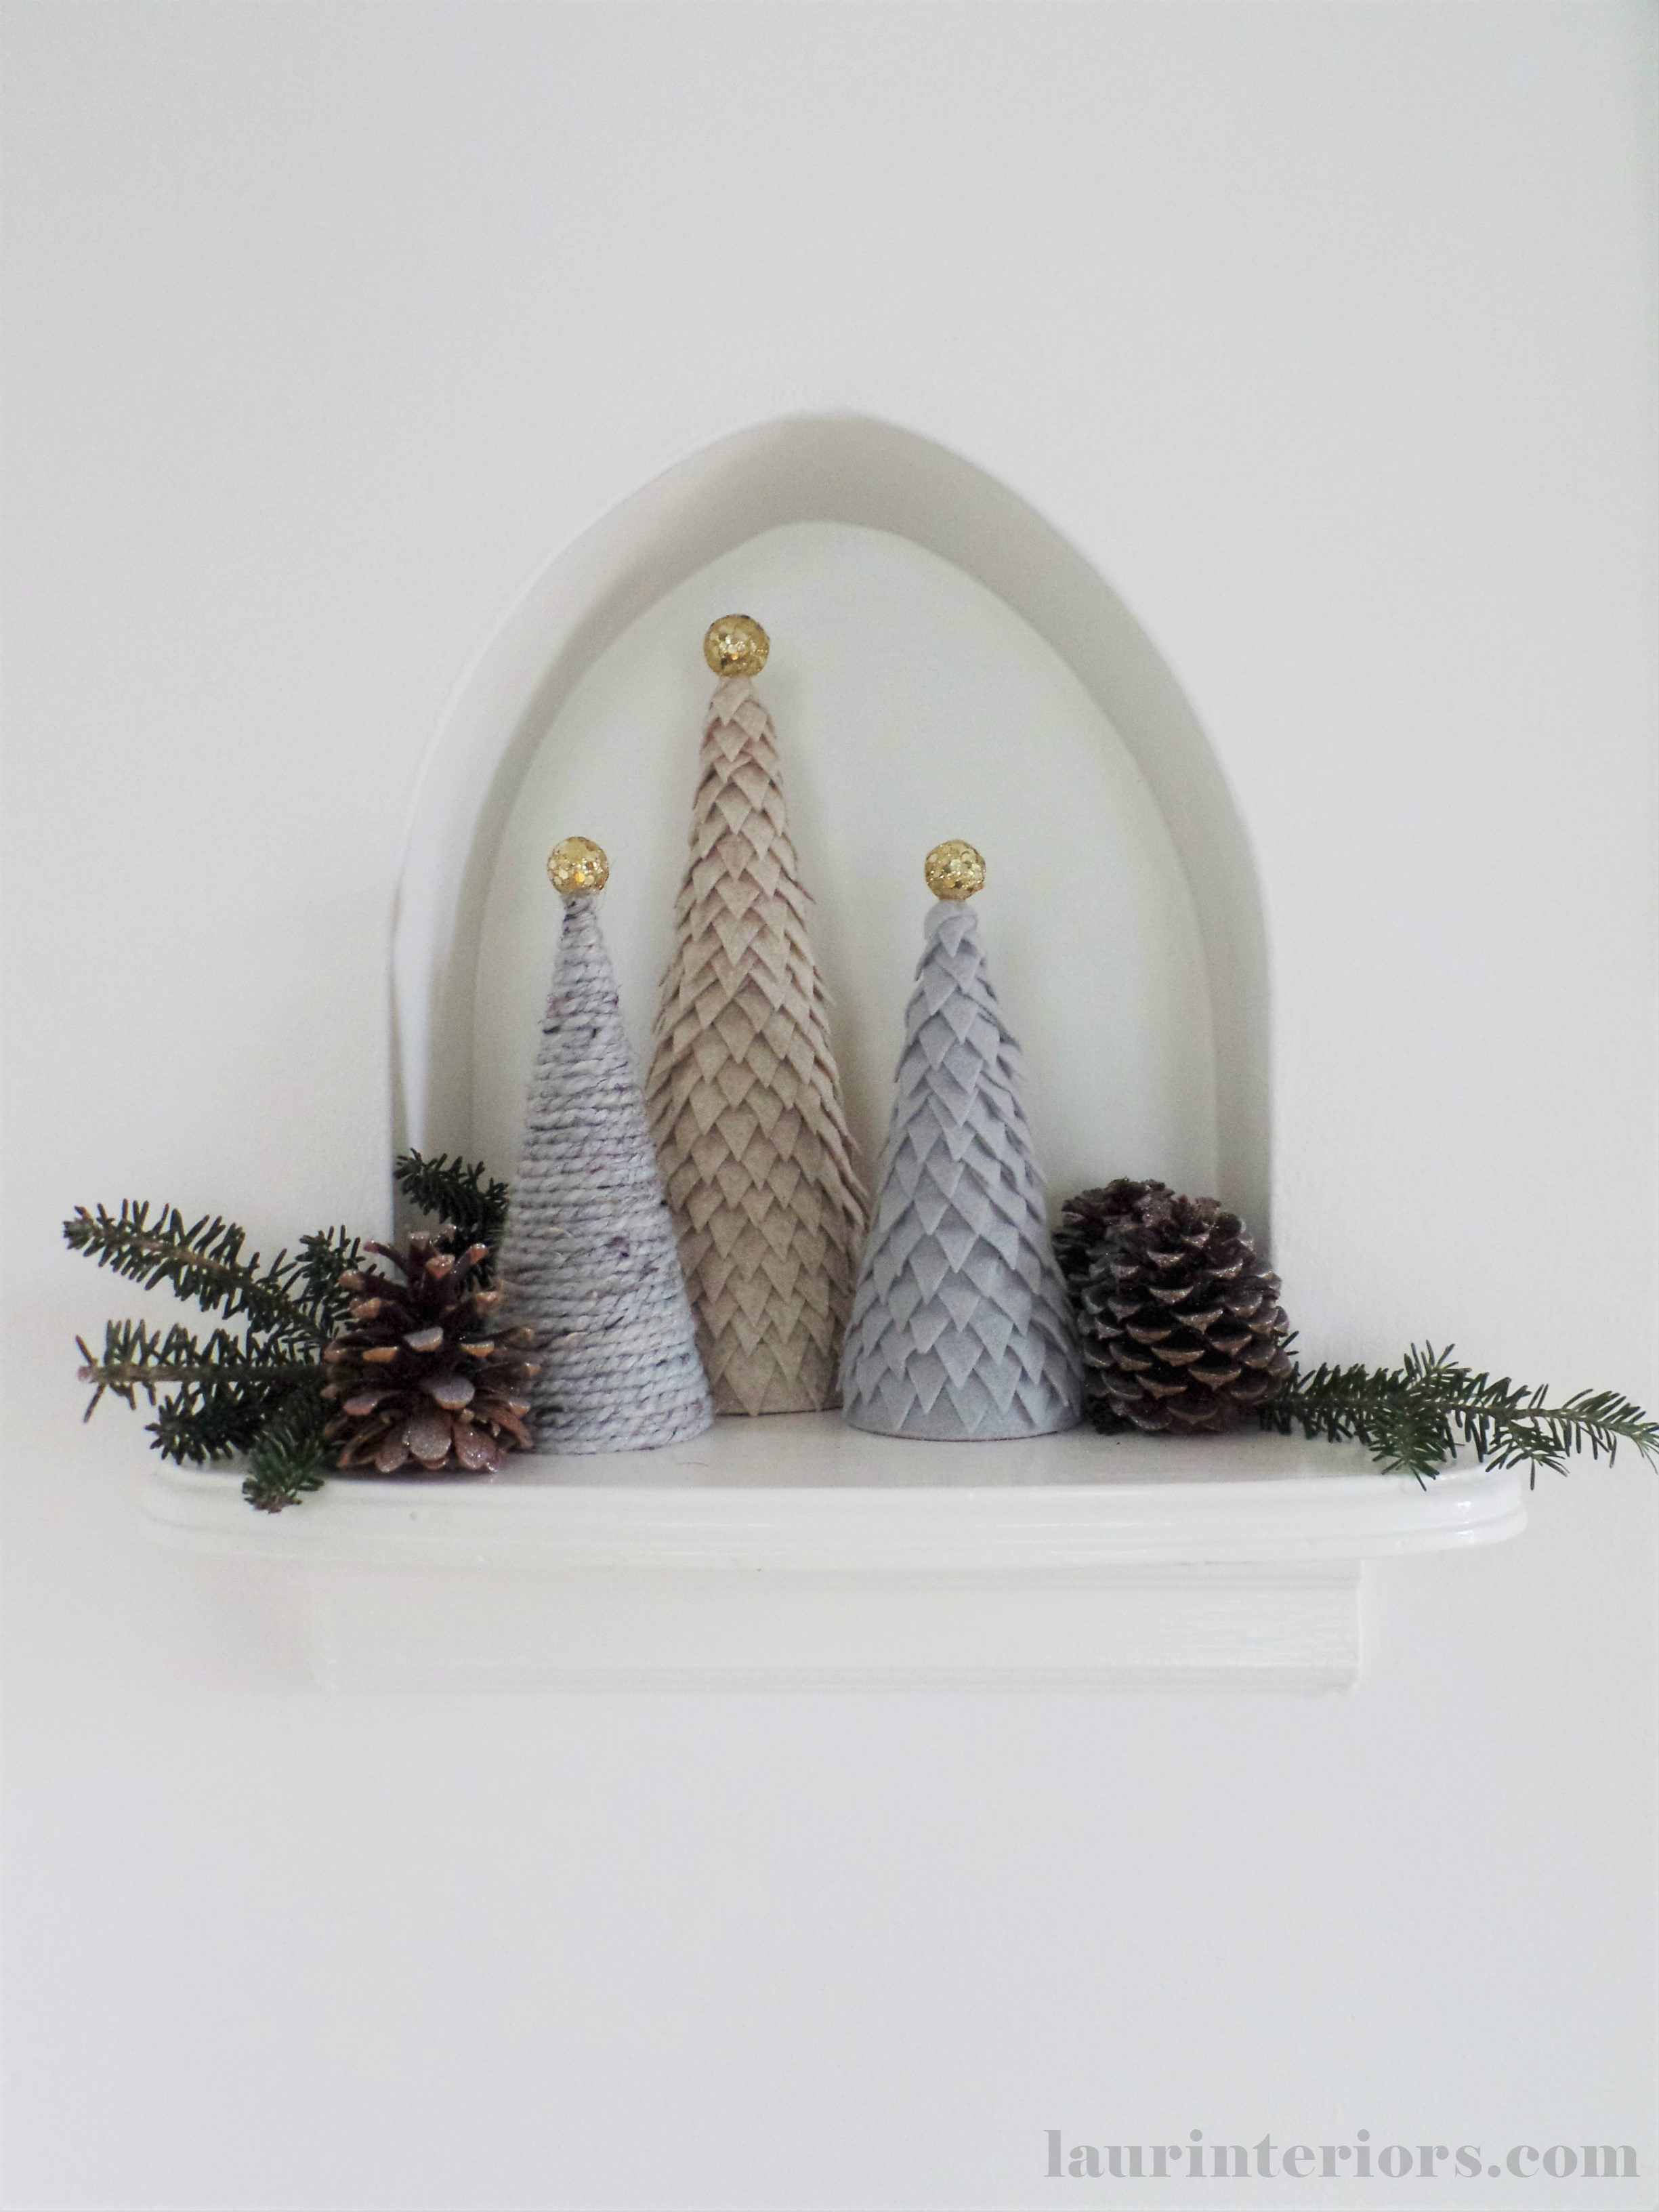
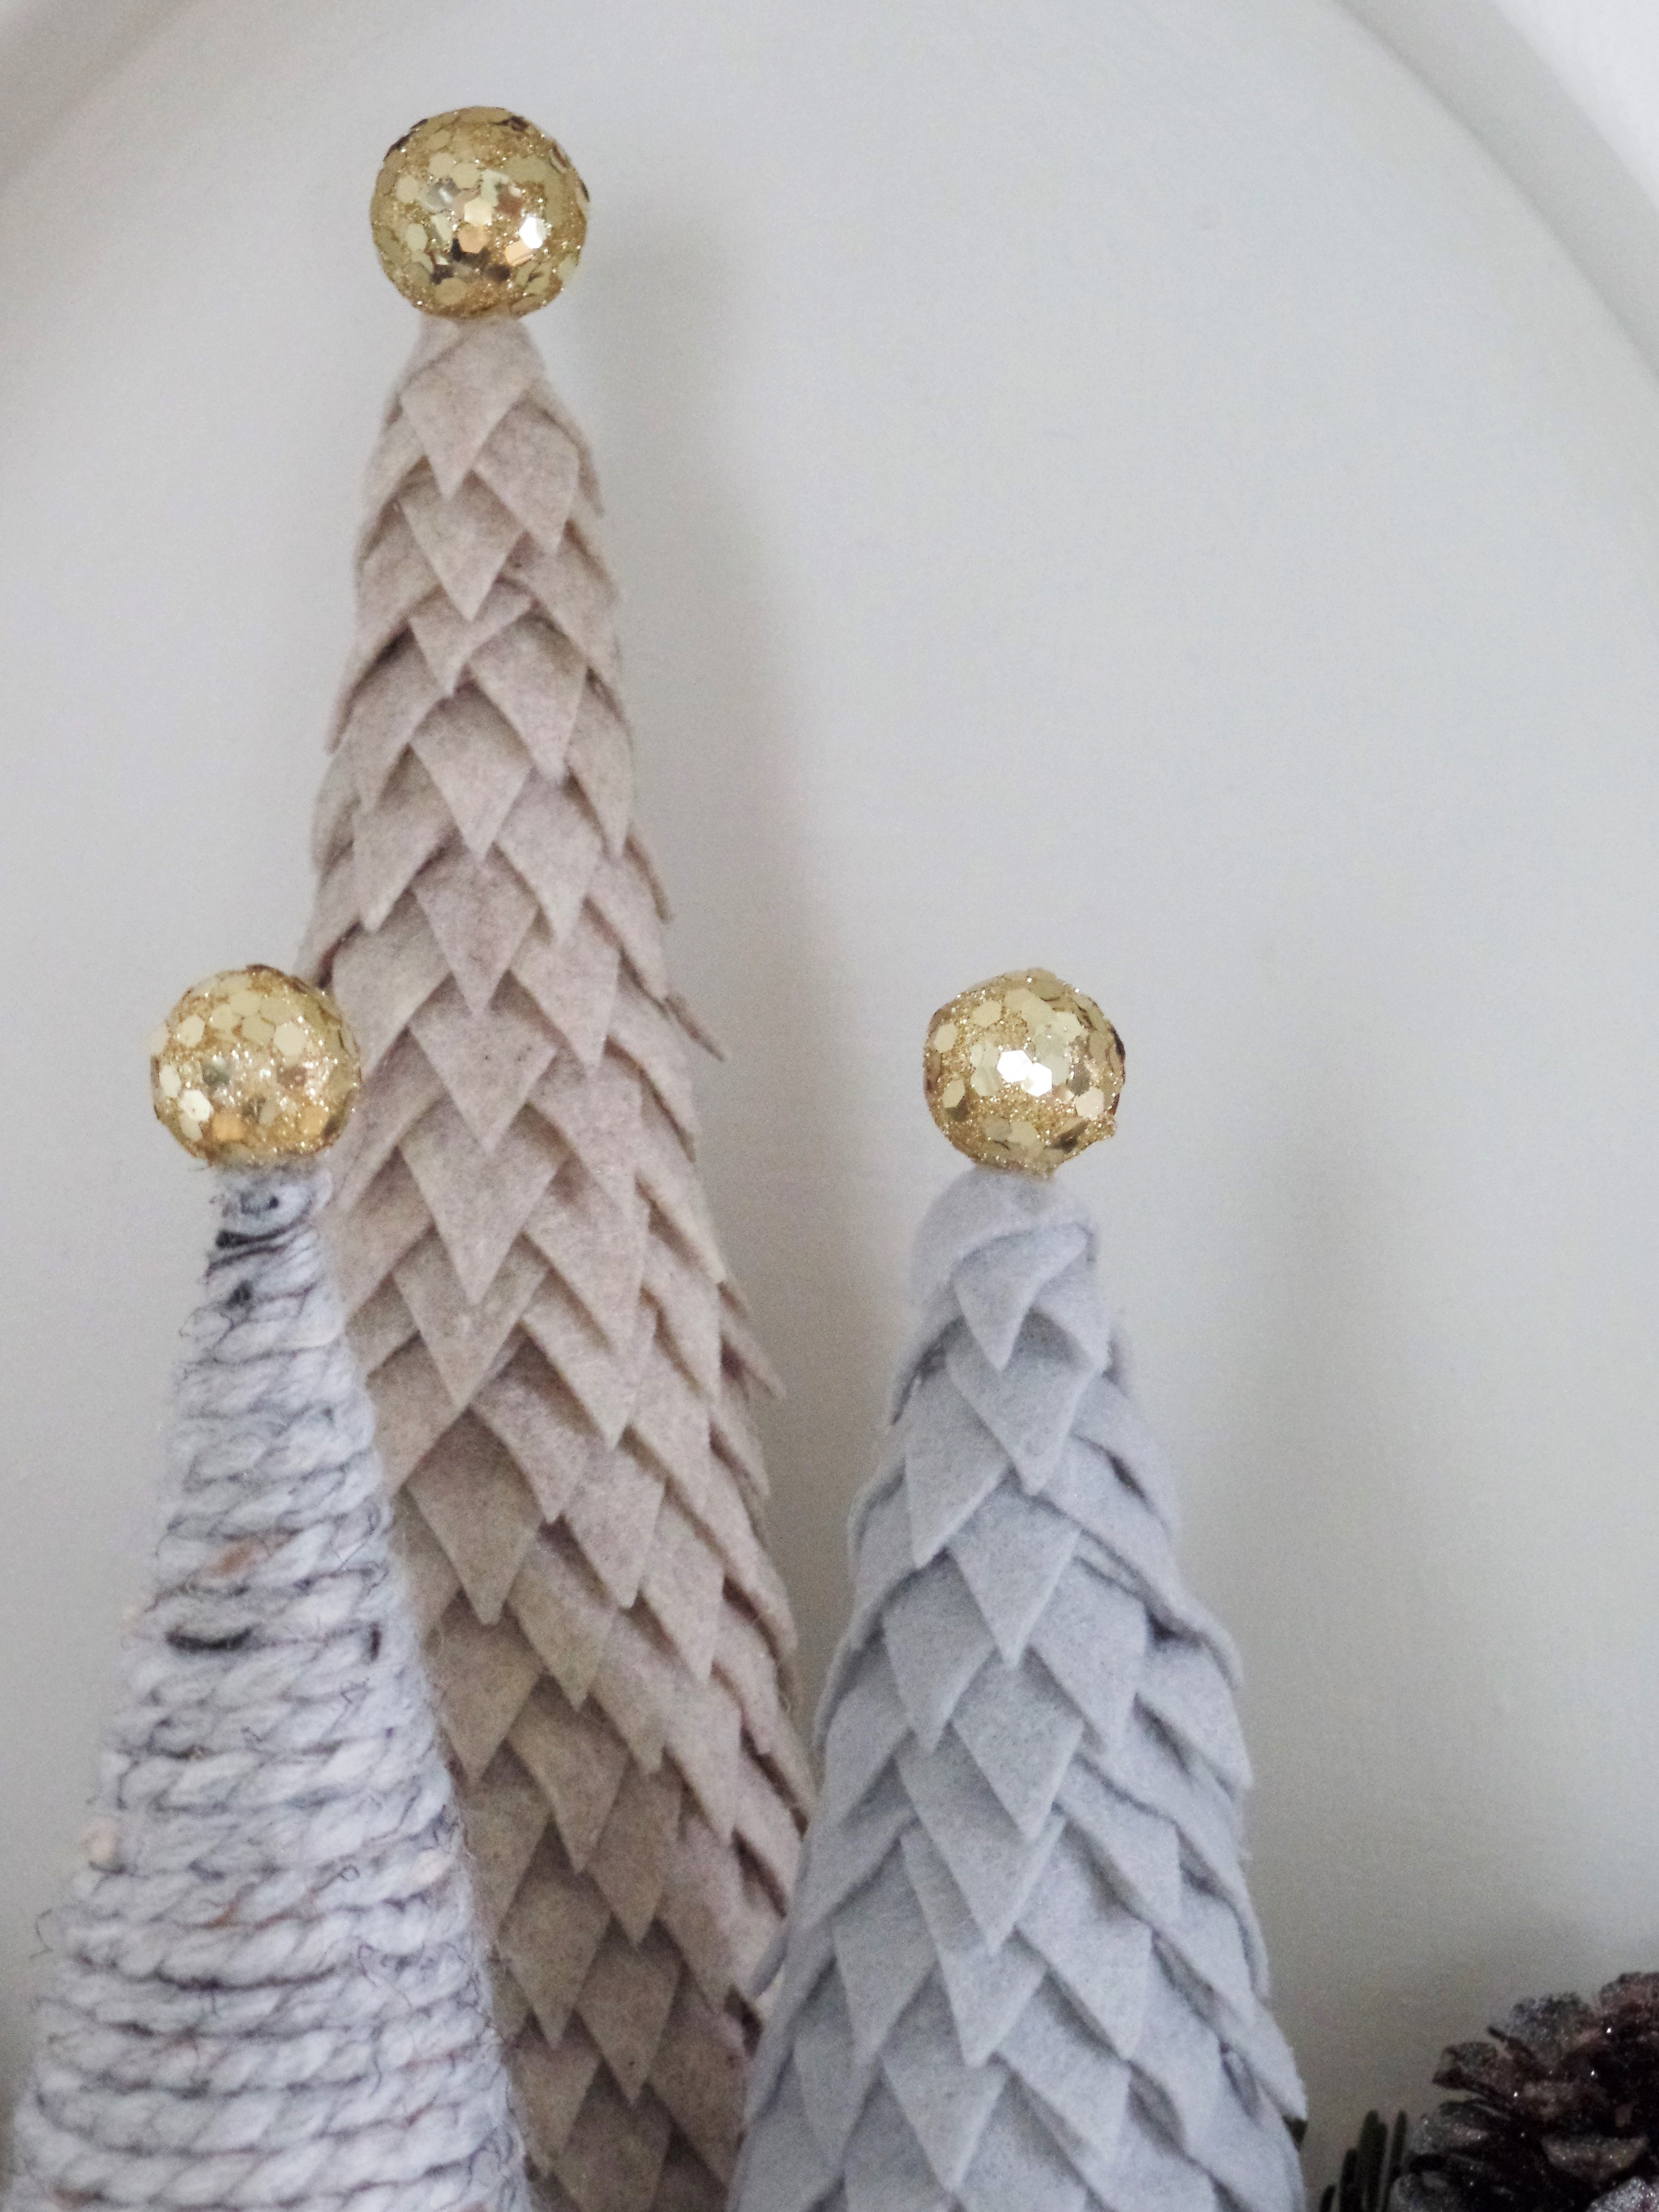
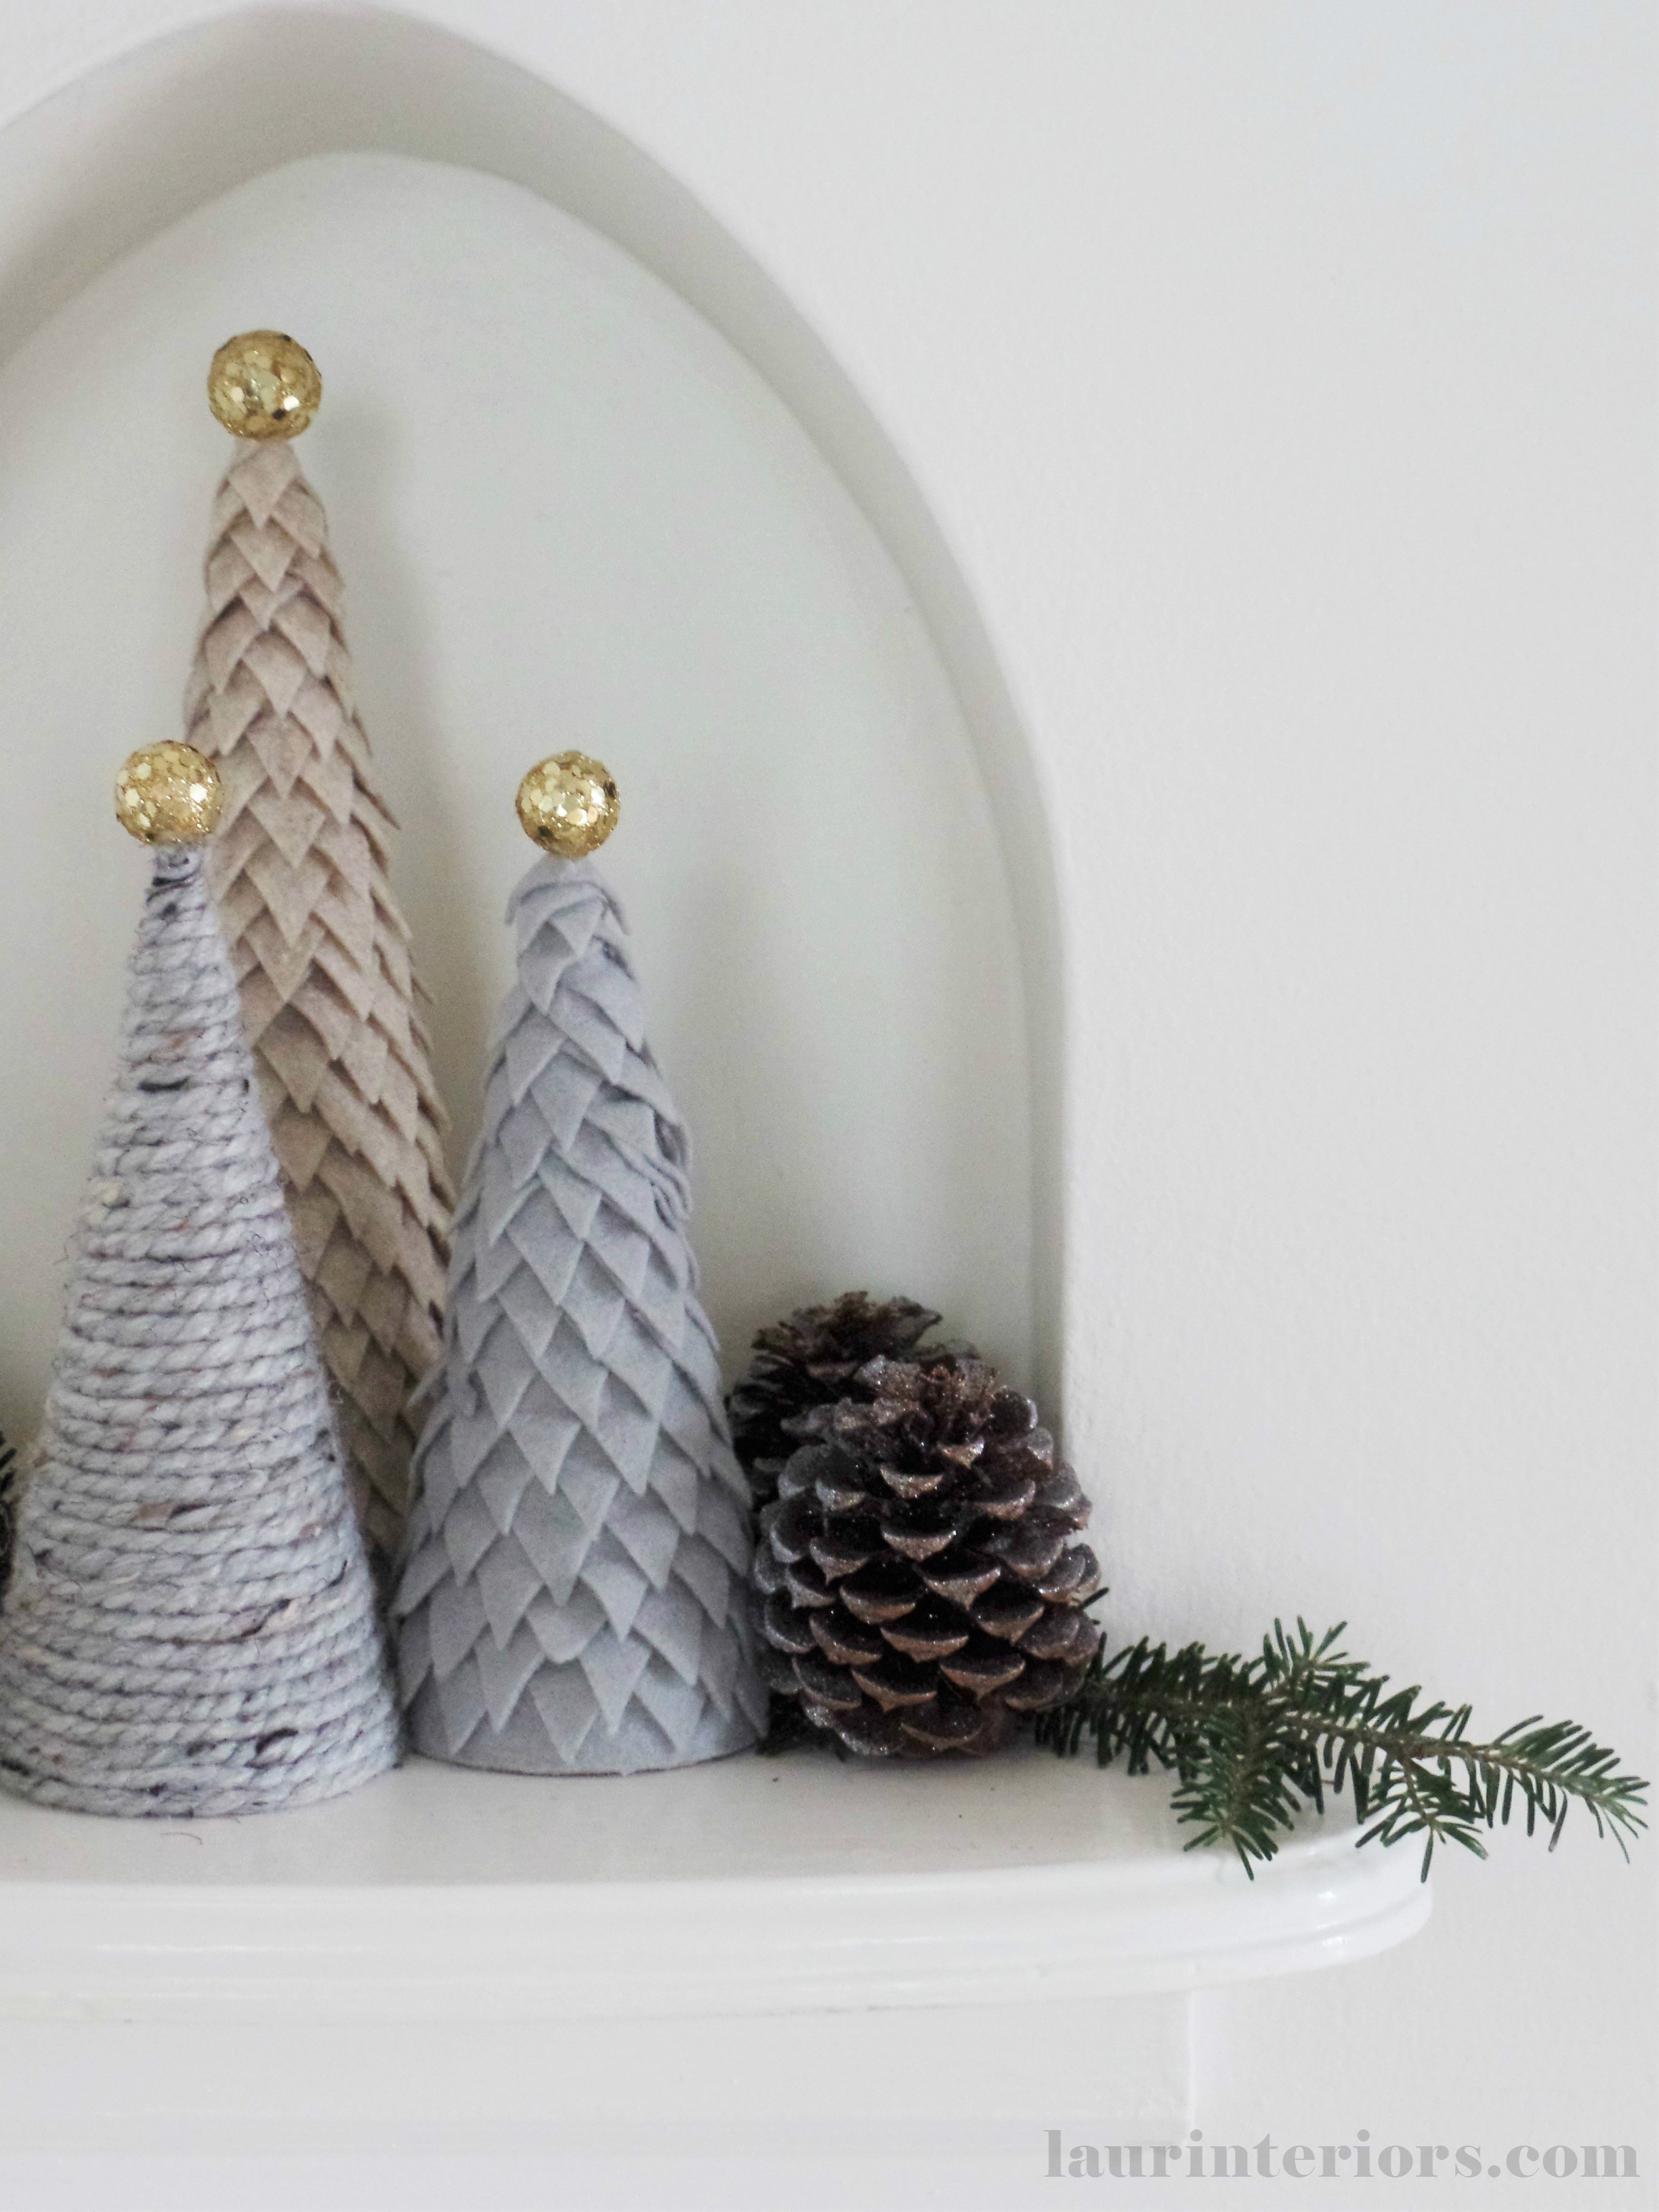
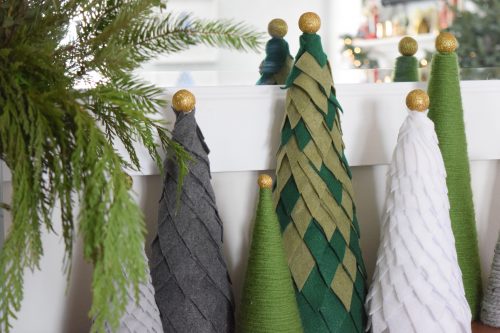
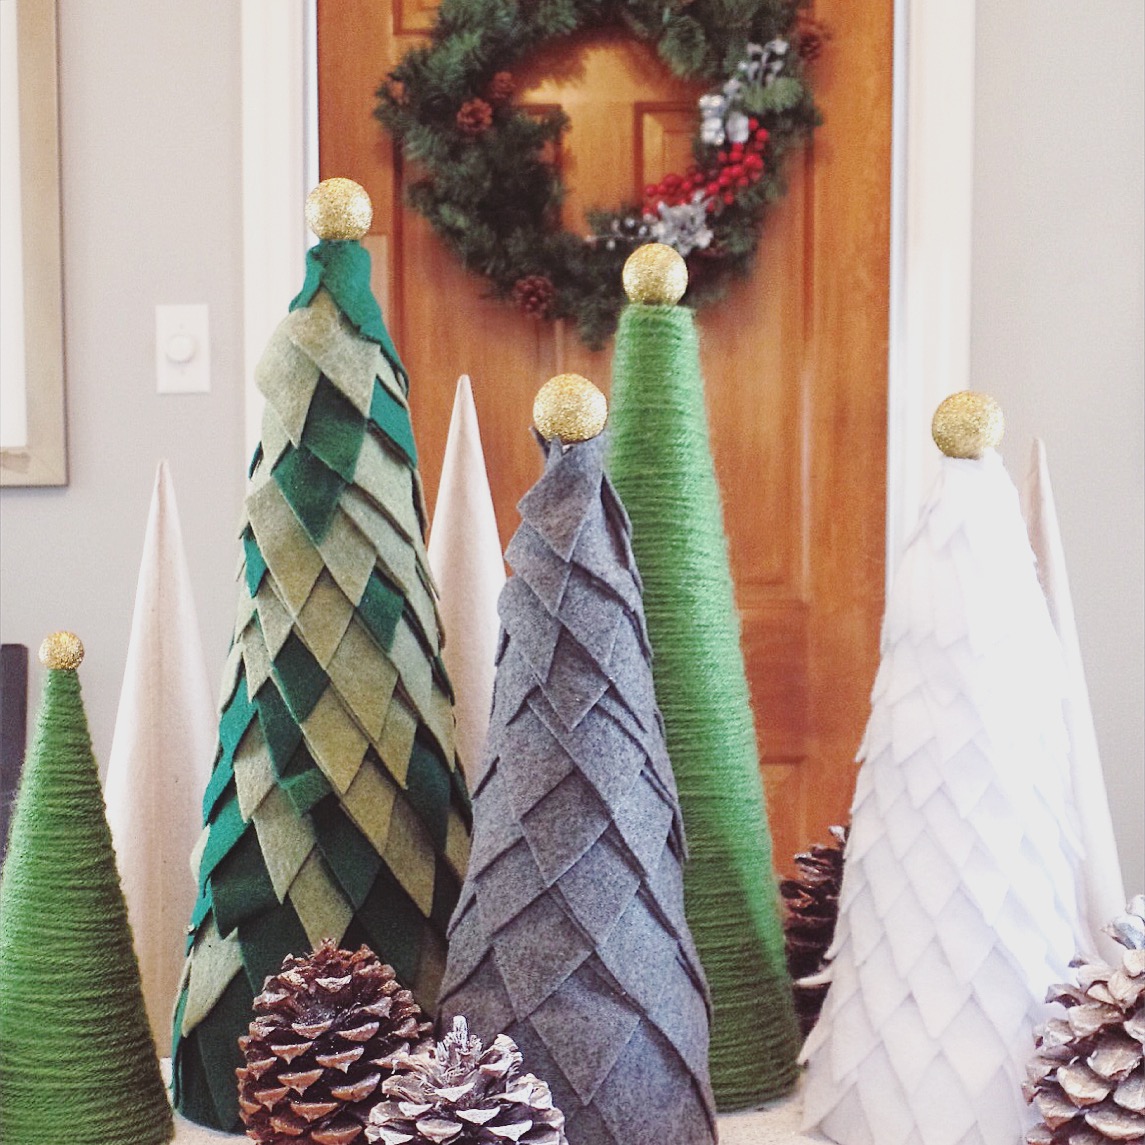
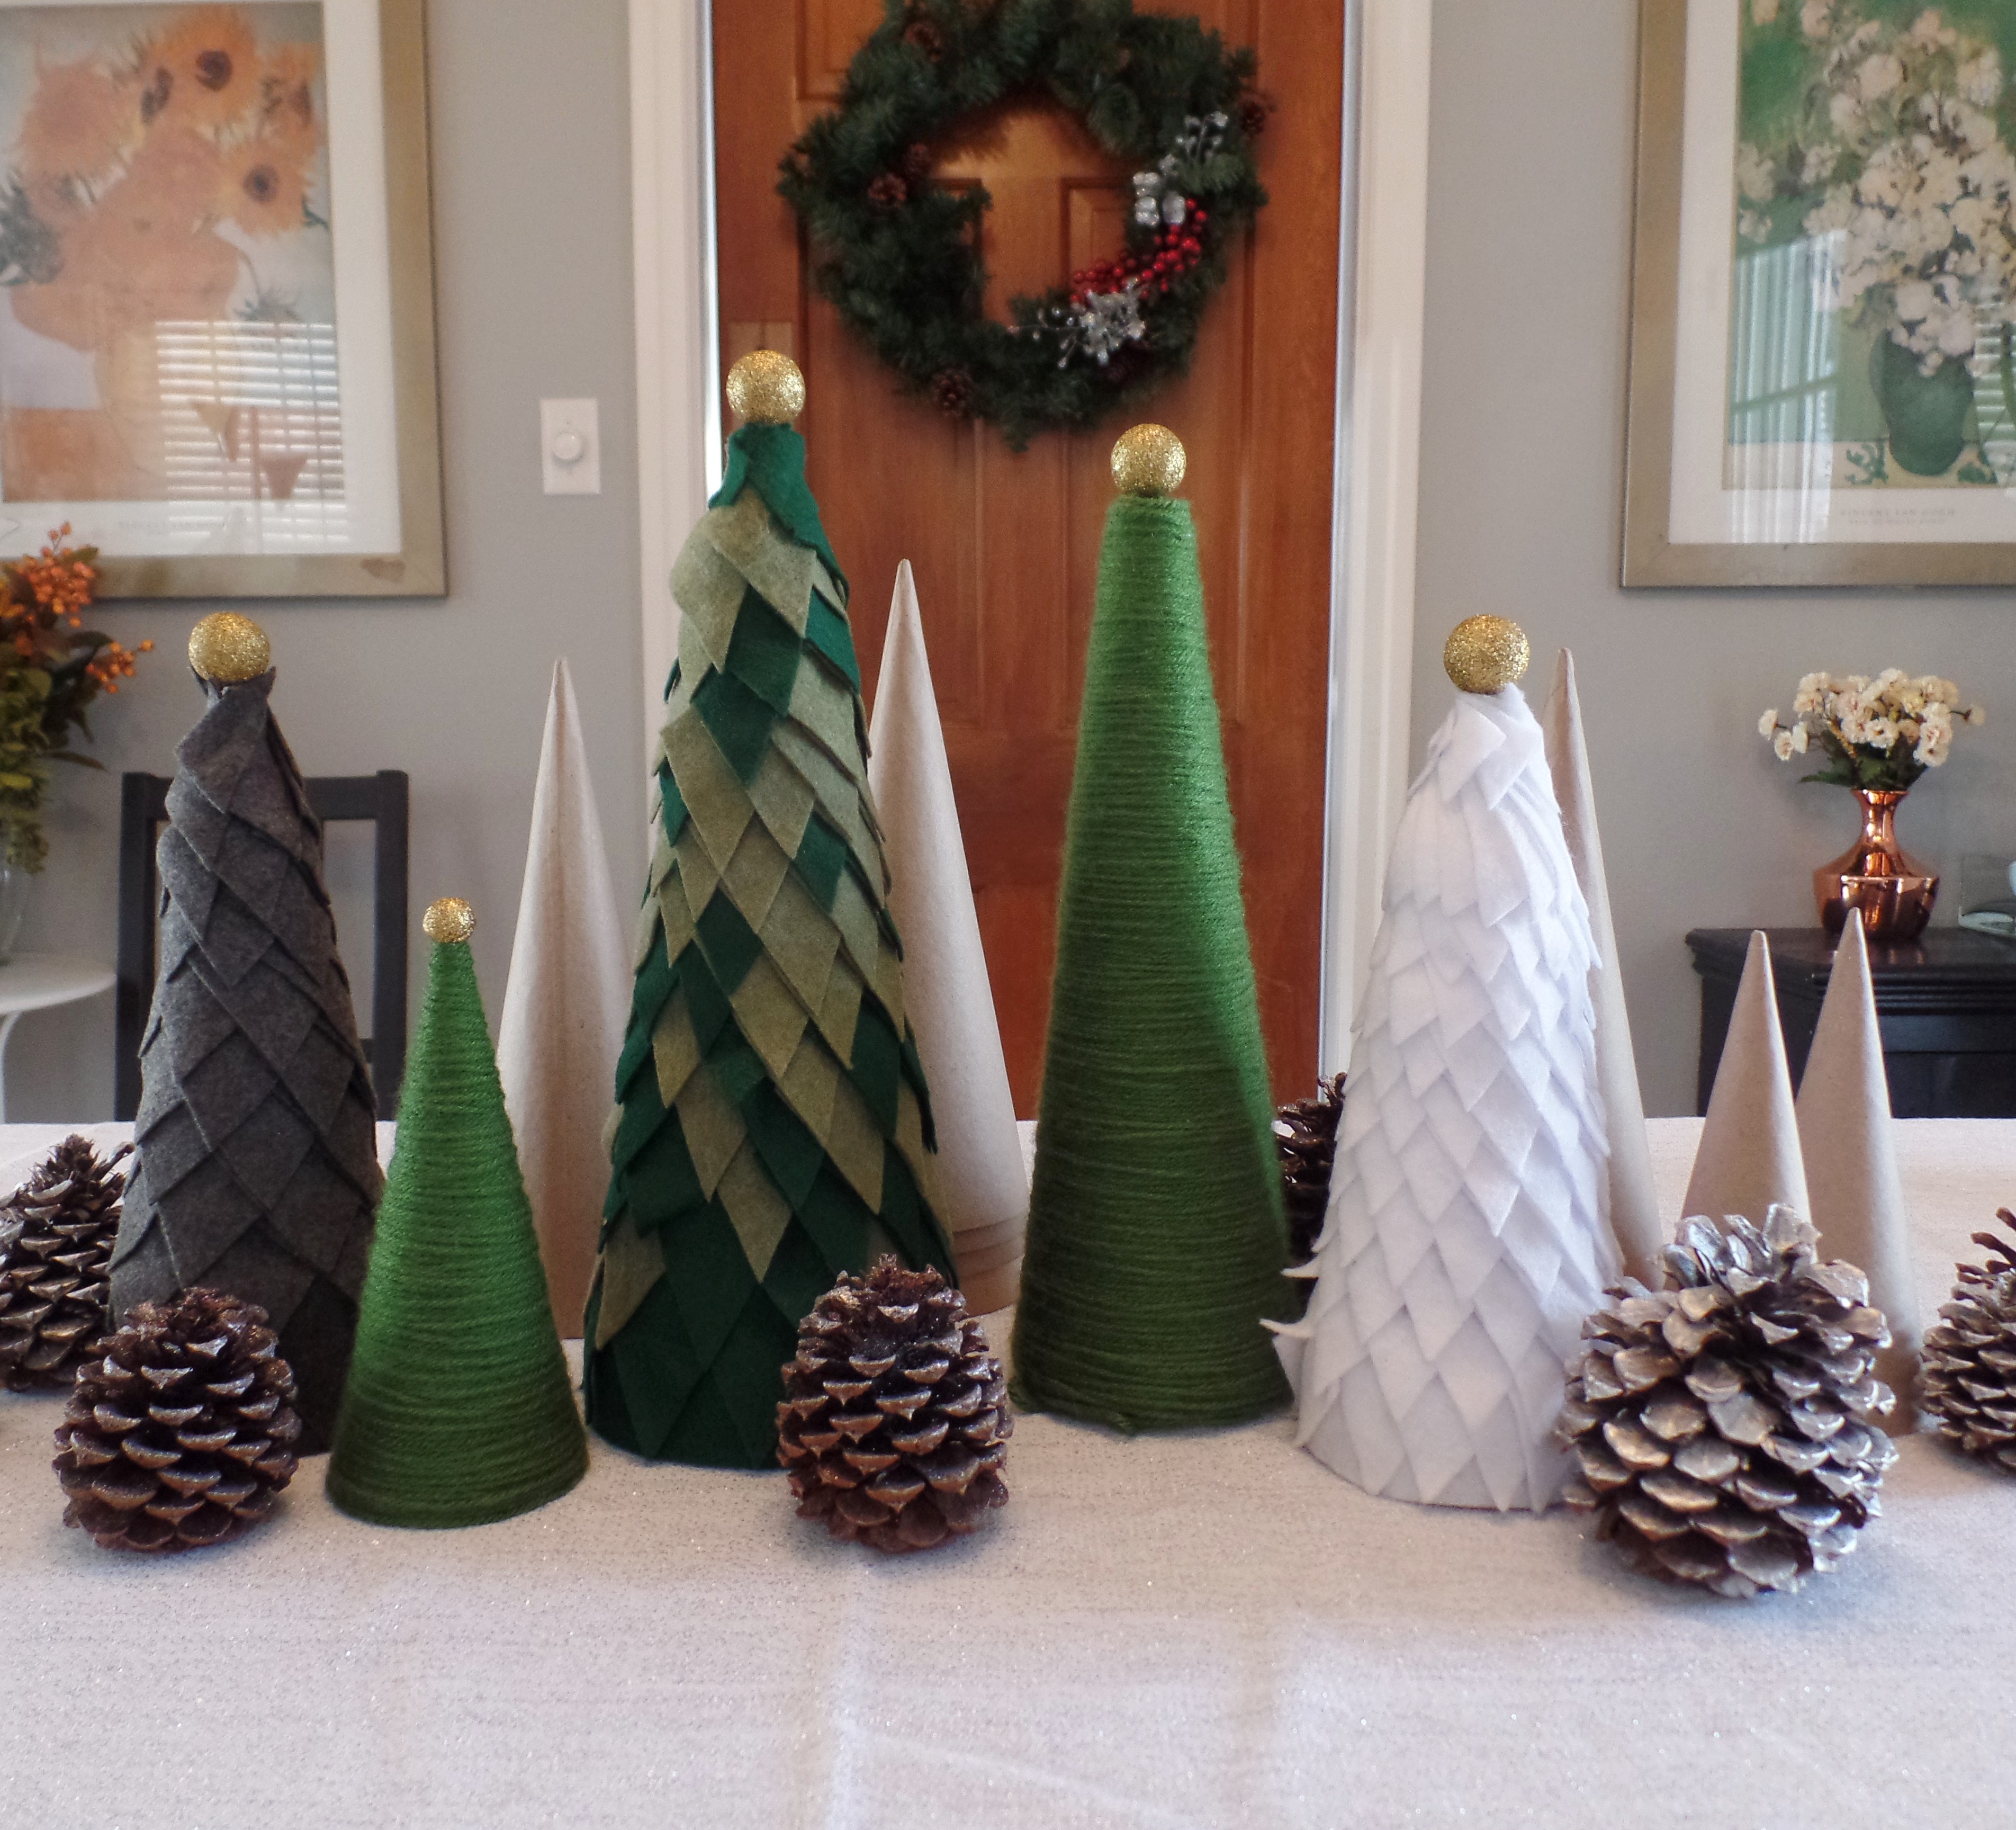
Now place these fabulous little felt trees anywhere in your space… Lining the mantel, along the hearth, set on a side table or shelf, could be a Christmas dinner centerpiece, or cute cocktail table decor! I added pine cones, of course, and real fir trimmings from the Christmas tree. Hope you enjoyed this Holidecor How-To and will be creating your own felt tree christmas crafts to love living in your life this Holiday season!!!
Love ~ LAUREN

